
How to Use the All-in-One Chat Widget
Overview
The All-in-One Chat widget allows you to offer multiple communication channels—Live Chat, SMS/Email, WhatsApp, Facebook, Instagram, and Voice AI—in one unified interface. This not only saves you from managing multiple widgets but also provides your visitors with a seamless experience when choosing how they want to reach out.
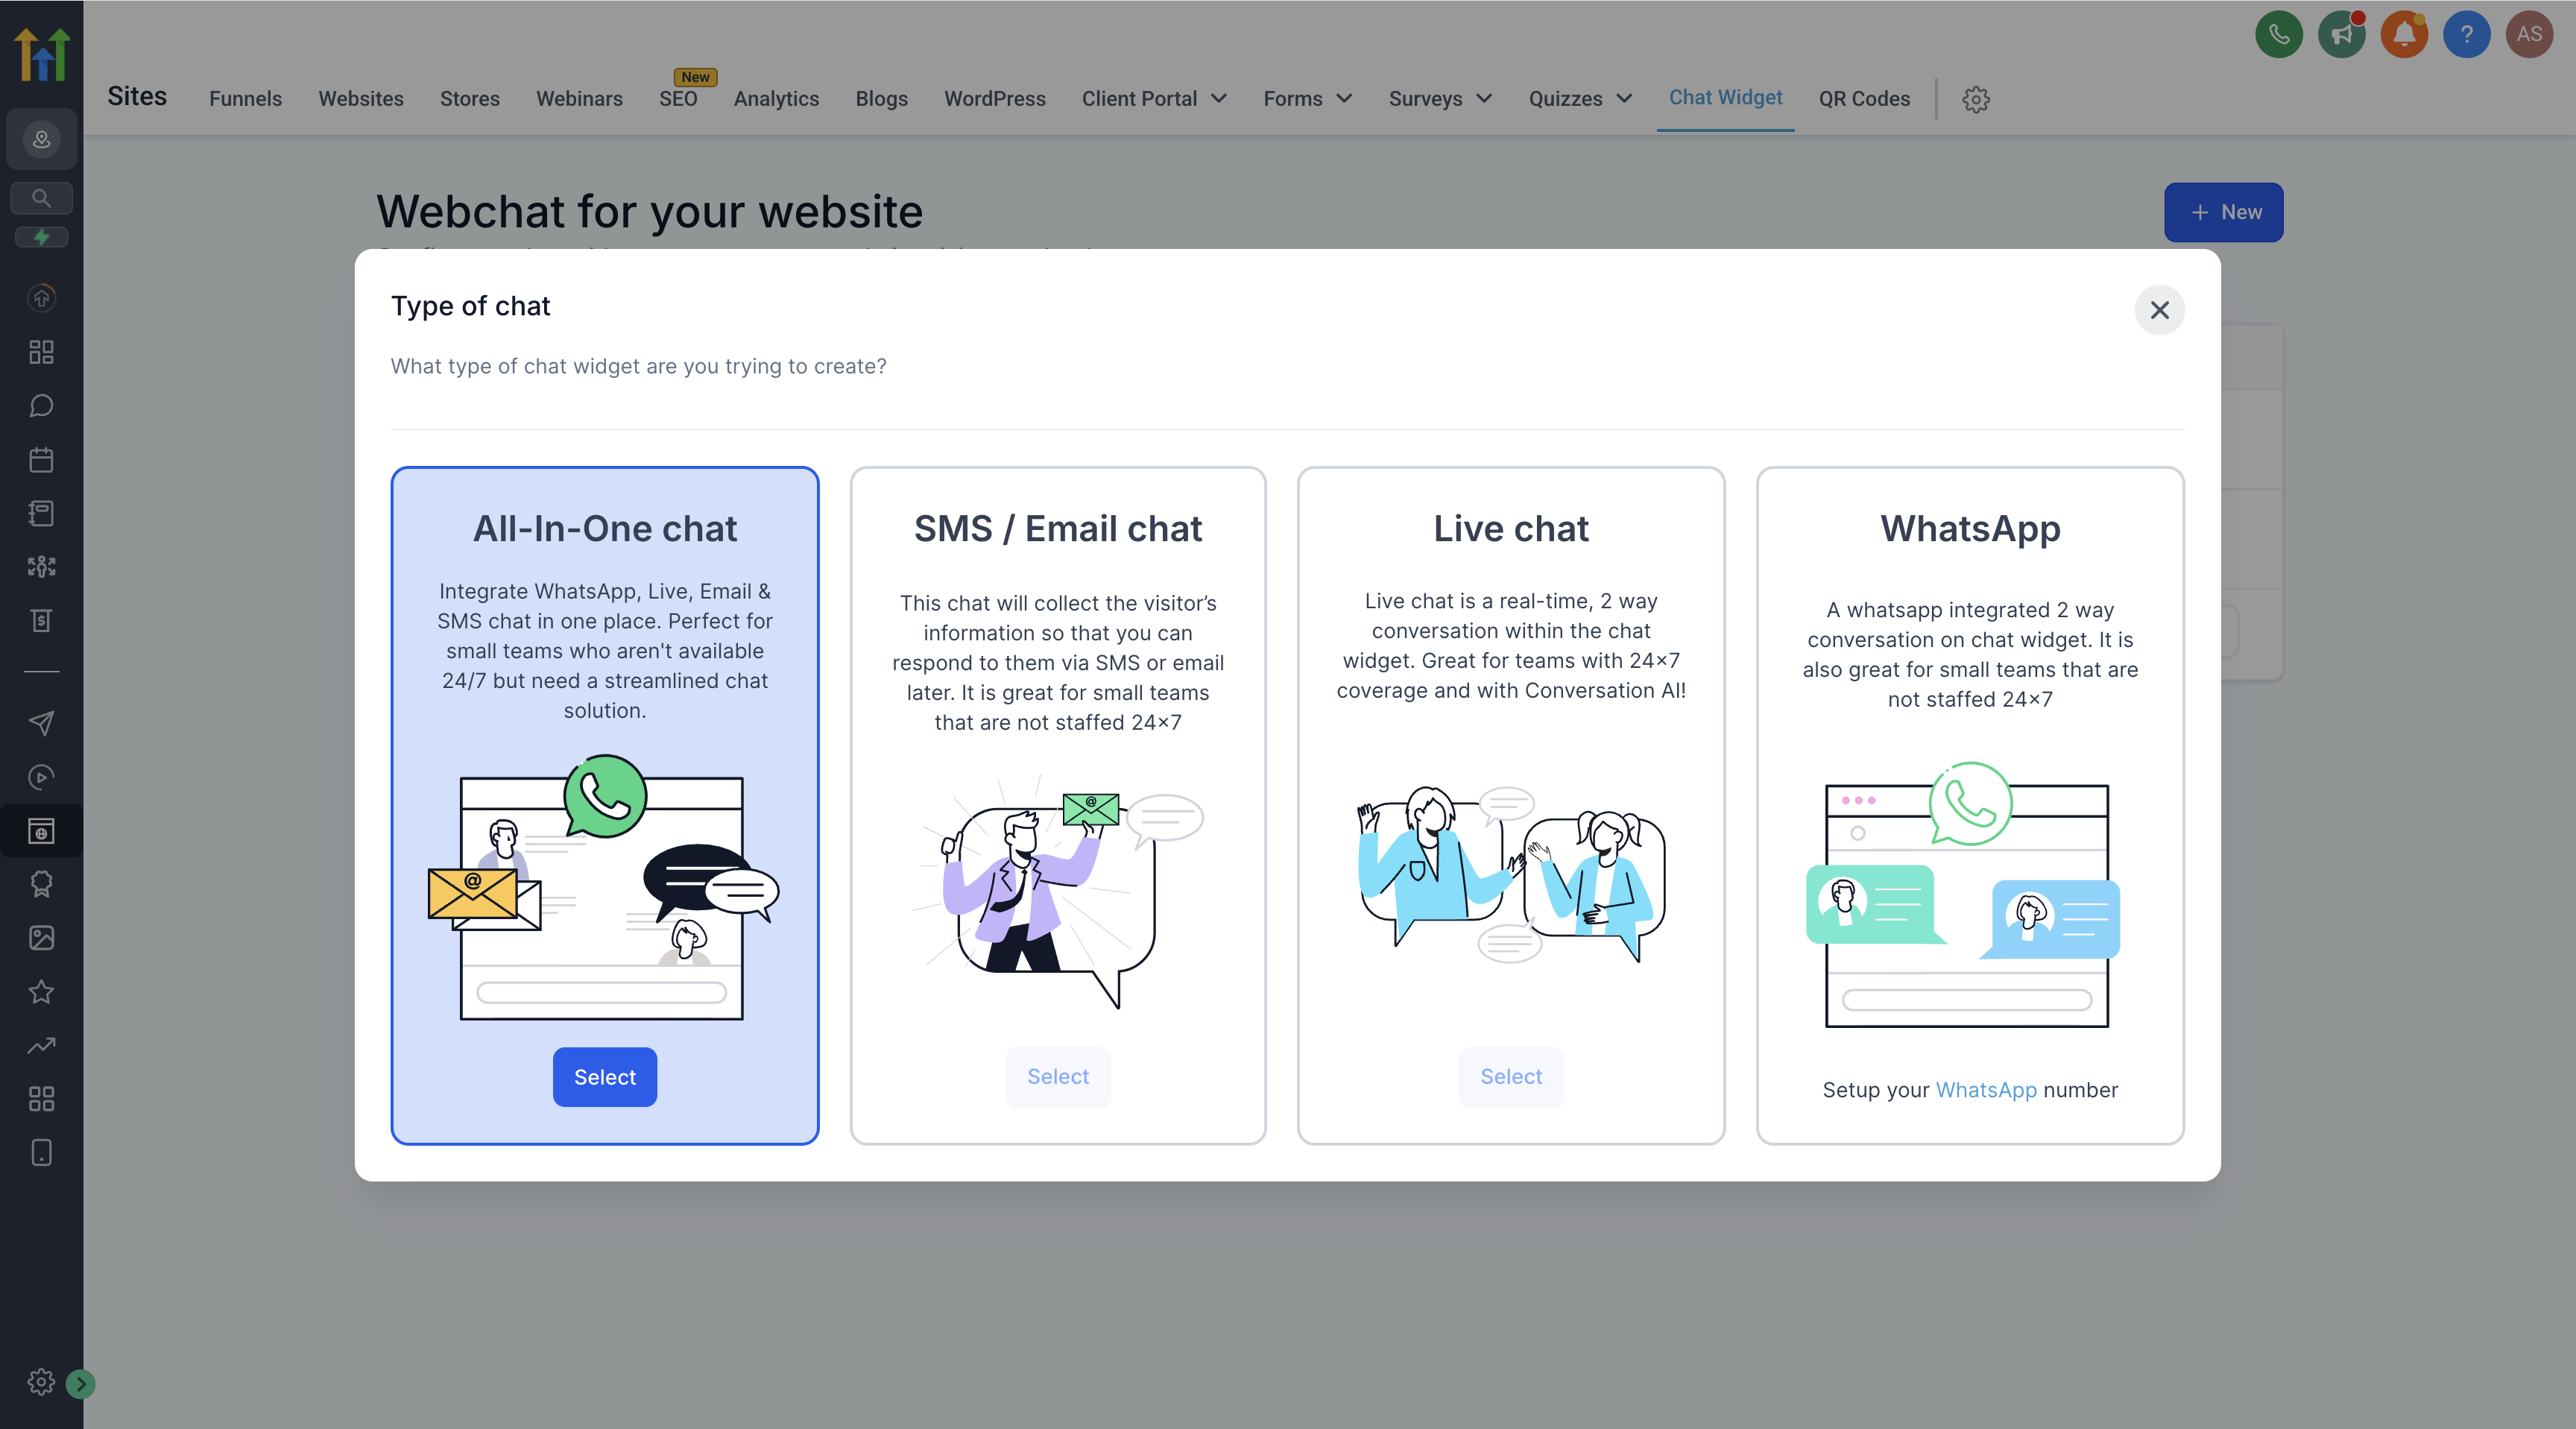
TABLE OF CONTENTS
- Overview
- Key Benefits
- Supported Channels & Requirements
- Step-by-Step Setup
- Using the All-in-One Chat Widget
- Frequently Asked Questions
- Troubleshooting
Key Benefits
Manage Live Chat, SMS/Email, WhatsApp, and optional Facebook, Instagram, and Voice AI channels from one widget.
Customize the initial welcome message to guide visitors into the right channel.
- Consistent branding with a unified color scheme.
- Simple setup and channel selection based on your active communication channels.
Supported Channels & Requirements
- Account Access
Make sure you have the appropriate permissions to create or edit chat widgets in your account. - The All-in-One Chat widget can surface multiple channels, but some options only appear when you meet their prerequisites:
Facebook - Shows in the Chat Type selector only if a Facebook Page or account is connected in the sub-account.
Instagram - Shows only if the Instagram account is connected in the sub-account.
Voice AI - Shows only if a Voice AI widget is configured in the sub-account.
WhatsApp - Can be selected only if a WhatsApp number is connected in the sub-account and a WhatsApp chat widget exists.
If a channel does not meet its prerequisites, it will not appear as an option in the Chat Type multi-select for that widget.
Step-by-Step Setup
- Navigate to the Chat Widget Section
- Log in to your account.
- In the left-hand navigation menu, go to Sites → Chat Widget.
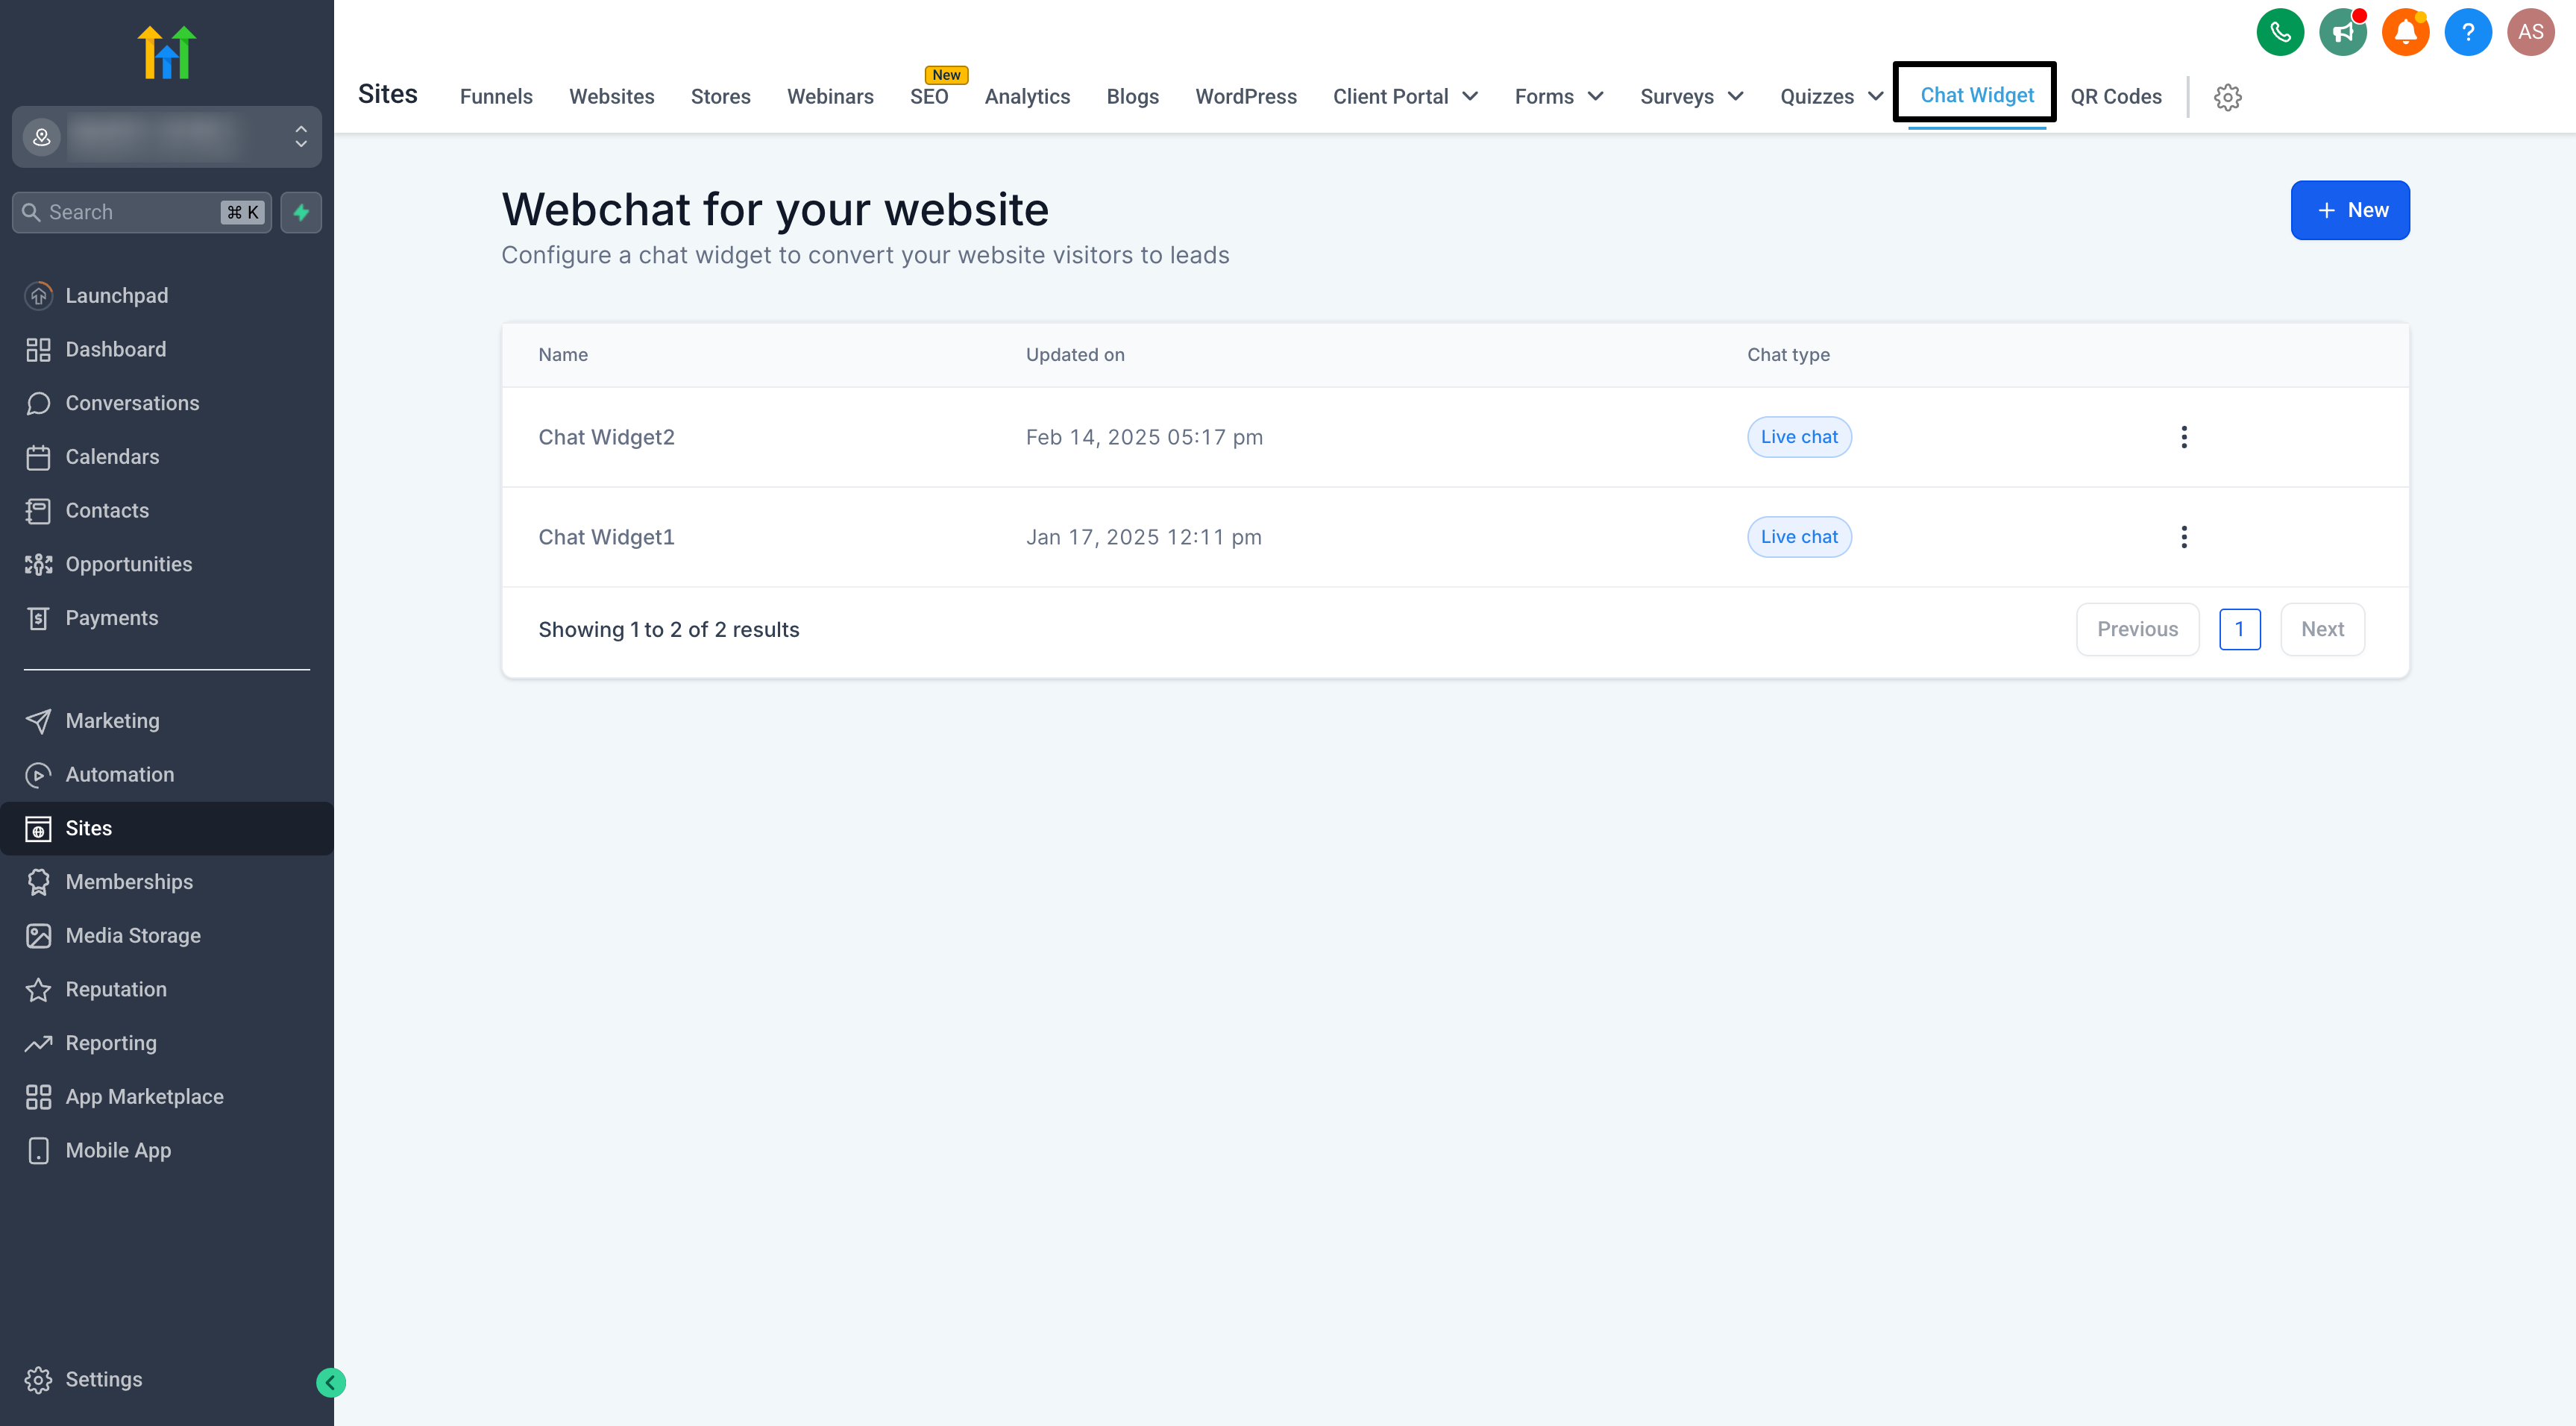
- Create a New Chat Widget & then choose All-in-One Chat from the list of chat types.
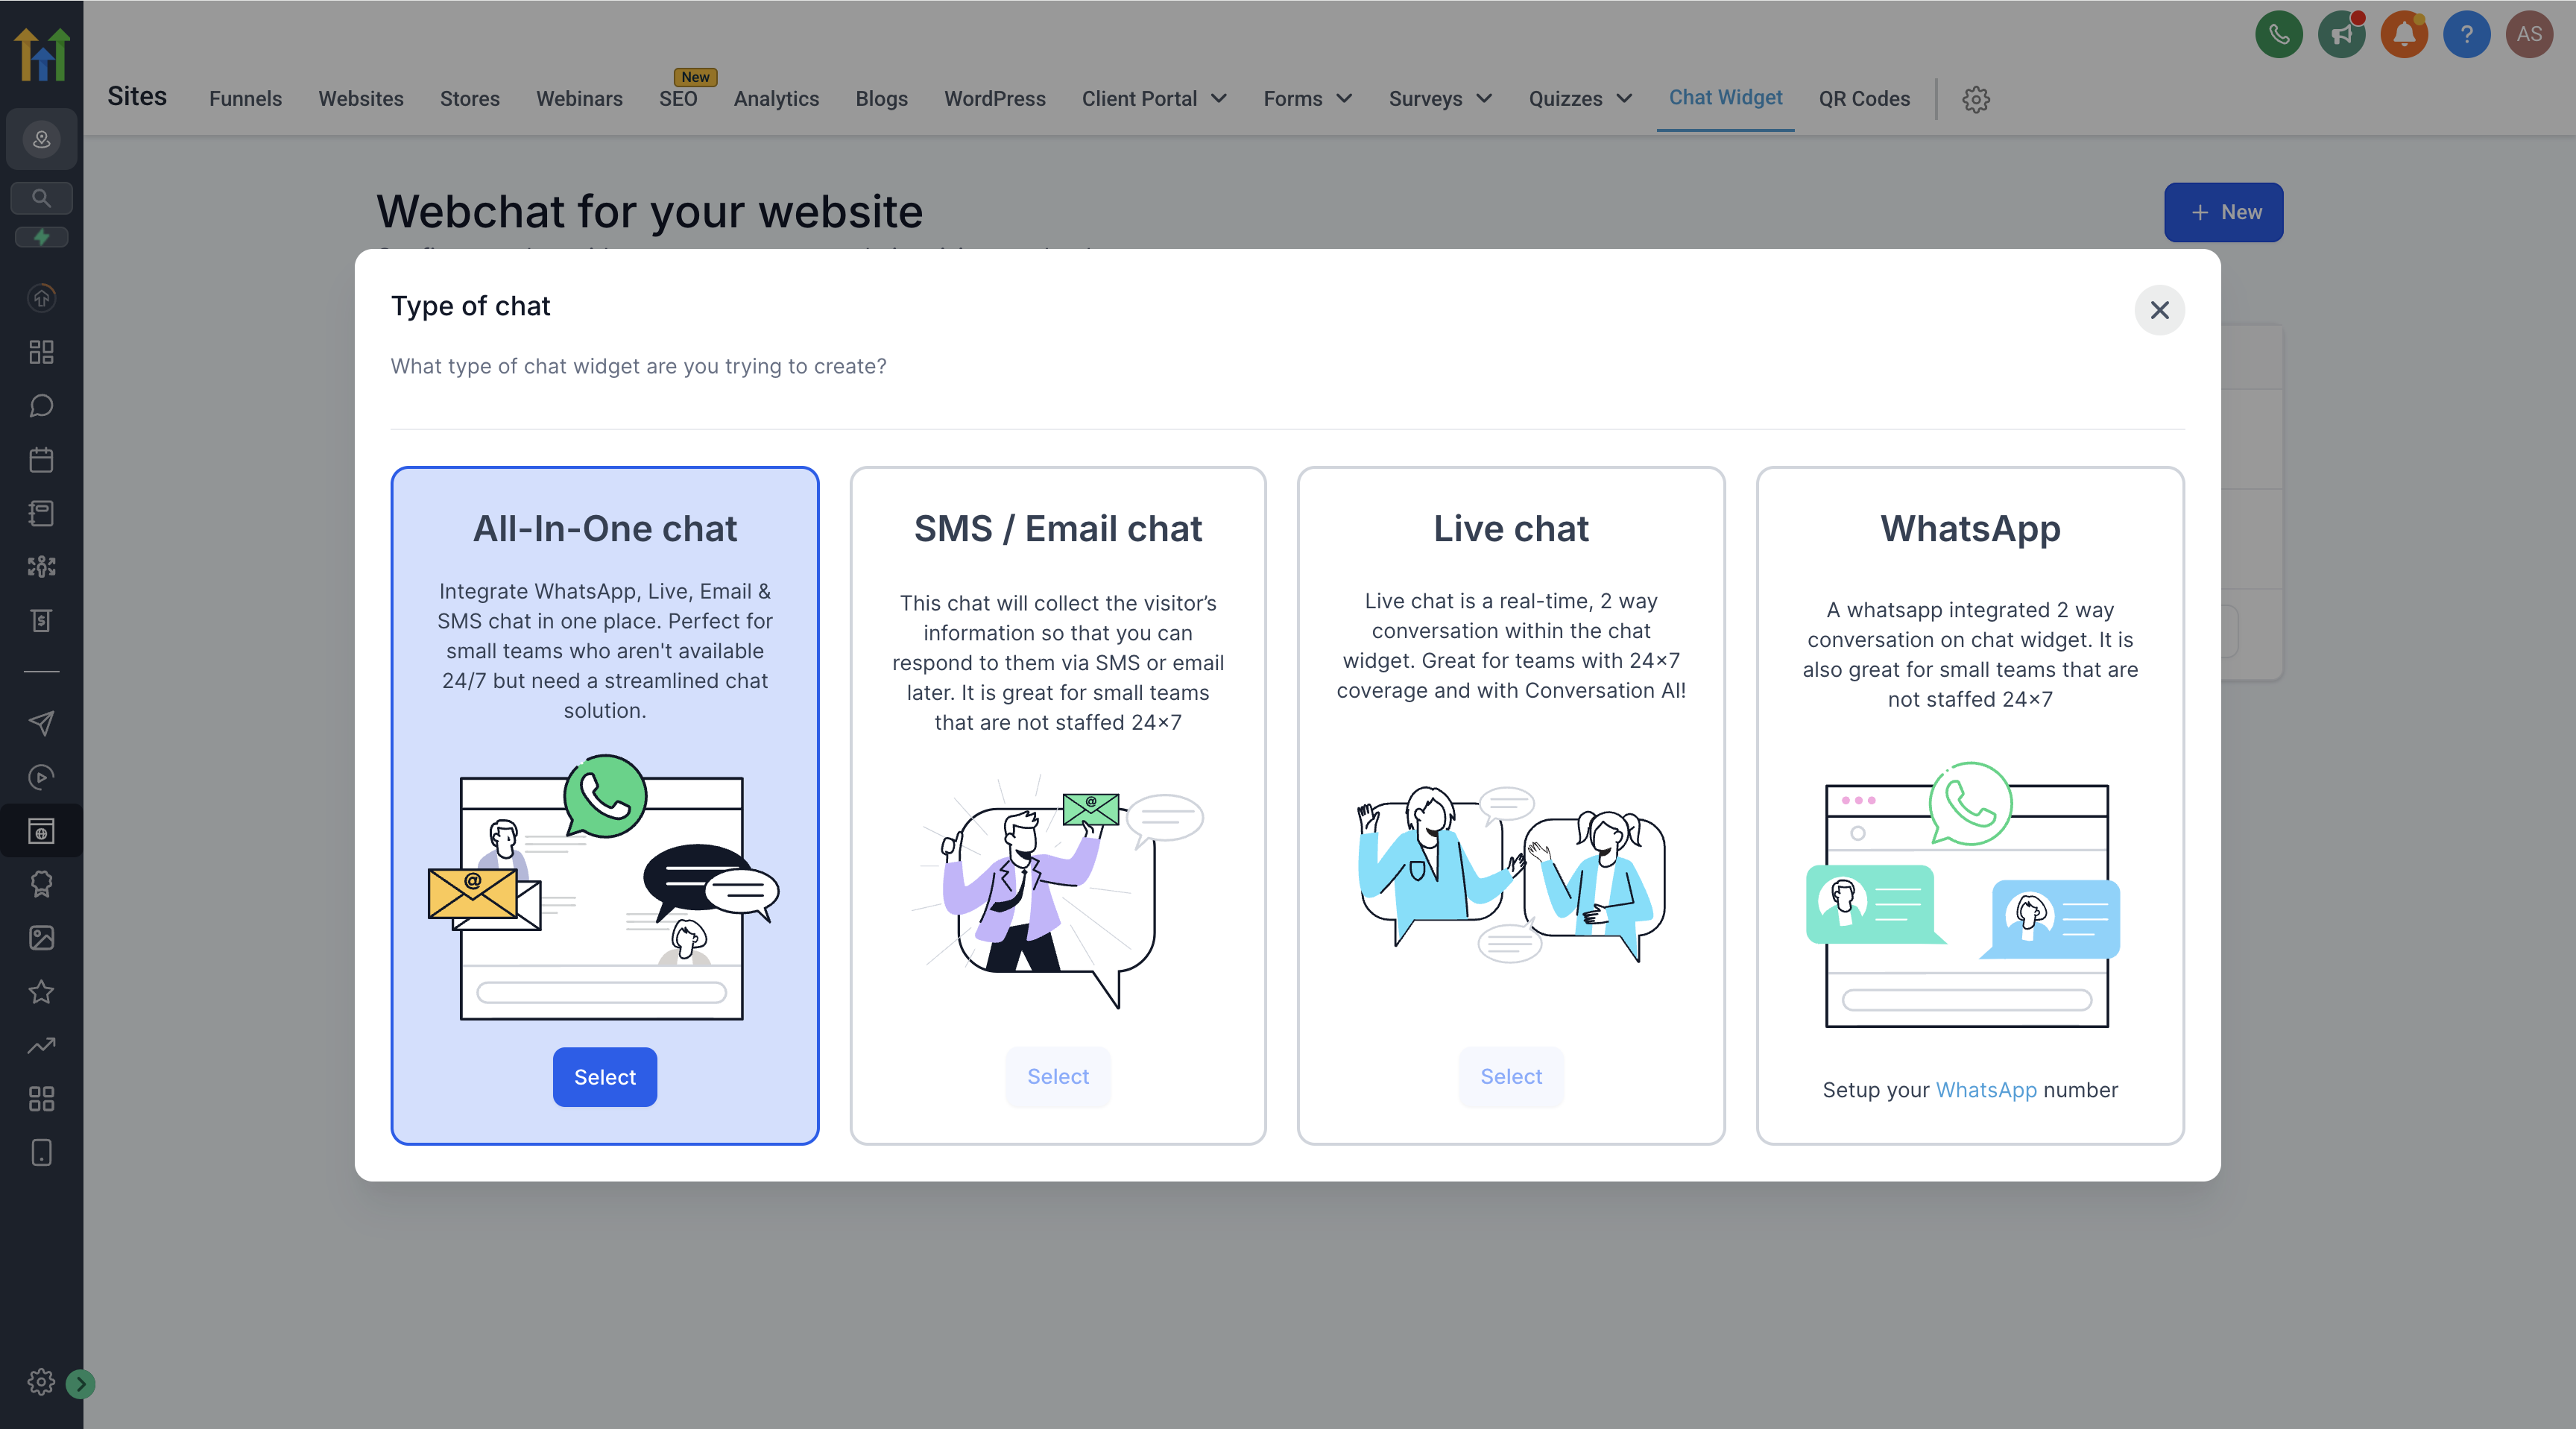
Note: If you do not see “All-in-One Chat,” ensure your account has access to the latest updates. You may need to refresh or log out and log back in. - Select Channels
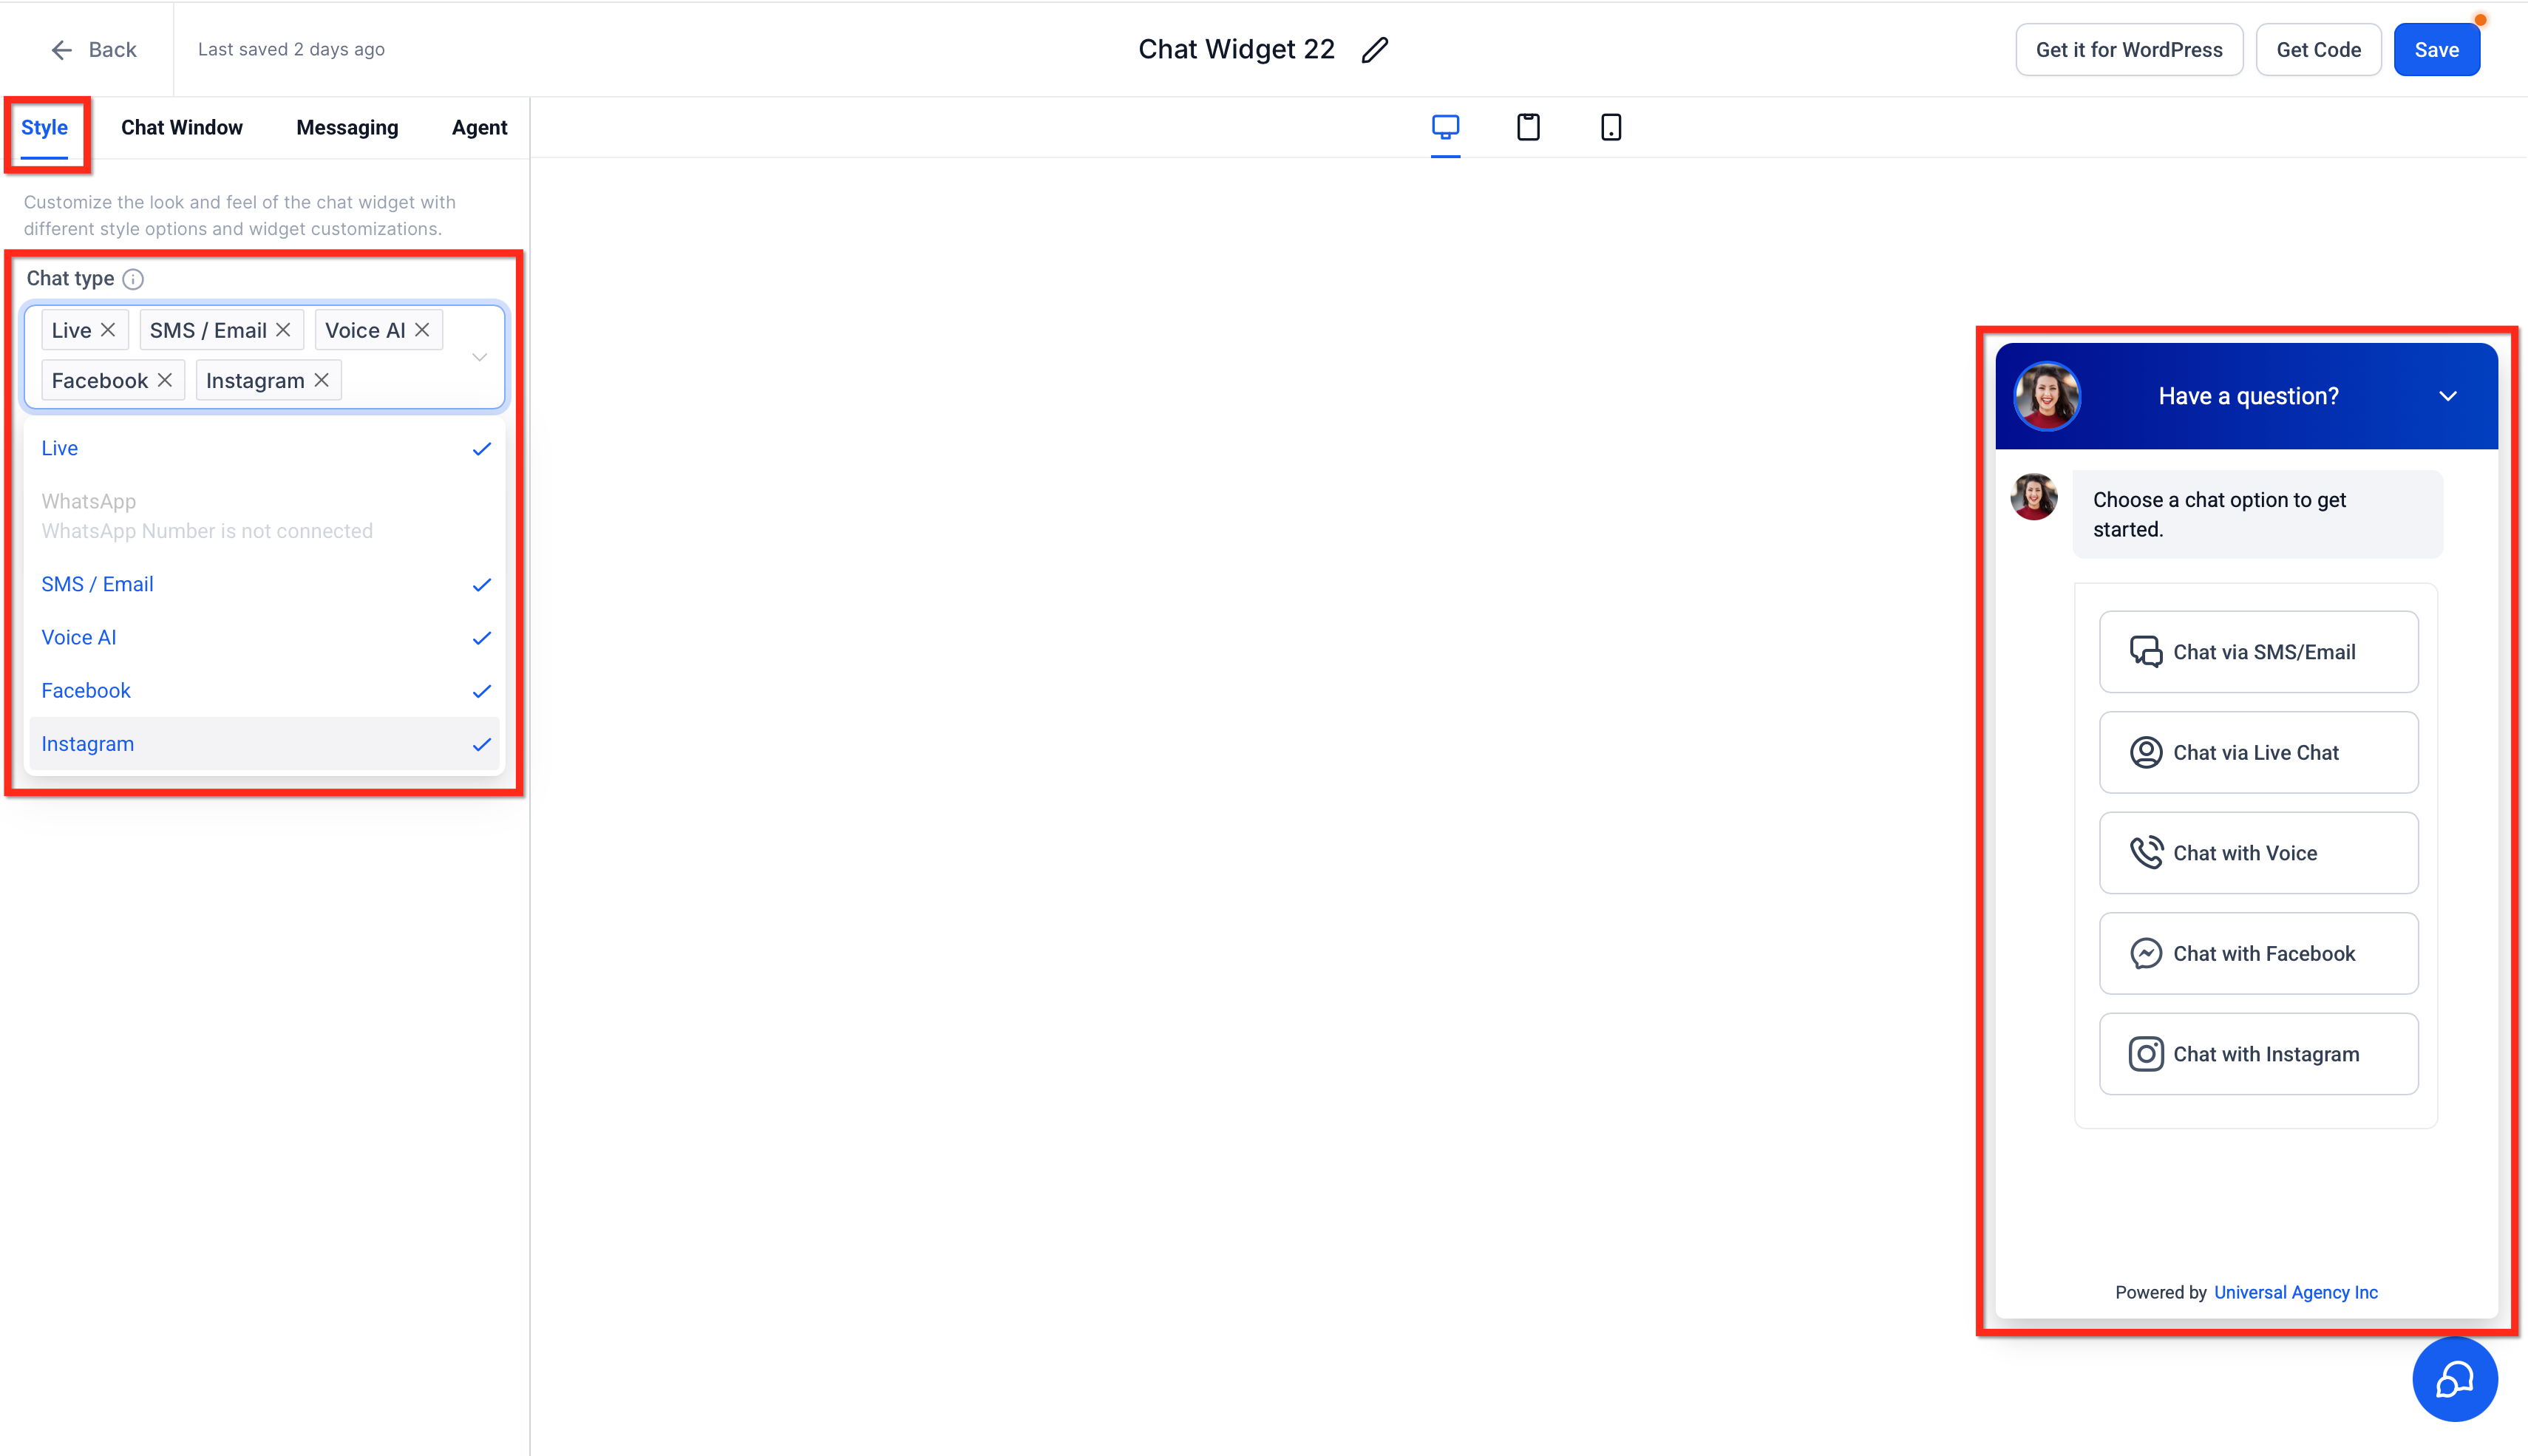
- After creating the All-in-One Chat widget, open it and go to the Style tab.
- In Chat Type, use the multi-select dropdown to choose any combination of:
- Live Chat
- SMS/Email
- Voice AI
- Facebook
- Instagram
- WhatsApp - You can enable any number of these channels at once. The preview updates instantly to reflect your selection.
- Choose Widget Placement
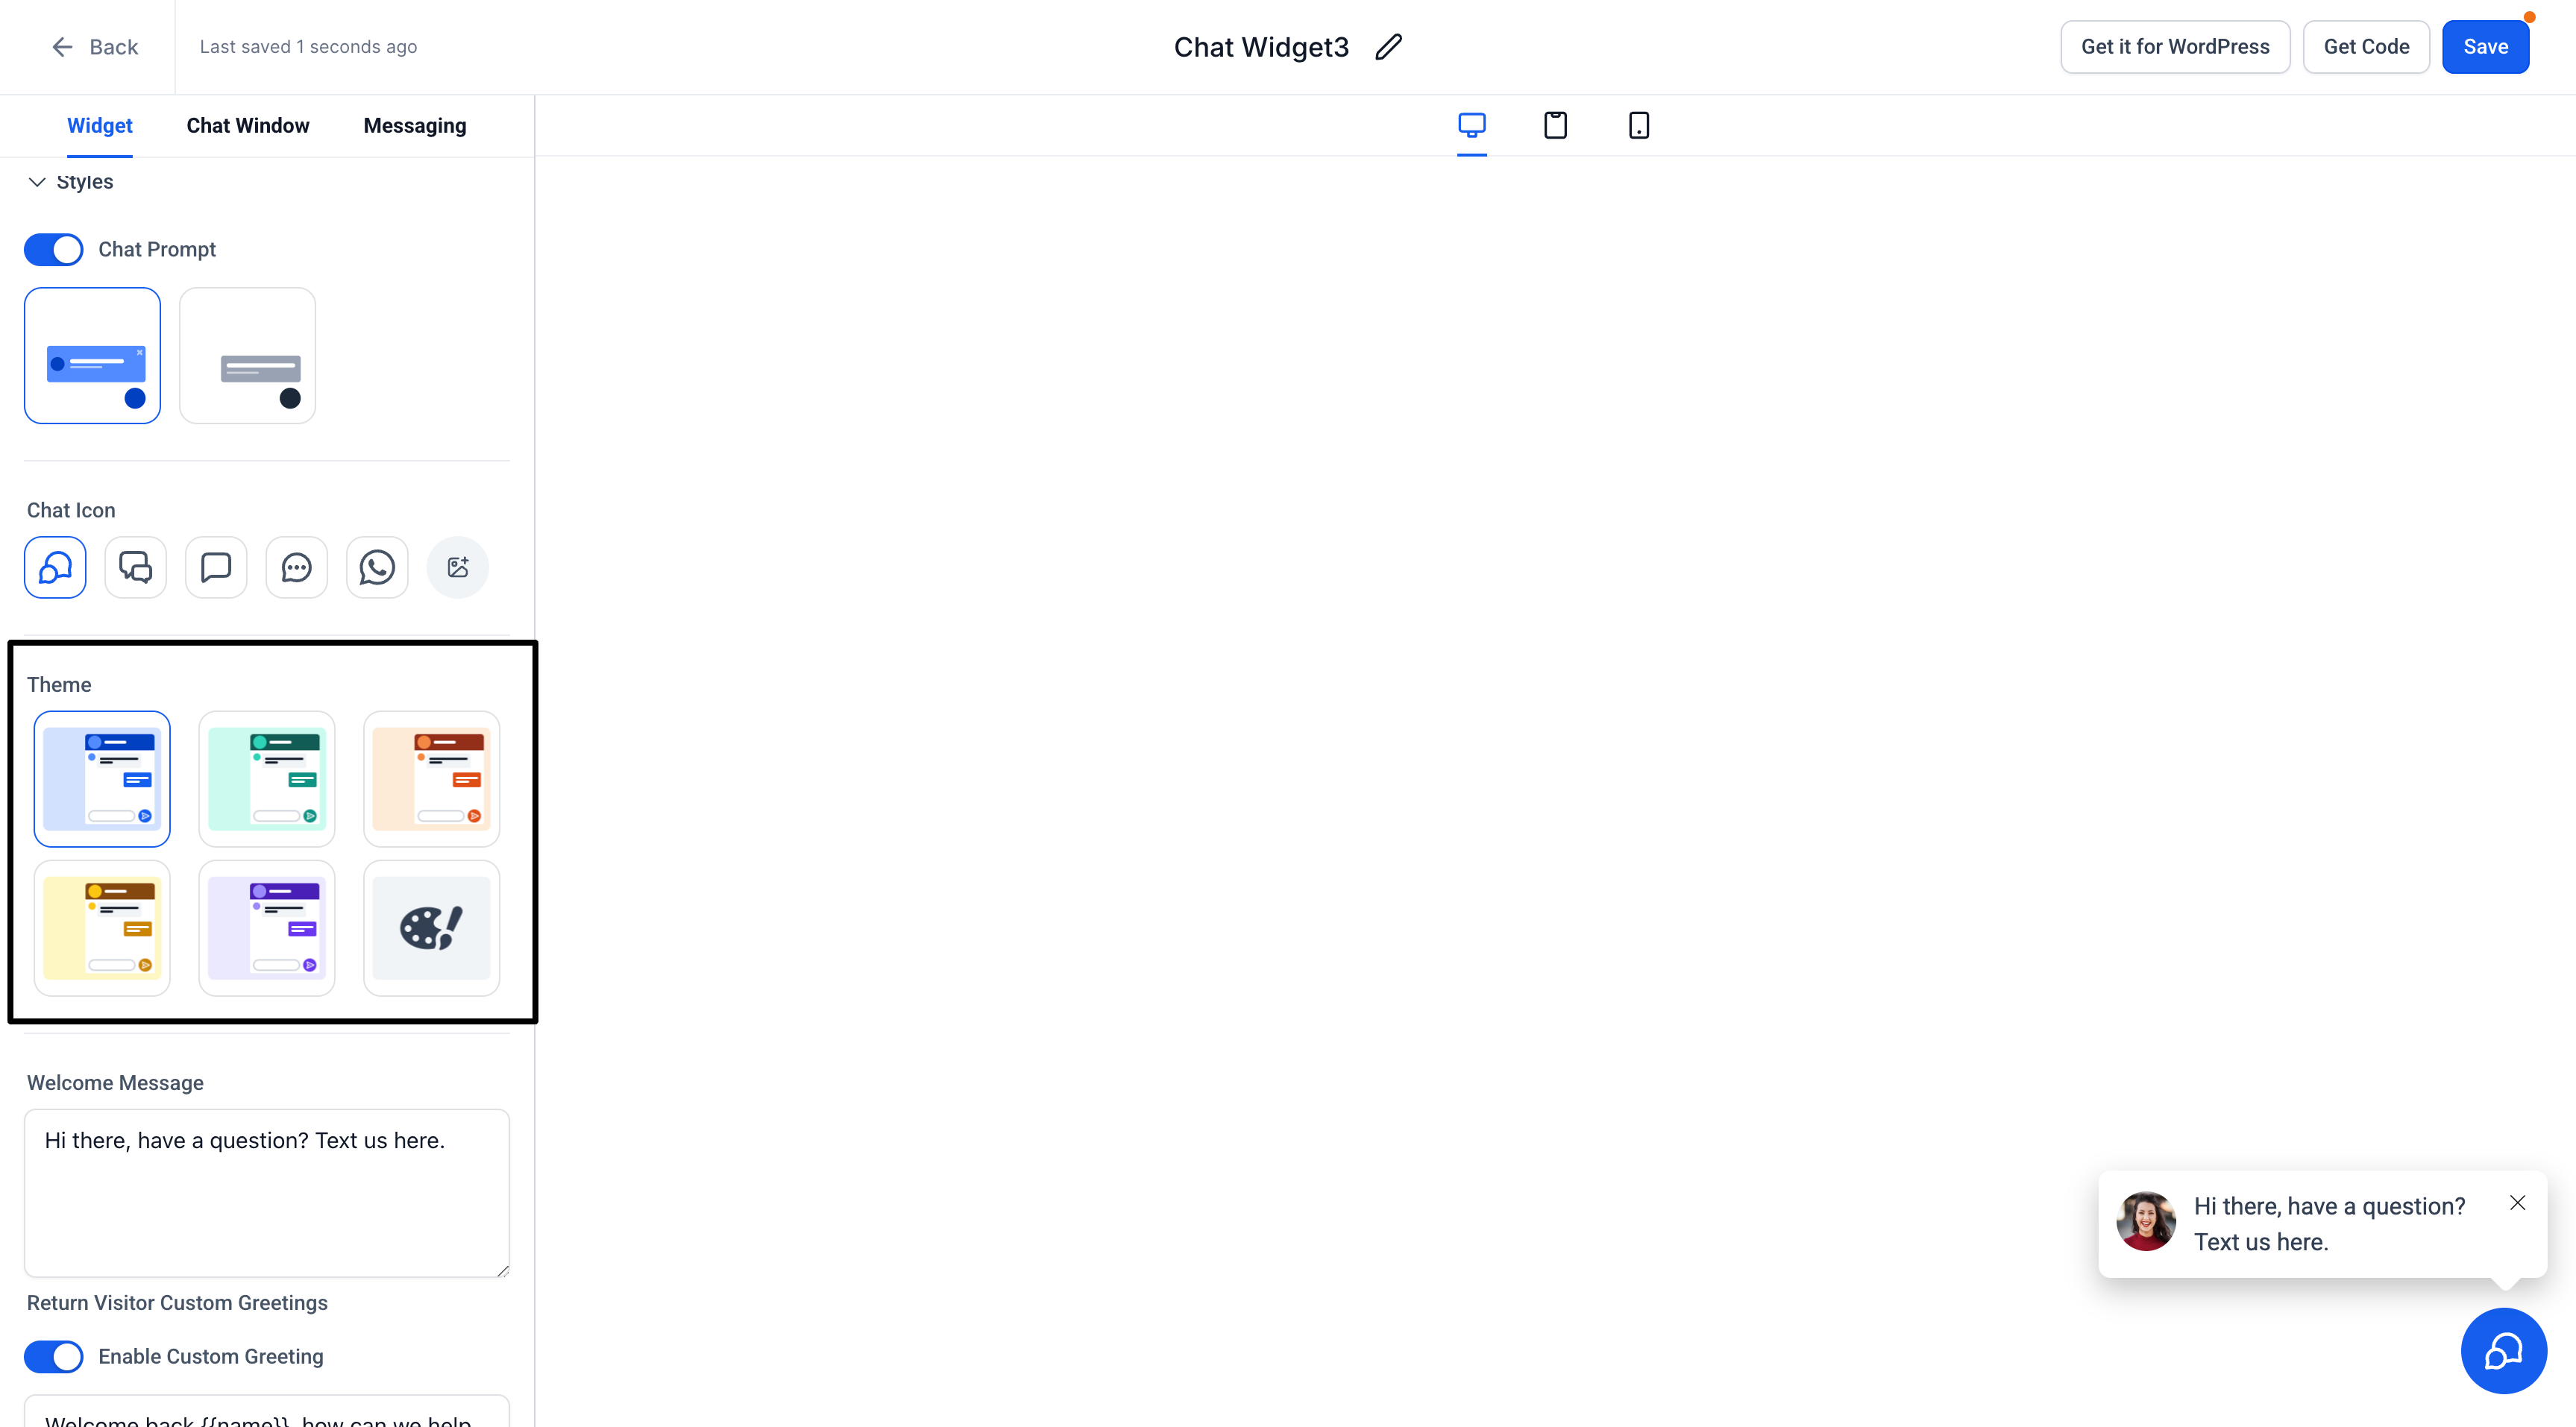
Under the Style tab, select a placement under Widget Placement:
Sticky: Keeps the widget fixed in a page corner.
Embedded / Inline: Renders the All-in-One Chat experience inline within your page content.
With Embedded / Inline placement, the widget opens automatically and remains visible within the page. The floating chat bubble and its initial prompt popup are not displayed, and the embedded widget cannot be minimized.
- After creating the All-in-One Chat widget, open it and go to the Style tab.
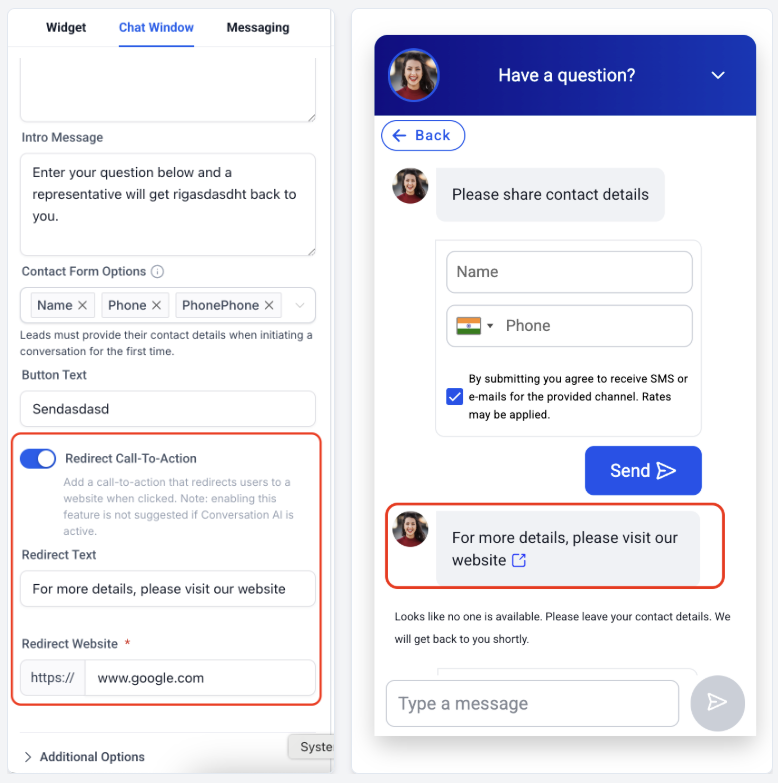
- Redirect Call-To-Action:
In the Chat Window tab, enable Redirect Call-To-Action to show visitors a clickable message that directs them to an external website.
Configure the Redirect Text visitors see and enter the destination URL in Redirect Website.
For more information about Chat Window settings, see Overview of Chat Widget Customizations
- Customize Widget Settings
- General Settings:
- Name your widget for easy reference (e.g., “Main Website Widget”).
- Configure widget color to match your brand.
- Channel Settings:
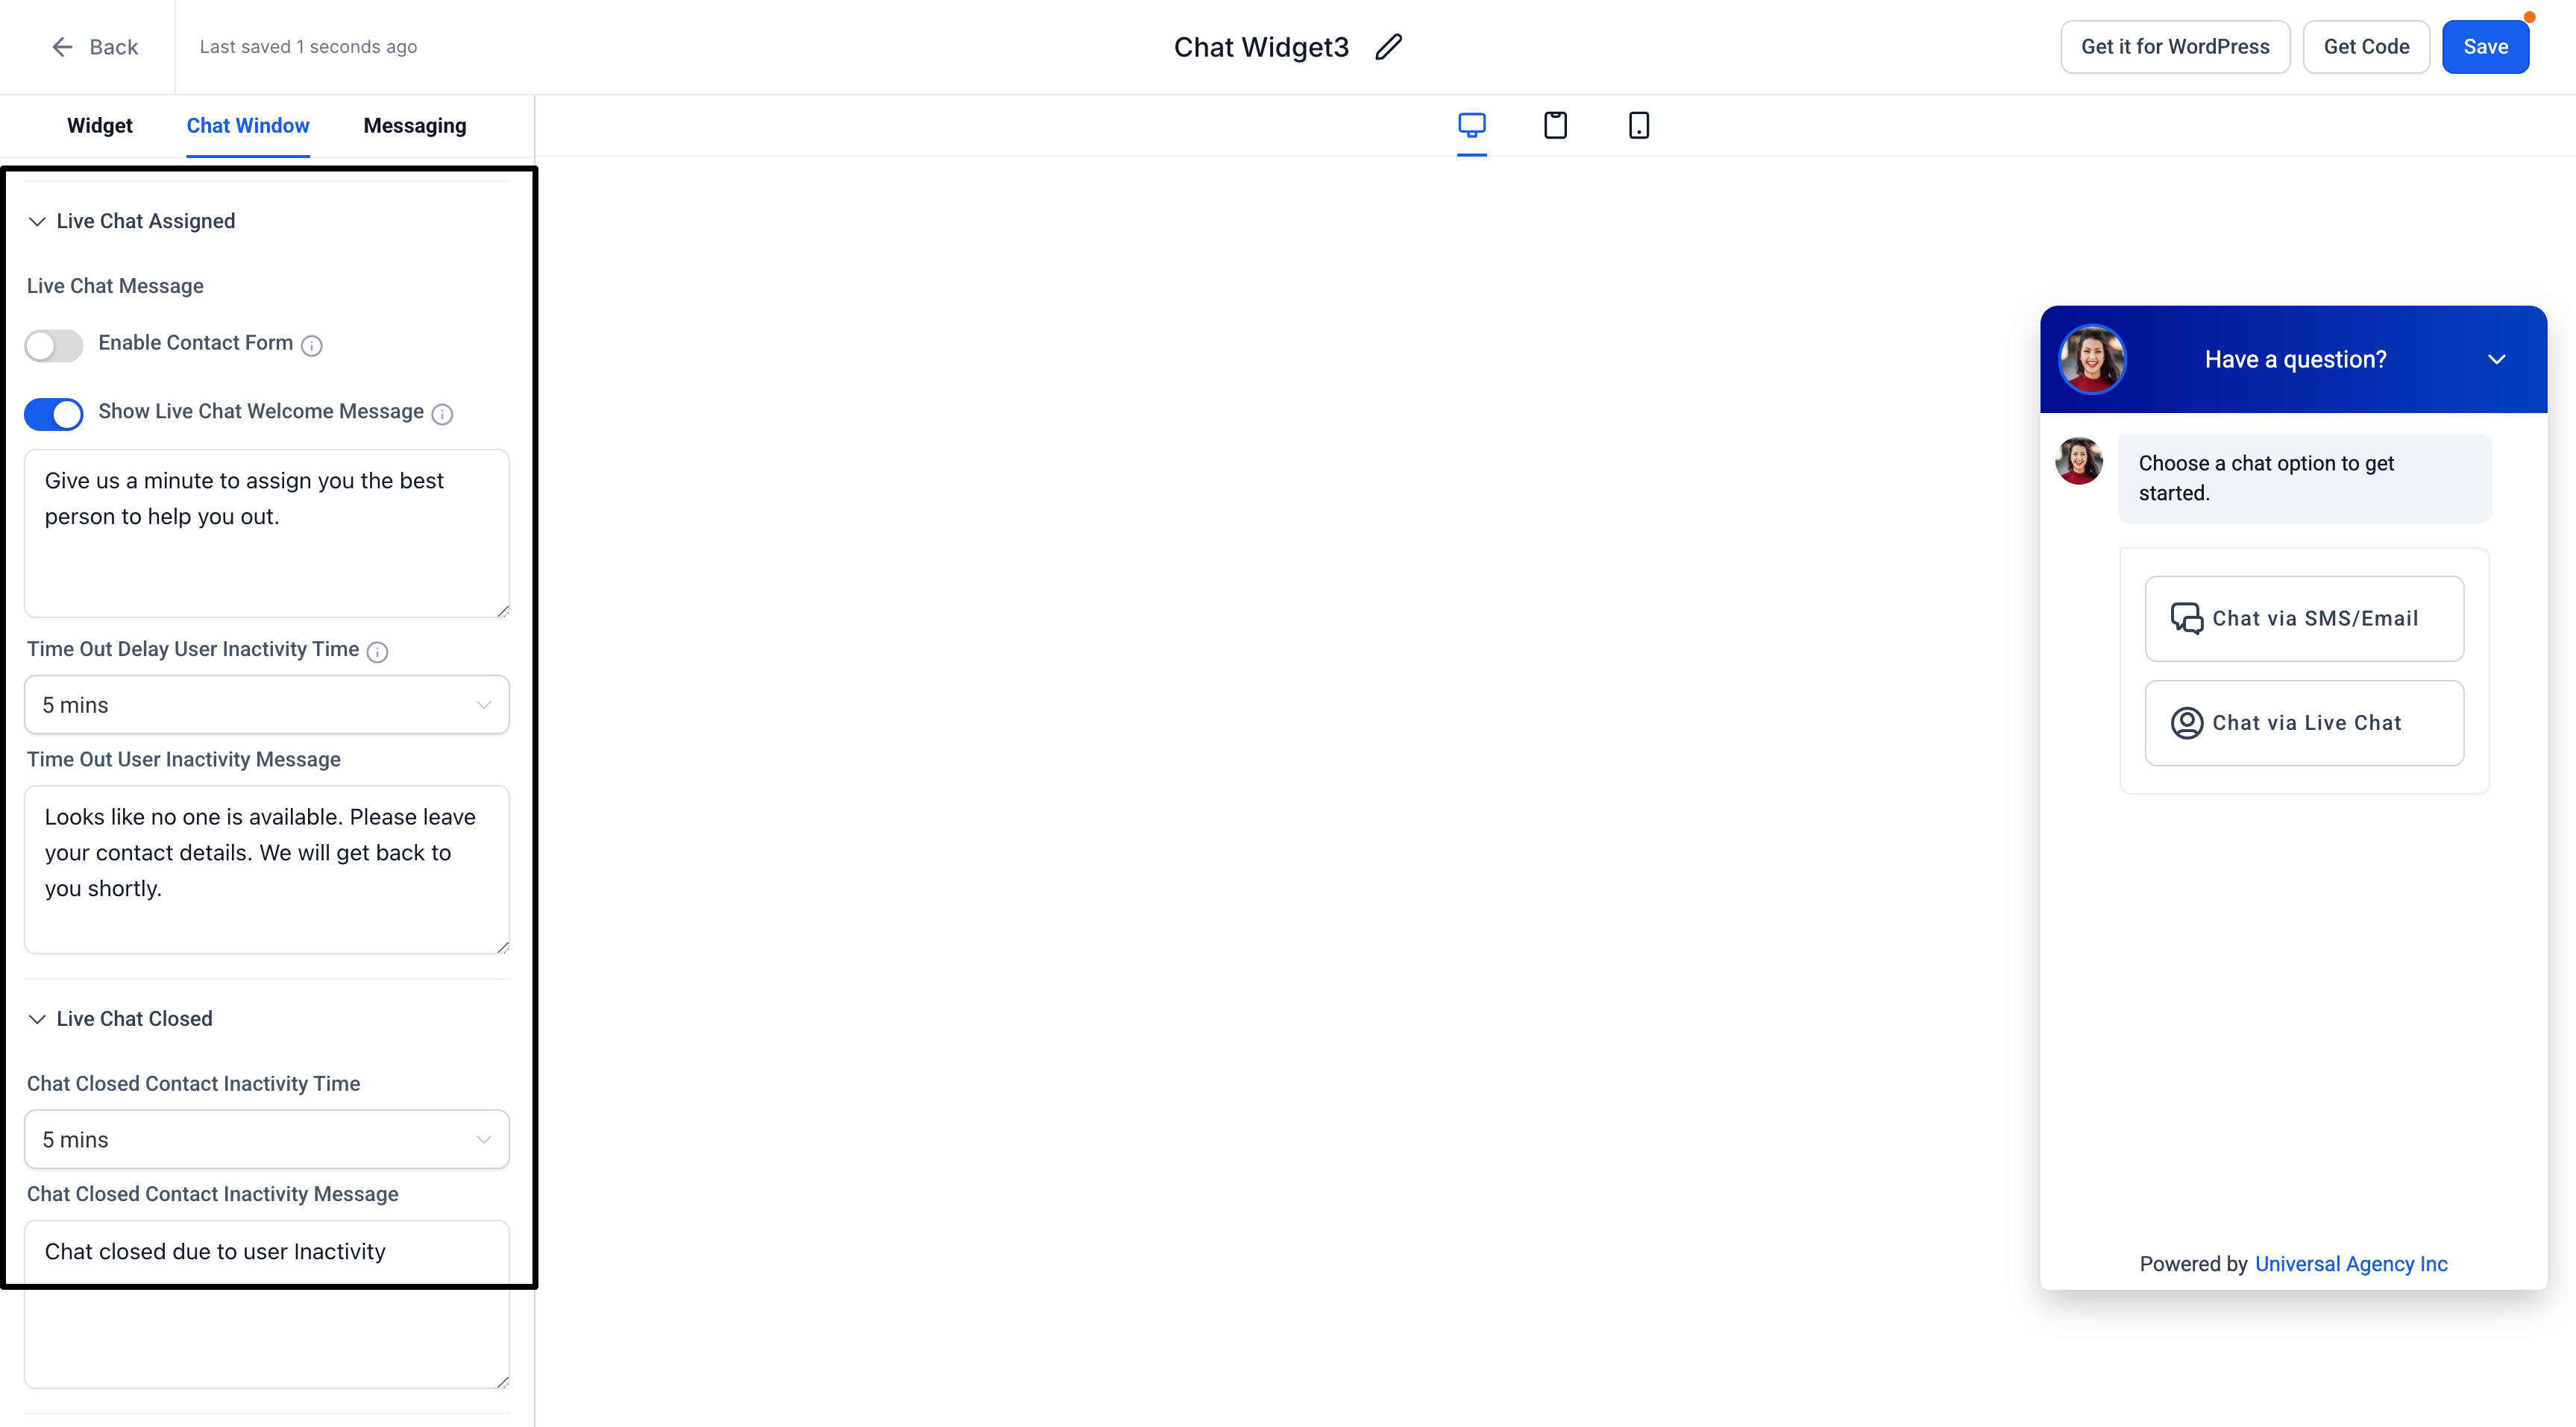
- Live Chat:Set your display name, greeting message, and offline behavior (if any).
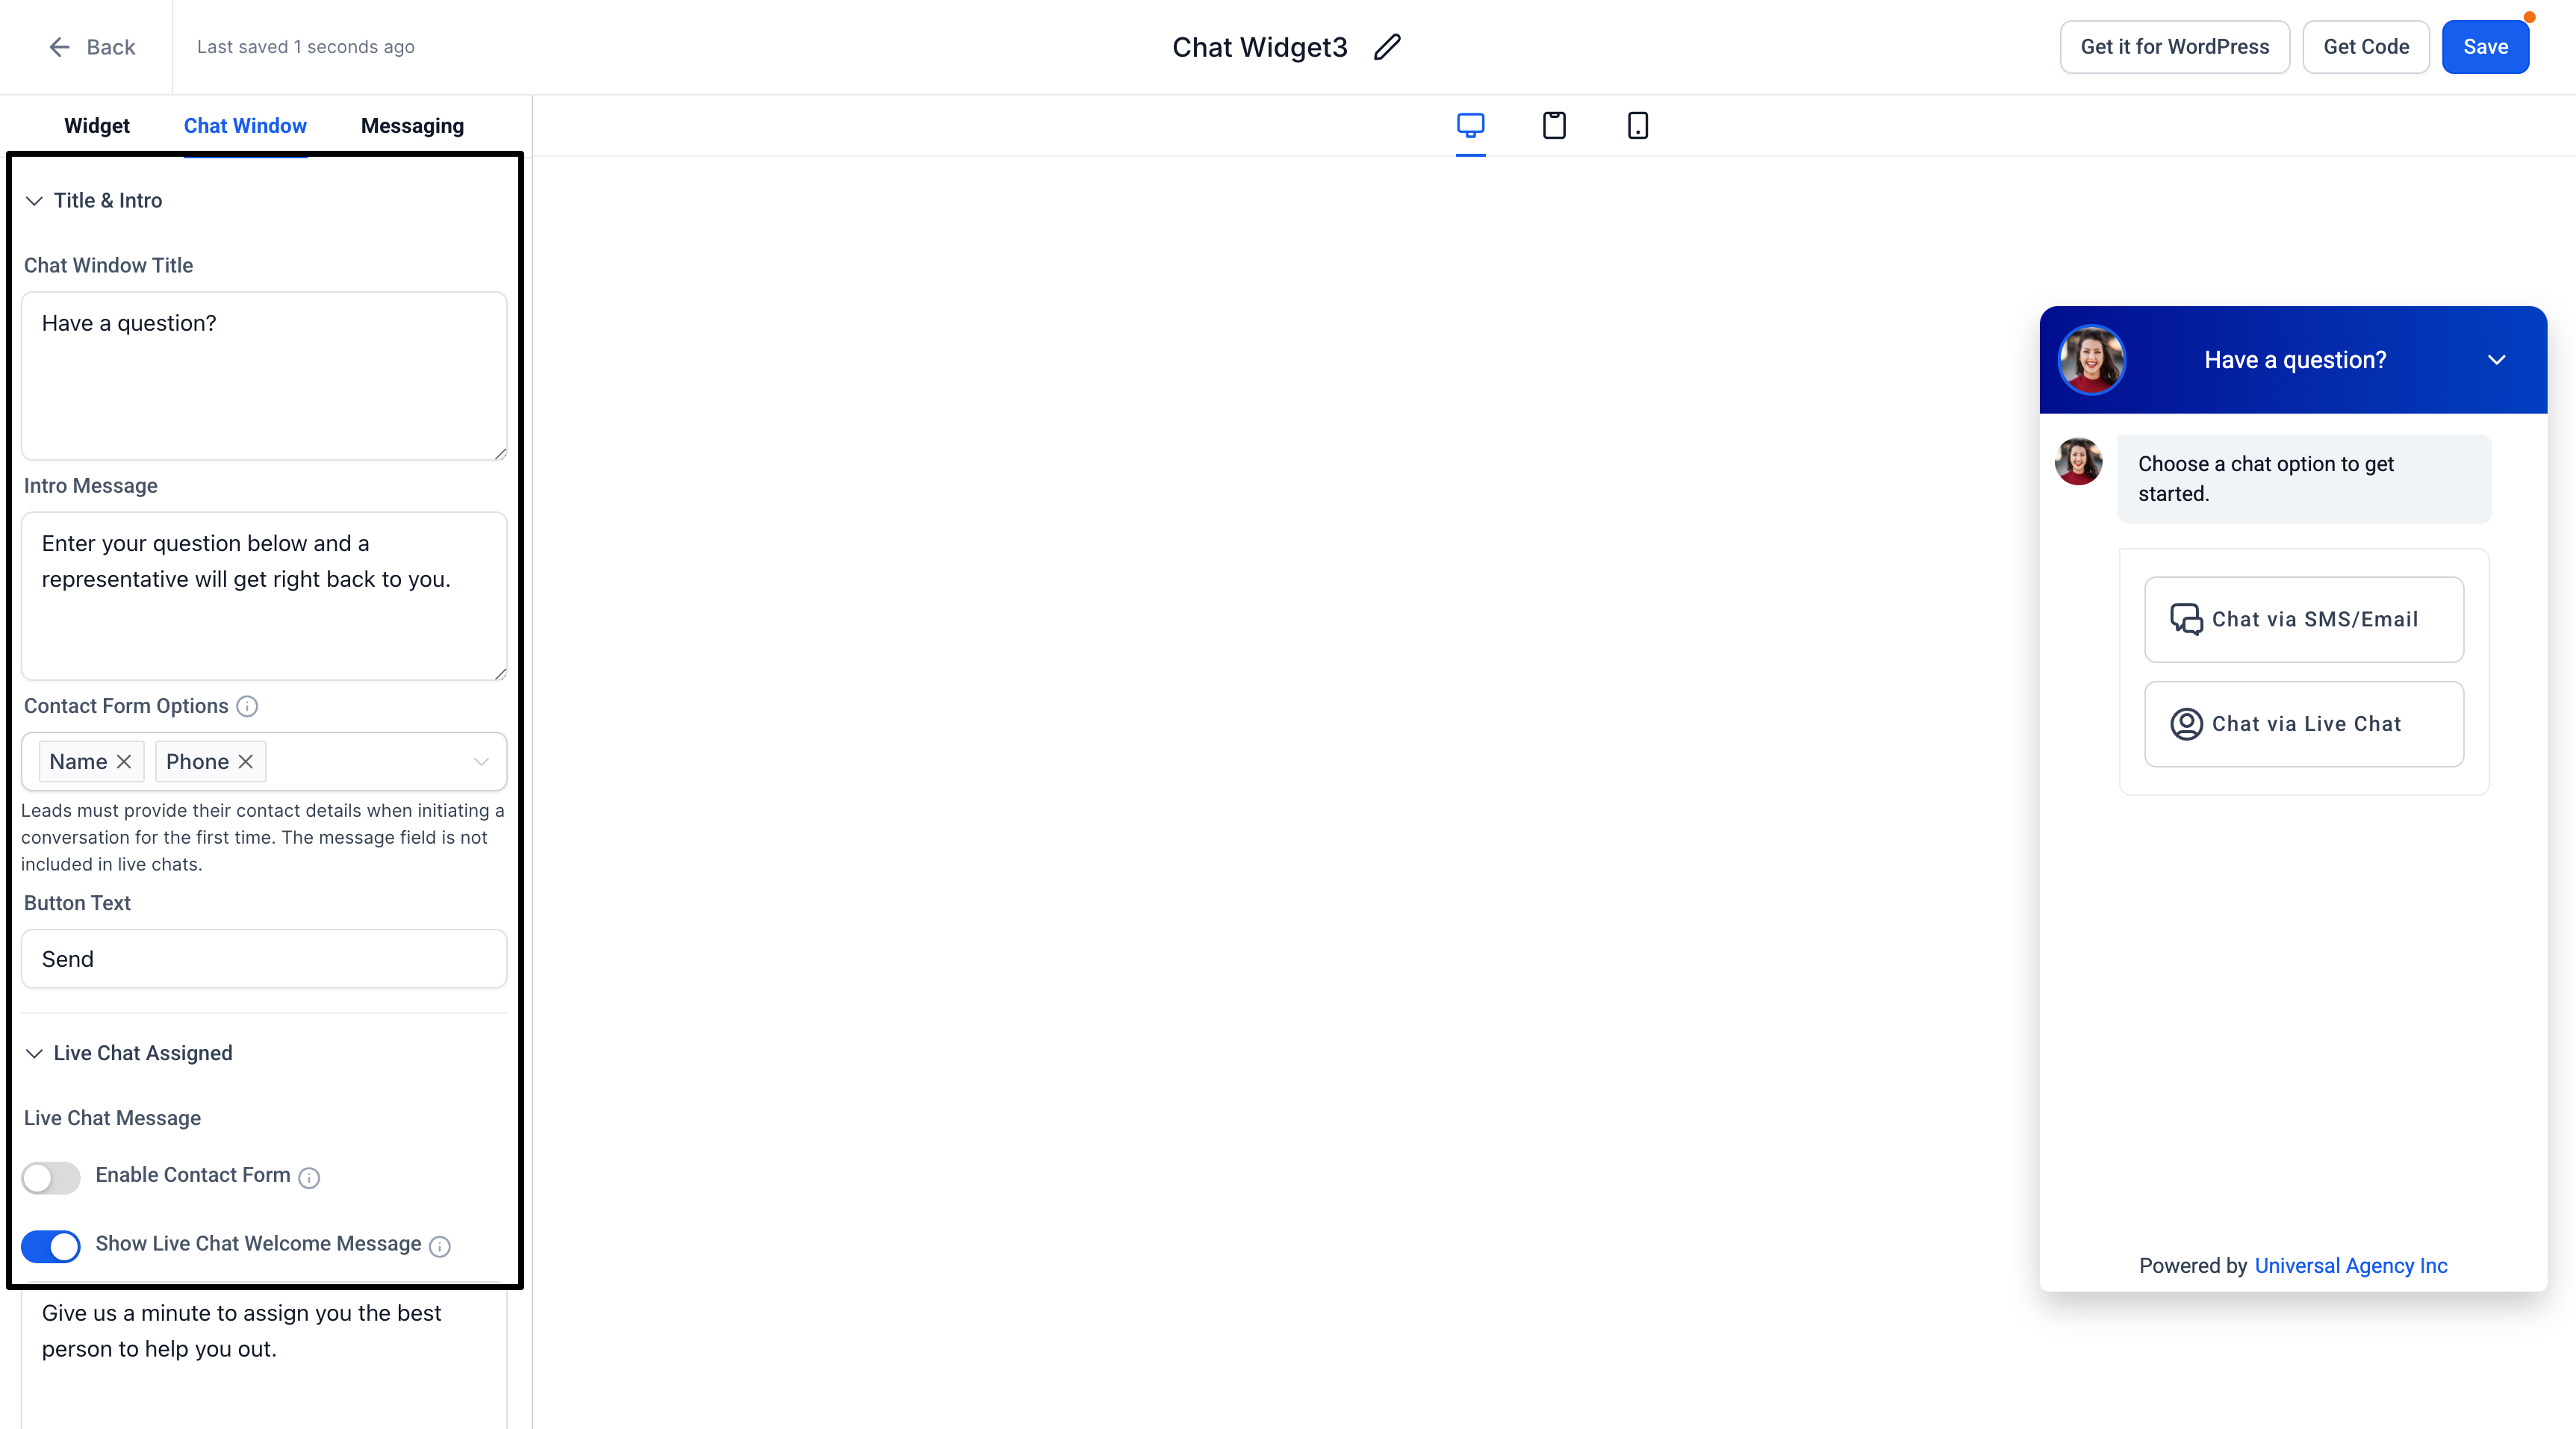
- Email Chat: Add messages and customize the form fields to greet your users.
- WhatsApp: If enabled, confirm your WhatsApp number and default greeting message.
- Live Chat:Set your display name, greeting message, and offline behavior (if any).
- Initial Message:Personalize the message that appears when visitors open the widget (e.g., “Hello! How can we help you today?”).
Live Chat within the All-In-One chat also supports two editable prompts in the Chat Window tab: the Contact Form Intro Message and the Contact Form System Message. Leaving either field blank skips the prompt and opens the form. Click here for more information on customizing these intro messages.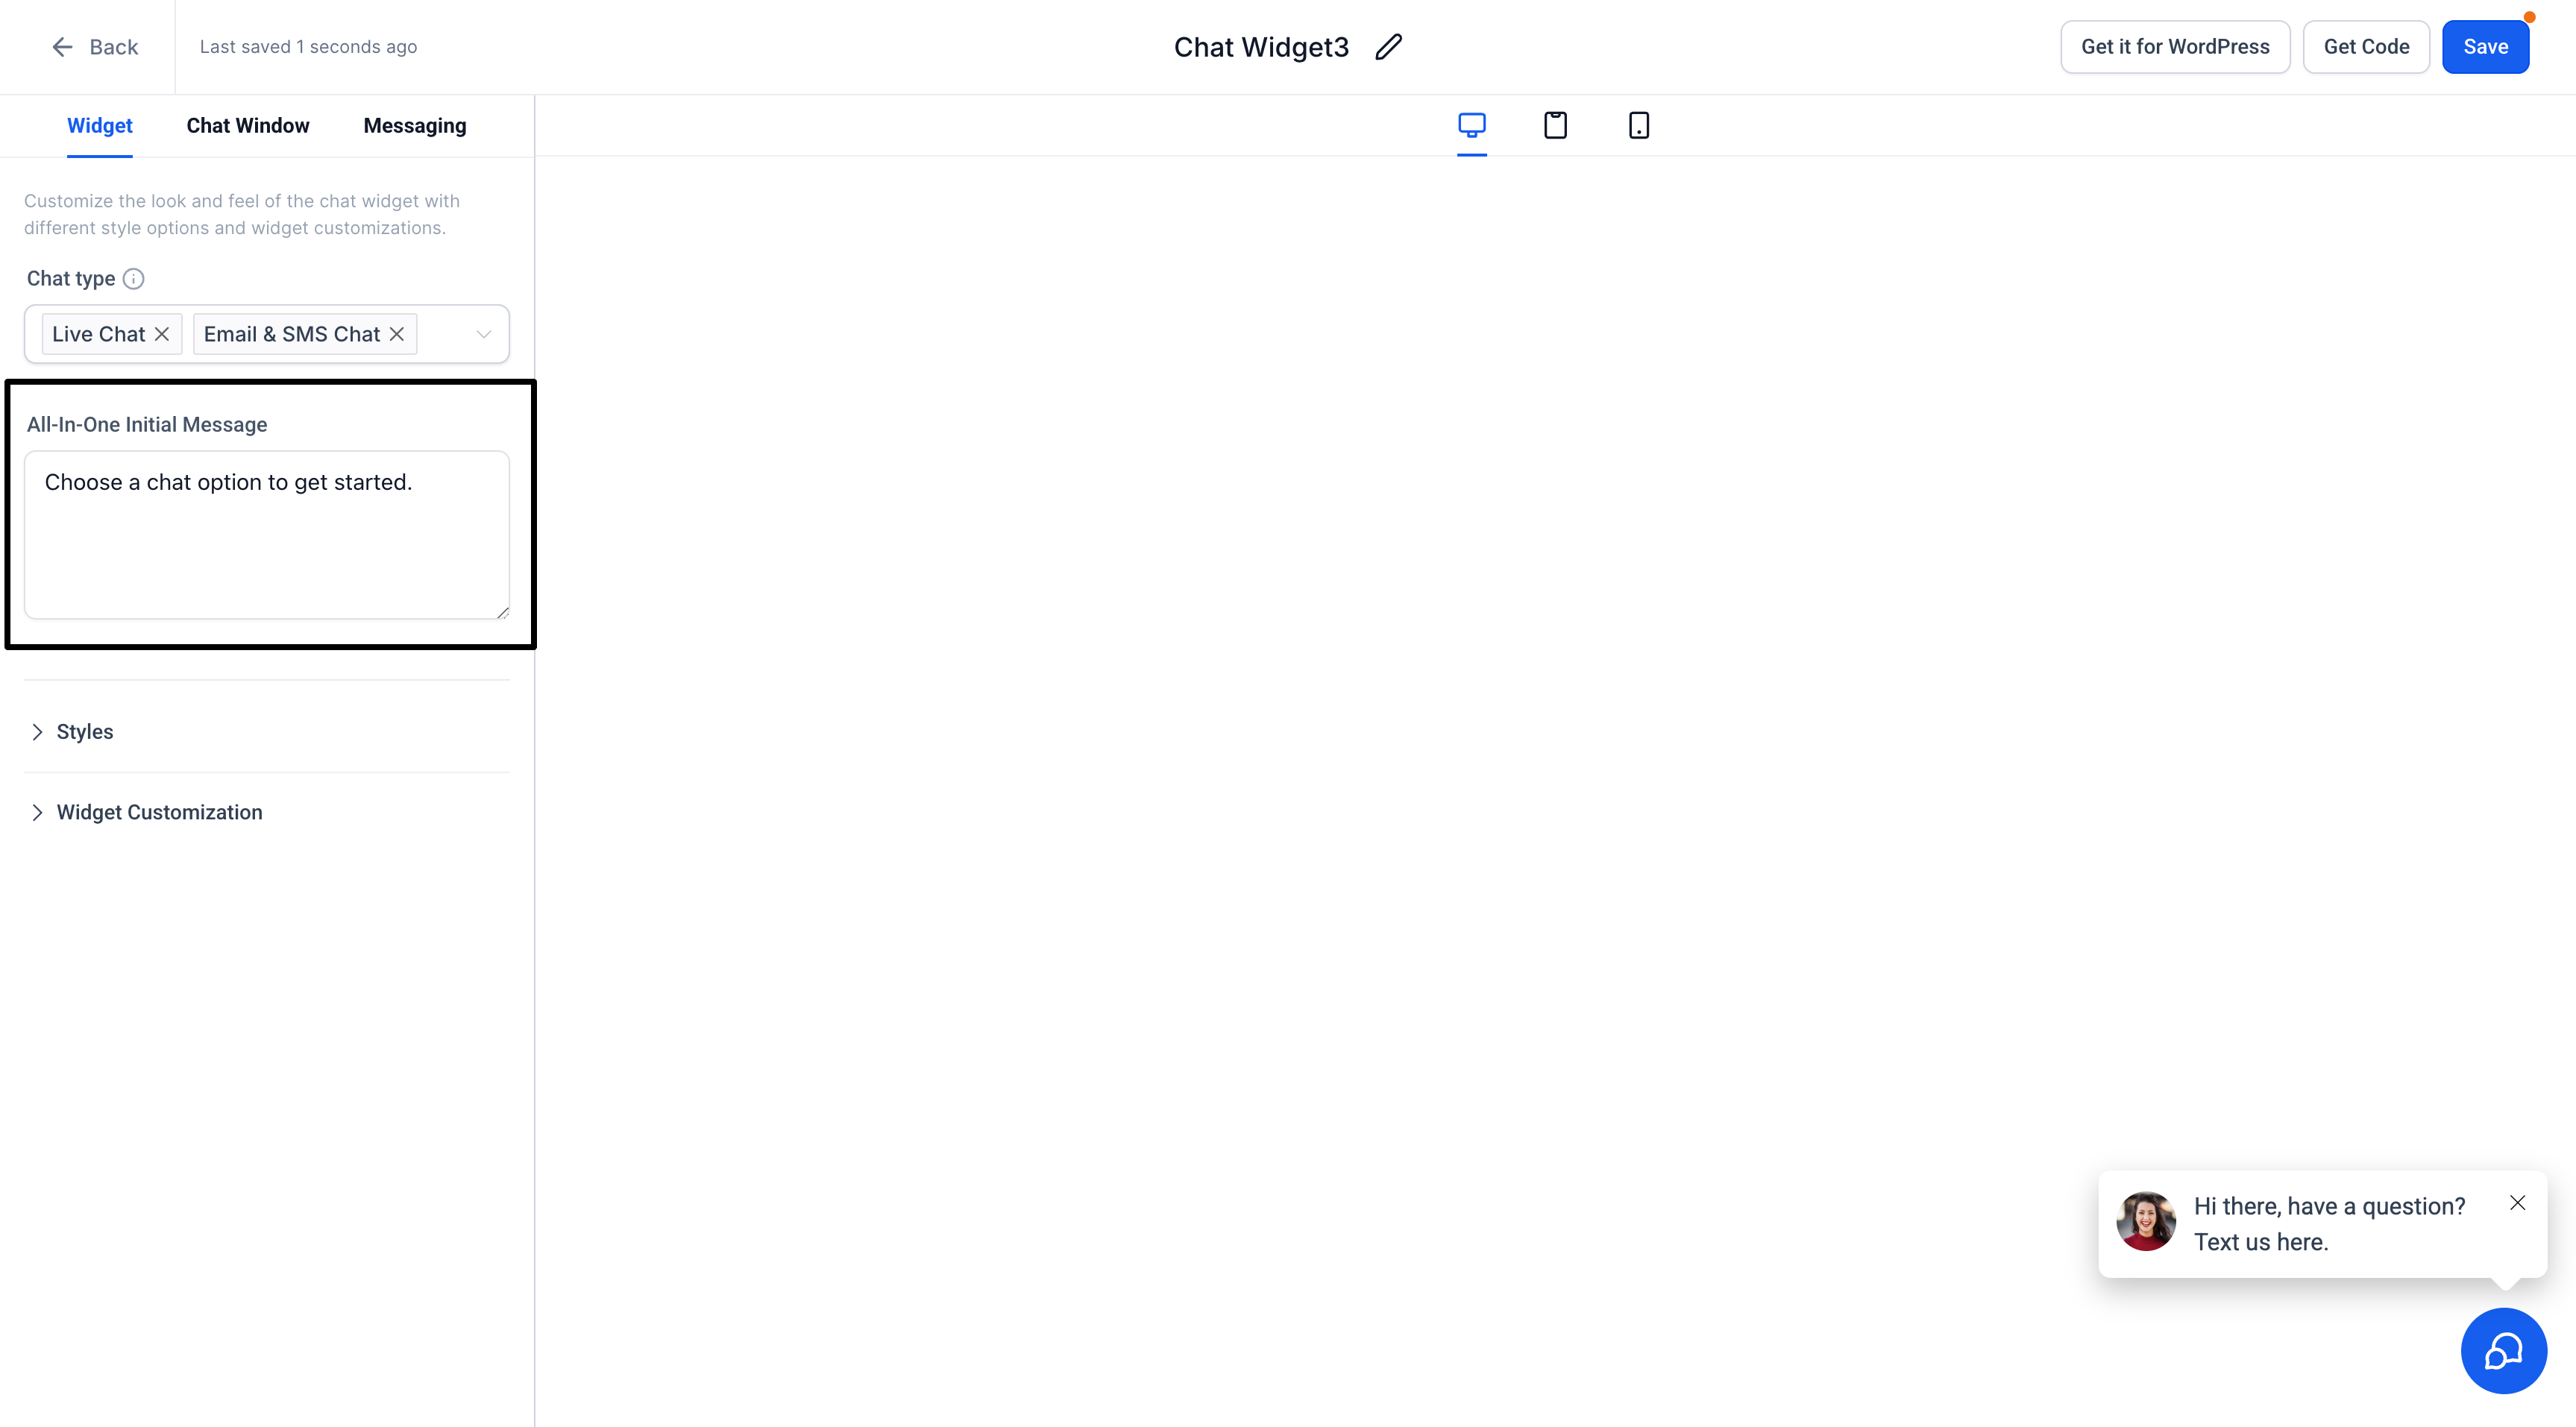
- General Settings:
- Save and Preview
- Click Save to store your changes.
- Preview the widget on your website or within Chat To Clients CRM to confirm that each channel is functioning as intended.
Using the All-in-One Chat Widget
- Switching Channels:
Visitors can switch between any enabled channels (for example, Live Chat, SMS/Email, WhatsApp, Facebook, Instagram, or Voice AI) using the controls in the chat header. Only the channels you selected in the Chat Type multi-select appear in the widget.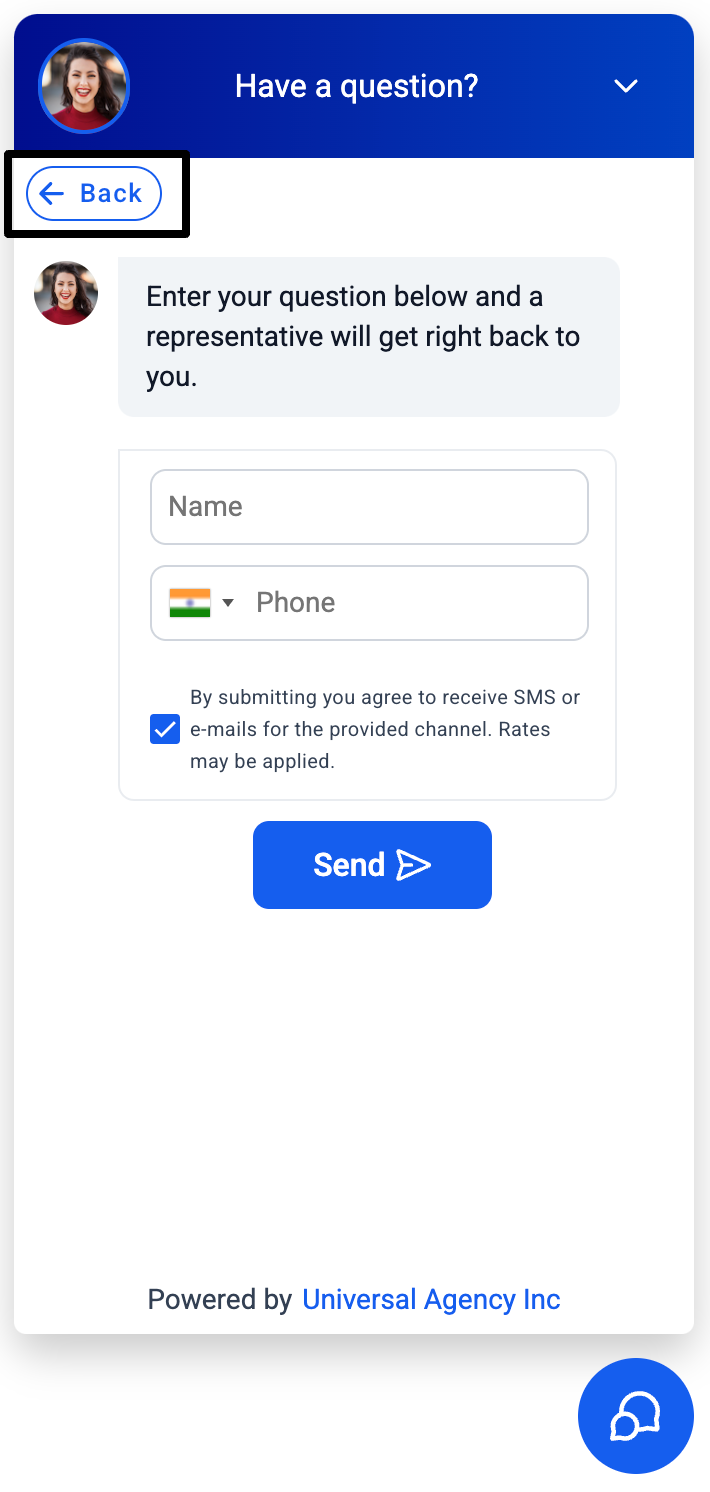
- Active Conversations:
Chat sessions remain active until manually ended by a sub-account user or closed due to inactivity based on your widget’s timeout settings. - Contact Form Fields:
For Email and WhatsApp Chat, a standard contact form field (e.g., “Message”) is available to capture user information.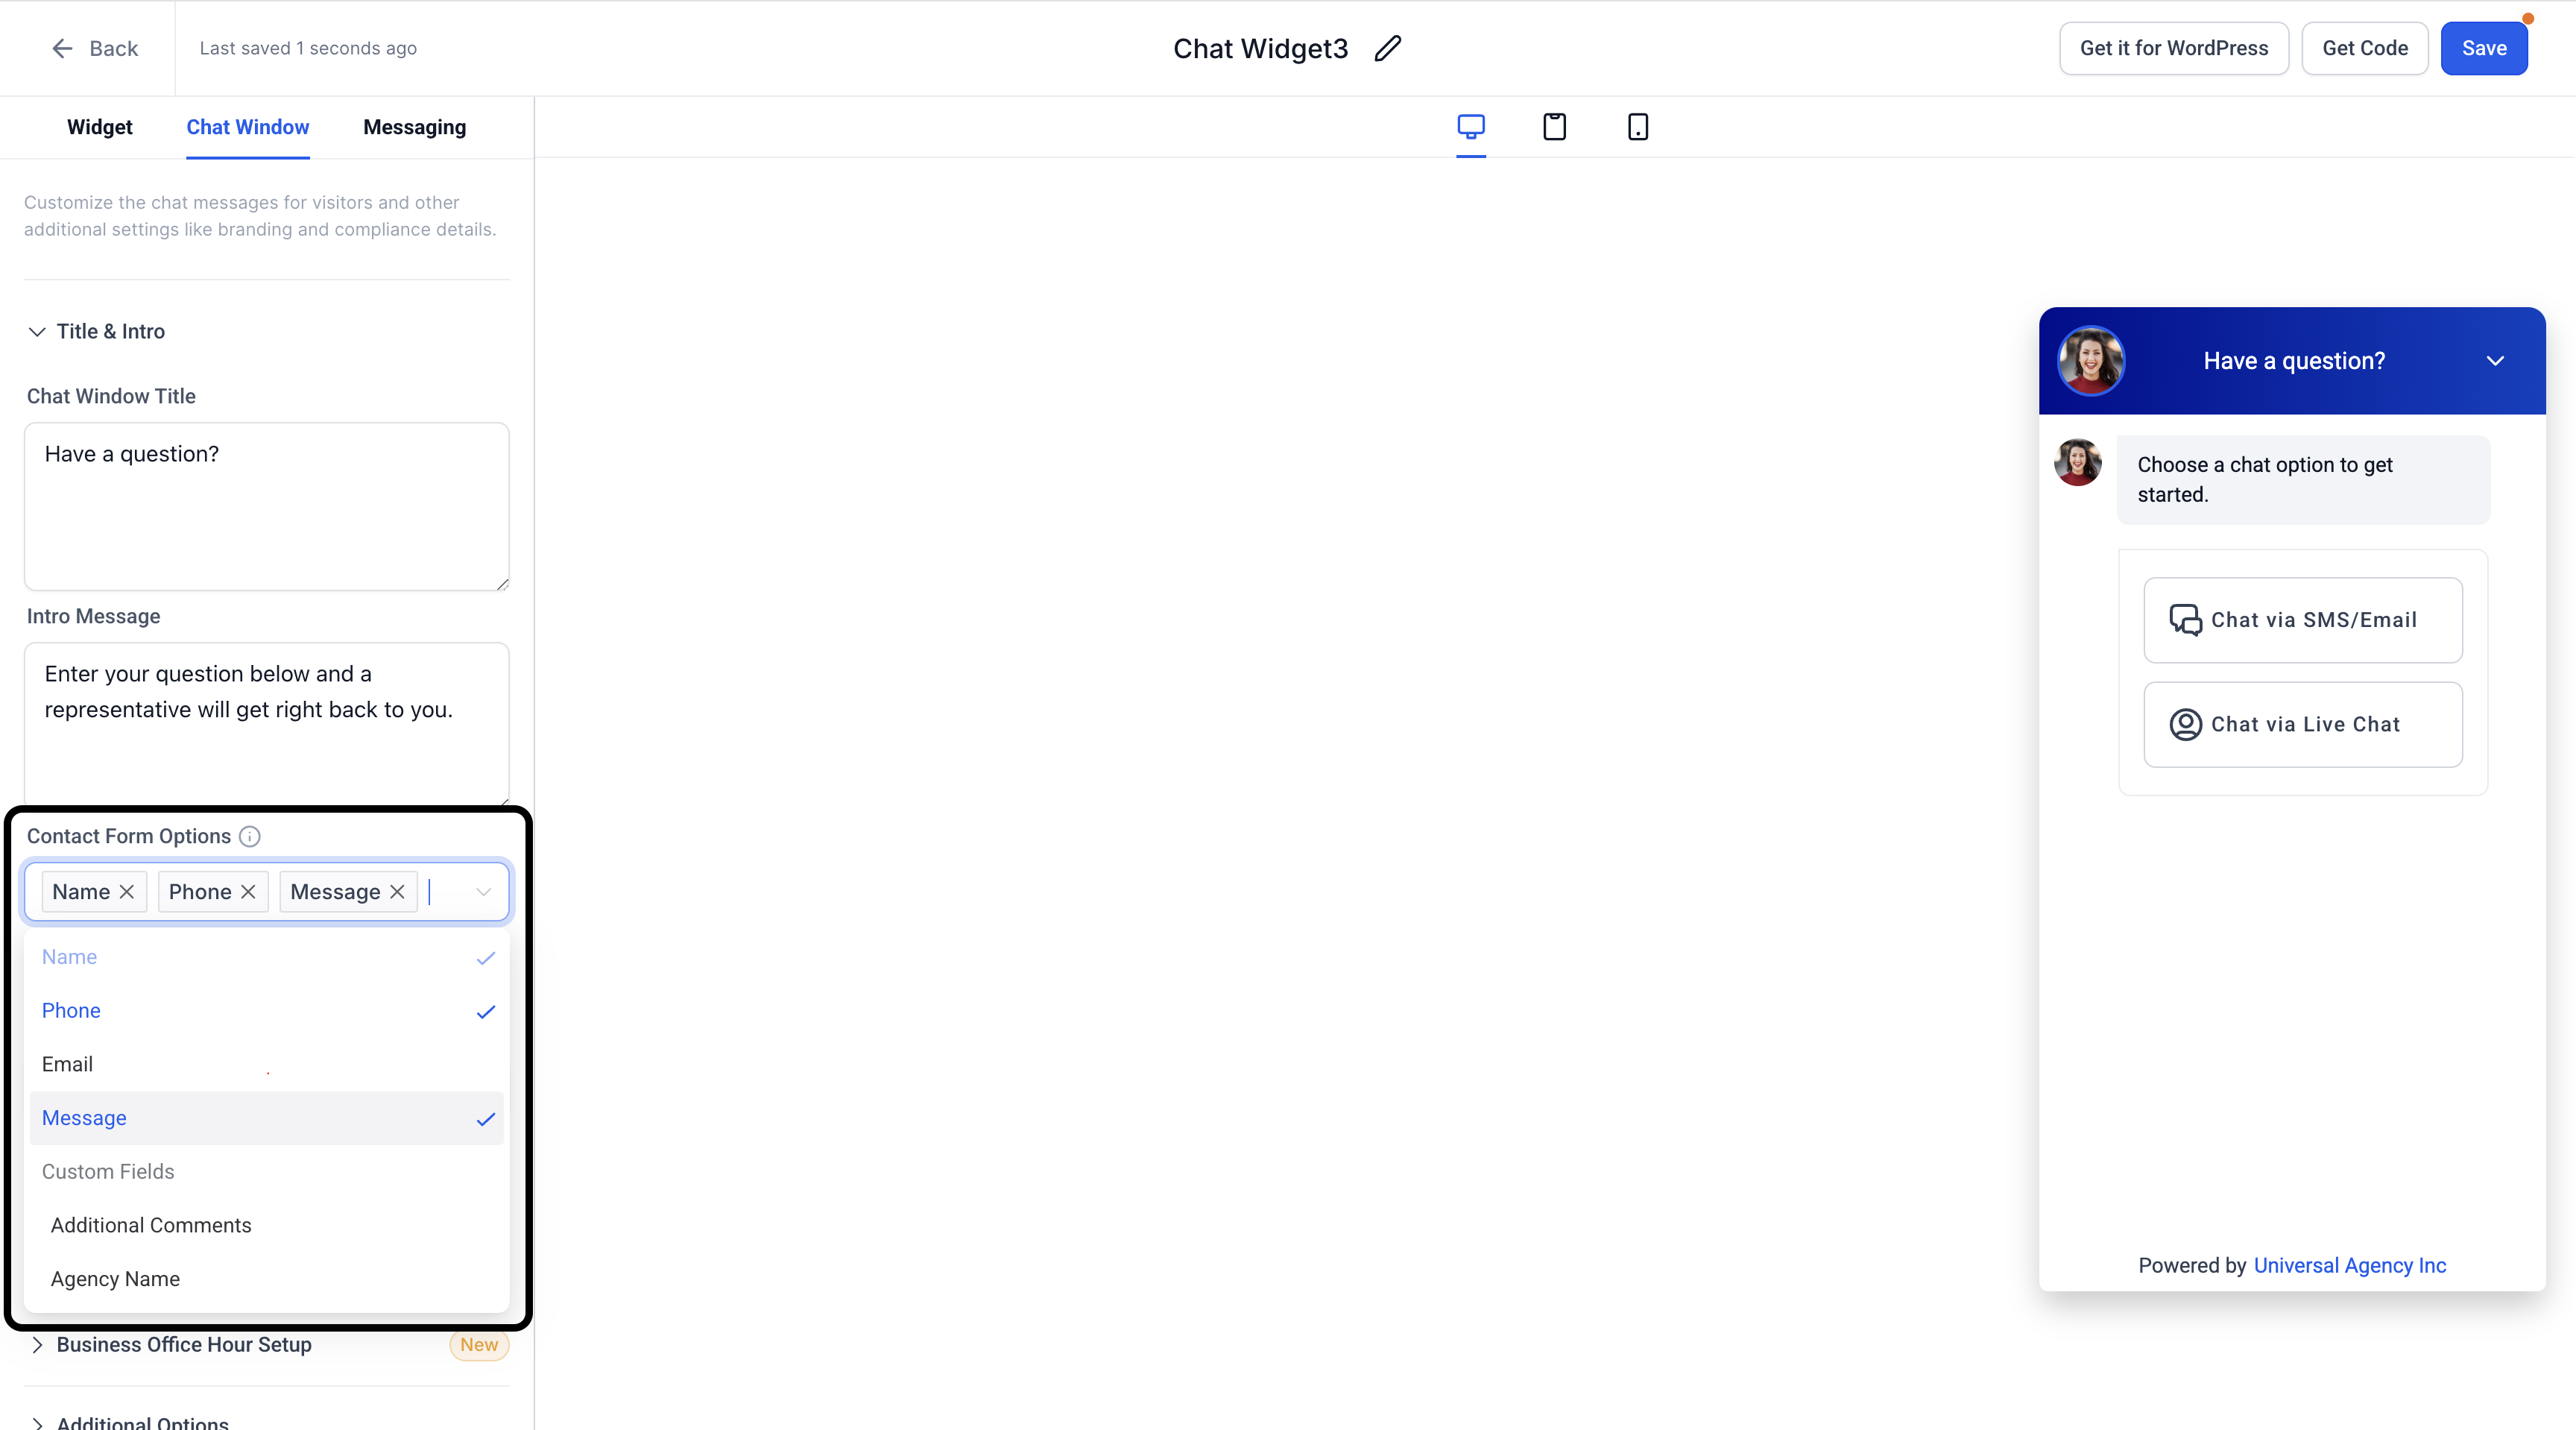
Frequently Asked Questions
Q: What if I don’t have a WhatsApp number?
You can still use the All-in-One Chat widget with just Live and Email Chat. WhatsApp Chat will be hidden until a valid number is added.
Q: Can I customize the color for each channel?
The All-in-One Chat widget applies one unified color scheme across all channels to maintain a consistent brand experience.
Q: Do I need separate permissions to set this up?
Typically, users with access to Sites → Chat Widget can create and configure widgets. If you don’t see the option, contact your admin.
Q: How do I end a Live Chat session?
Sub-account users can end the session from the Conversations panel in Chat To Clients CRM, or it will automatically close after the specified inactivity timeout.
Troubleshooting
Widget Not Showing Up: Ensure you’ve embedded the widget code on your website correctly. You can find this code under Sites → Chat Widget → Install Code.
- WhatsApp Not Available: Confirm you have an active WhatsApp number. If it’s still not visible, double-check your WhatsApp integration settings.
- Email Not Sending: Make sure your email address is verified and properly set up in your account settings.