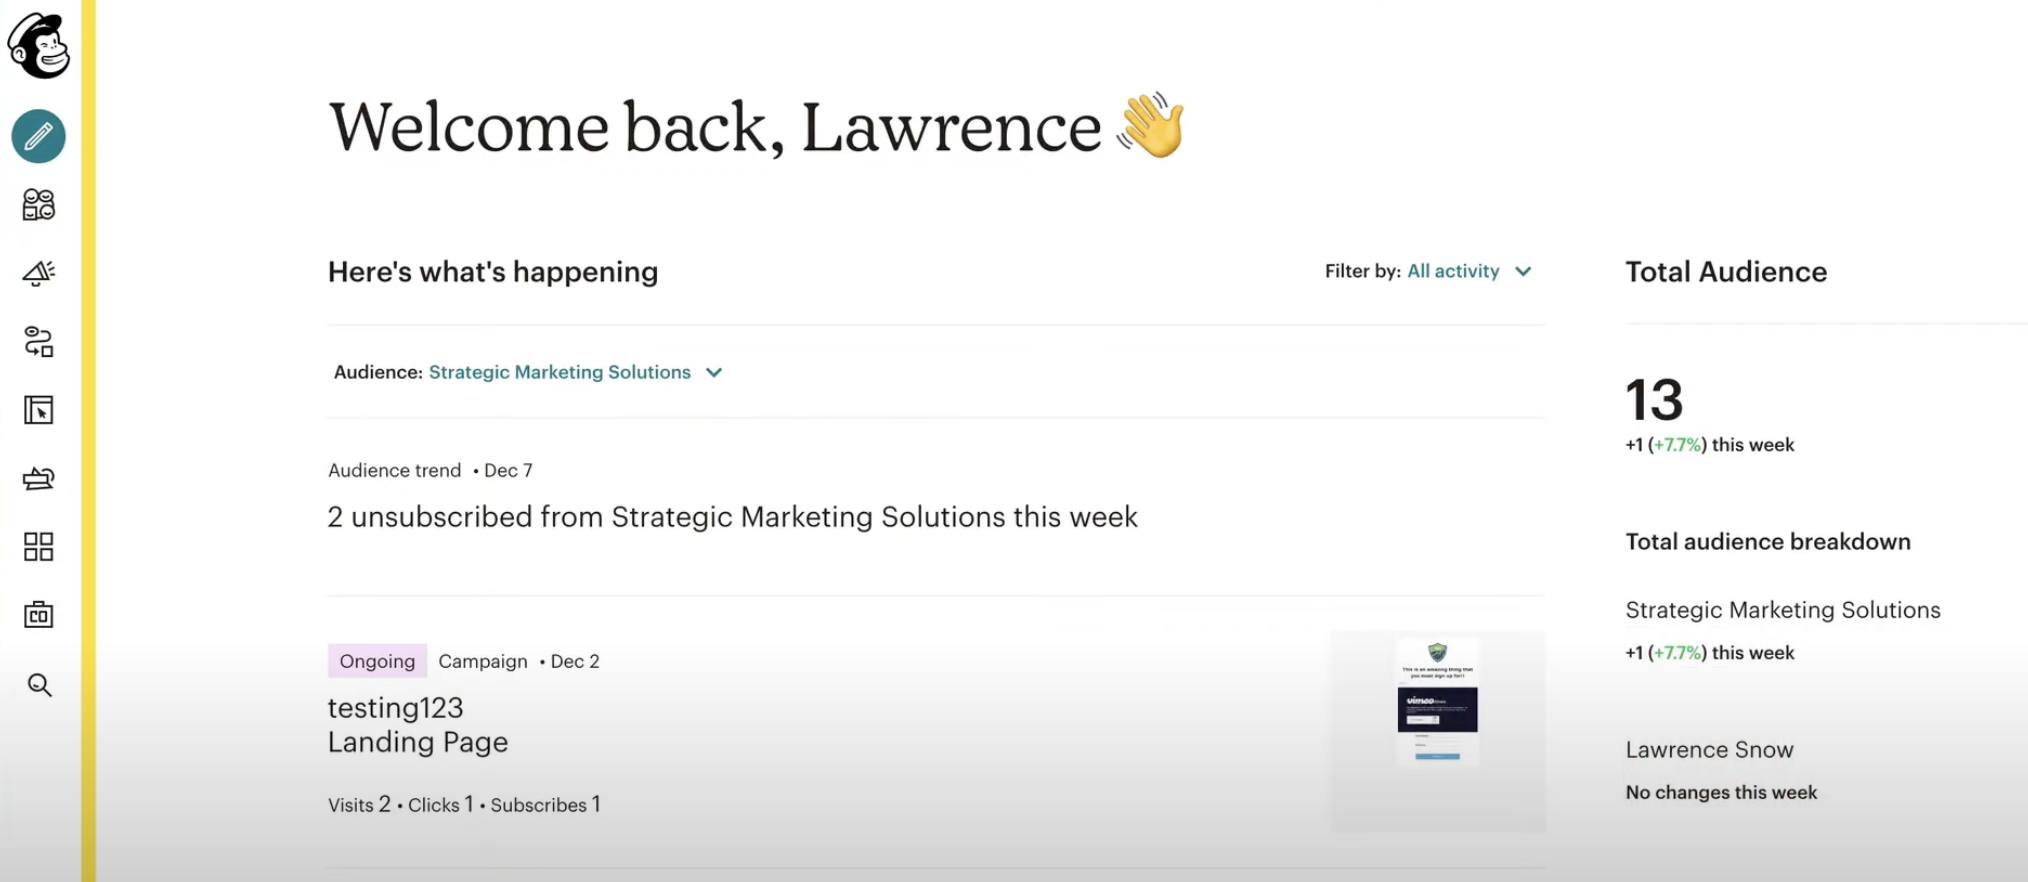
MailChimp to Chat To Clients CRM (Migration Guide)
This comprehensive guide outlines the process for migrating from Mailchimp to Chat To Clients CRM, focusing on transferring email campaigns, contact lists, forms, and automation workflows. The objective is to ensure a smooth transition, leveraging Chat To Clients CRM’s comprehensive CRM and marketing automation capabilities.
TABLE OF CONTENTS
- Preparation for Migration
- Migrate Contacts, Campaigns and Automations
- Migrate Forms and Landing Pages
- Email Campaign and Automation Migration
- Setup Integrations
- Final Checks and Team Training
- Decommissioning Mailchimp
Preparation for Migration
Step 1: Review Current Mailchimp Setup
- Identify Key Assets: List all audiences, email campaigns, automation workflows, and forms that need to be migrated.
- Document Design and Content: Take screenshots or notes of the design, content, and settings of each email and form to replicate them in Chat To Clients CRM.
- Evaluate Data Volume: Assess the number of contacts and campaigns to be migrated.
Step 2: Define Migration Objectives
- Set Clear Goals: Identify the reasons for migrating to Chat To Clients CRM, such as integrated CRM features, enhanced automation, or cost efficiency.
- Prioritize Critical Features: Focus on migrating the most critical features first to minimize disruptions.
Step 3: Prepare Backup
- Export Data from Mailchimp: Export all relevant data, including contact lists, email campaigns, and automation workflows.
- Backup Data: Ensure all exported data is securely backed up before starting the migration process.
Migrate Contacts, Campaigns and Automations
Step 1: Export Data from Mailchimp
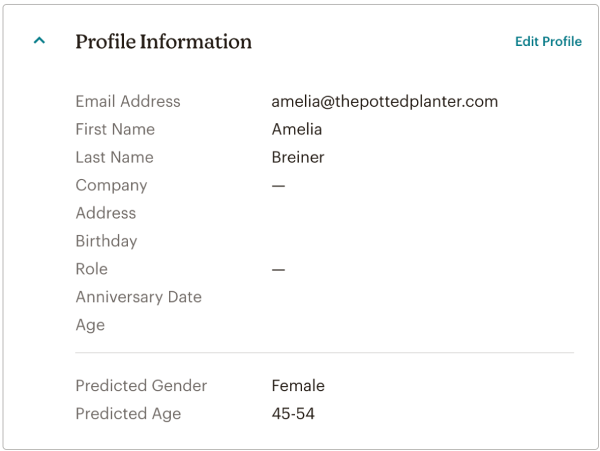
- Export Contacts: Navigate to Audience > All contacts in Mailchimp. Export your audience data by selecting the relevant contacts and downloading them as CSV files.
- Export Email Campaigns: Access Campaigns > All Campaigns and export any reusable content or HTML templates.
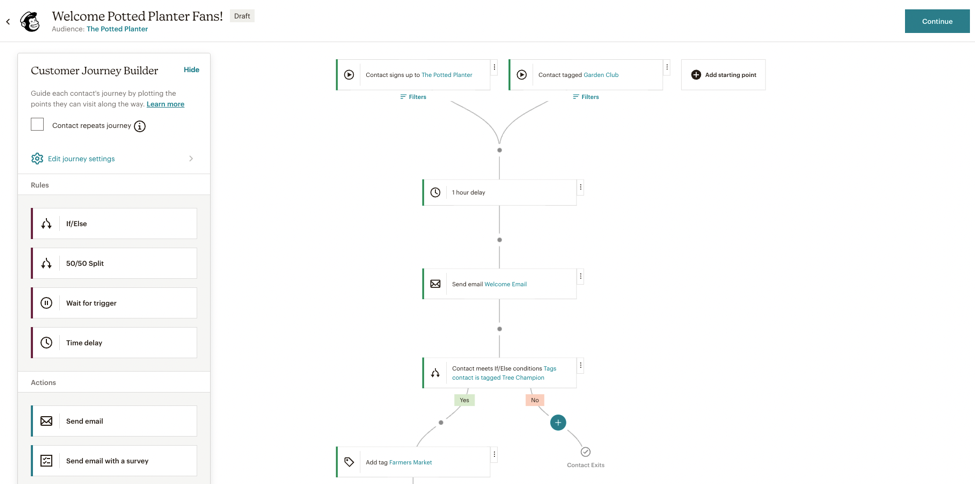
- Export Automations: Document the settings of existing automation workflows, including triggers, actions, and segments.
Step 2: Import Contacts into Chat To Clients CRM
- Import Contacts: In Chat To Clients CRM, navigate to Contacts > Import Contacts and upload the CSV file(s) exported from Mailchimp.Map any custom fields to ensure that all data is correctly imported.
Migrate Forms and Landing Pages
Step 1: Recreate Forms in Chat To Clients CRM
- Rebuild Forms: Use Chat To Clients CRM’s Sites > Forms to recreate the forms from Mailchimp. Ensure that fields, validation rules, and submission actions match those used in Mailchimp.
- Embed Forms: Embed the recreated forms on your website or landing pages using the provided embed code.
Step 2: Recreate Landing Pages in Chat To Clients CRM
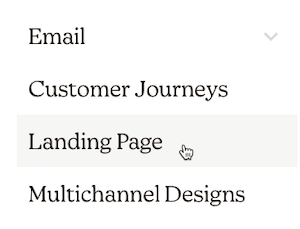
- Rebuild Landing Pages: Navigate to Sites > Funnels in Chat To Clients CRM to recreate the landing pages you had in Mailchimp. Use Chat To Clients CRM’s templates or start from scratch to ensure the design matches your original pages.
- Publish Landing Pages: Connect a custom domain if needed, and publish the landing pages to make them live.
Email Campaign and Automation Migration
Step 3: Recreate Email Campaigns in Chat To Clients CRM
- Choose a Template: In Chat To Clients CRM, navigate to Marketing > Emails > Templates to select a suitable template or start from scratch.
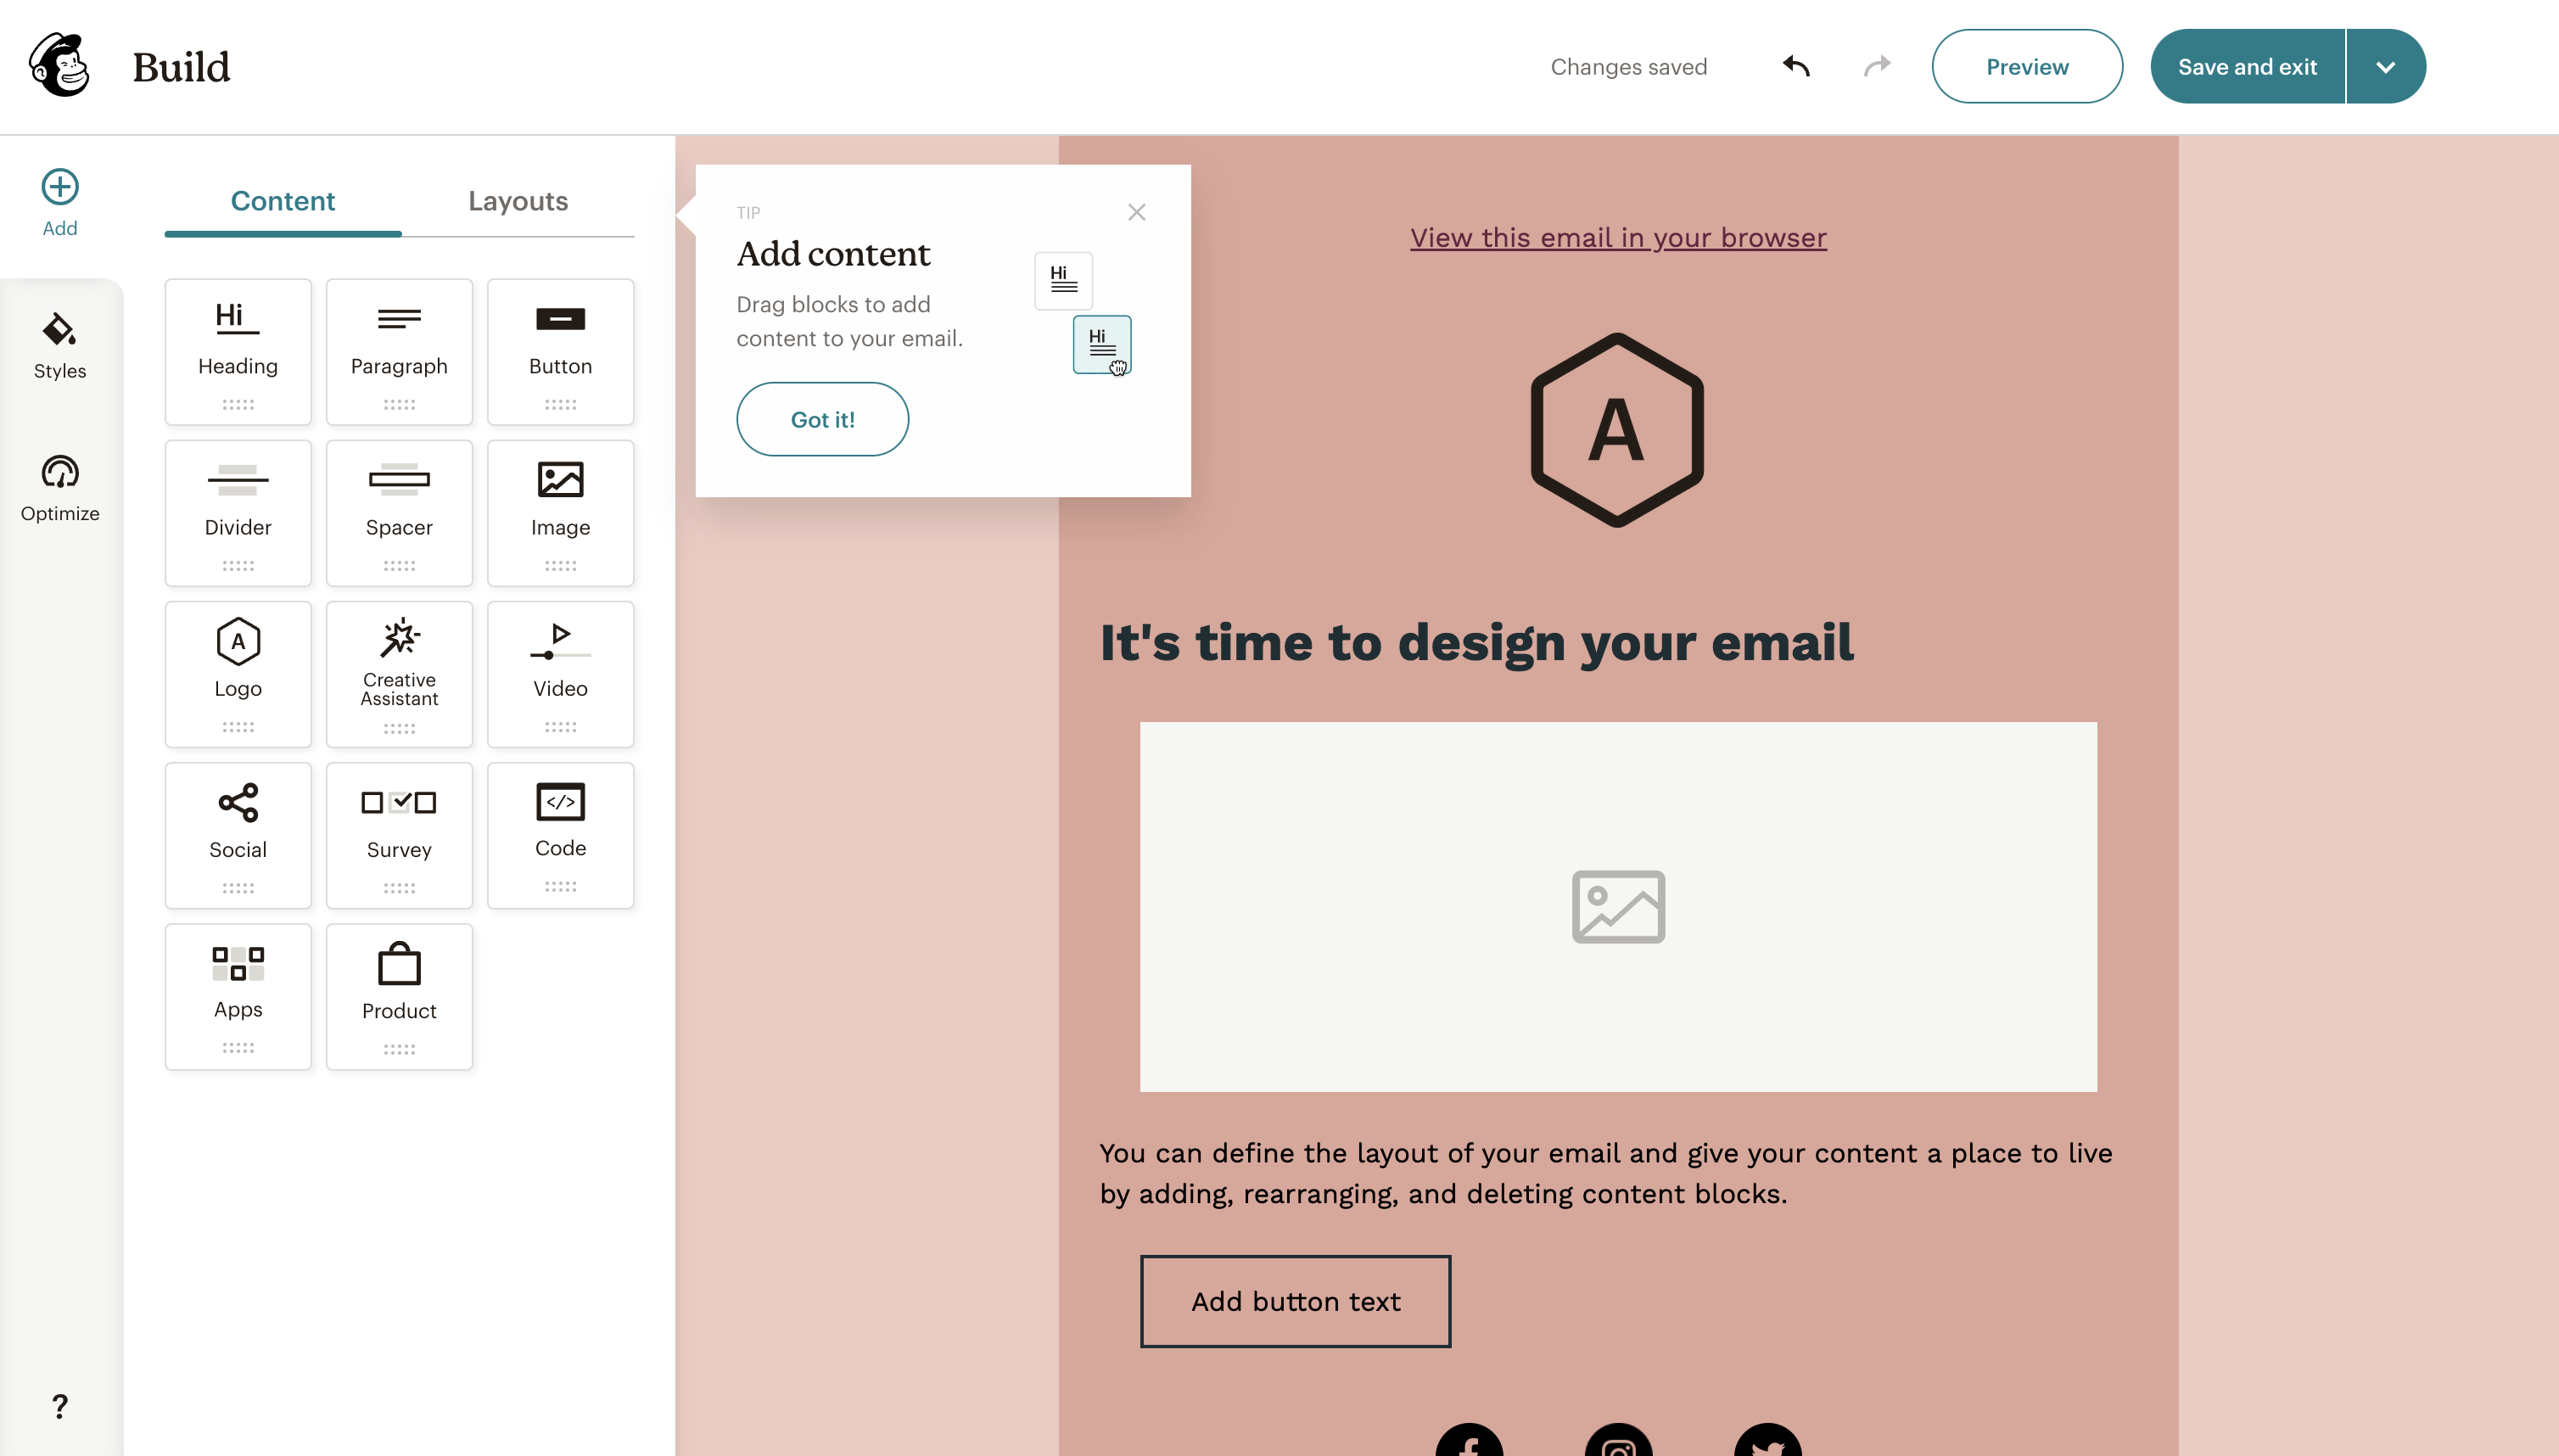
- Recreate Content: Copy the text, images, and links from your Mailchimp emails into the Chat To Clients CRM email builder. Ensure that the layout and design elements match the original Mailchimp campaigns.
- Set Up Unsubscribe Links: Use Chat To Clients CRM’s built-in unsubscribe merge tags to comply with email regulations.
Step 4: Recreate Automations in Chat To Clients CRM
- Rebuild Automation Workflows: Navigate to Automations > Workflows in Chat To Clients CRM to recreate your Mailchimp automations. Set up triggers, actions, and conditions to match the original Mailchimp workflows.
- Use Pre-Built Recipes: Leverage Chat To Clients CRM’s workflow recipes if they match any of your existing Mailchimp automations to save time.
Setup Integrations
Step 1: Reconnect Integrations in Chat To Clients CRM
- Re-establish Email Integrations: Navigate to Settings > Integrations in Chat To Clients CRM and reconnect any necessary third-party services (e.g., Zapier, social media platforms).
- Set Up Payment Processing (if applicable): If you were using e-commerce features in Mailchimp, set up payment gateways in Chat To Clients CRM under Settings > Payments.
Step 2: Set Up Analytics
- Enable Tracking: Use Chat To Clients CRM’s built-in analytics to monitor the performance of your email campaigns and landing pages.
- Implement Third-Party Analytics (if needed): Re-implement any tracking codes (e.g., Google Analytics) that were used in Mailchimp by navigating to Settings > Tracking.
Final Checks and Team Training
Step 1: Perform Final Data Validation
- Cross-Check Data: Verify that all contacts, email campaigns, and automation workflows have been successfully migrated and are functioning correctly in Chat To Clients CRM.
- Test Email Campaigns: Ensure that emails are being sent correctly, including all personalization tags and unsubscribe links.
Step 2: Train Team Members
- Chat To Clients CRM Training: Provide training to your team on how to use Chat To Clients CRM’s email builder, workflows, and CRM features.
- Leverage Support Resources: Encourage your team to use Chat To Clients CRM’s support and documentation for ongoing learning and troubleshooting.
Step 3: Monitor and Optimize
- Monitor Performance: Regularly check the performance of your campaigns and workflows in Chat To Clients CRM, making any necessary adjustments.
- Continuous Improvement: Stay updated with Chat To Clients CRM’s new features and updates to continually improve your setup.
Decommissioning Mailchimp
Step 1: Transition Period
- Run in Parallel: Consider running both Mailchimp and Chat To Clients CRM in parallel for a short period to ensure a smooth transition.
- Gradual Phase-Out: Gradually phase out Mailchimp as you gain confidence in Chat To Clients CRM’s capabilities.
Step 2: Cancel Mailchimp Subscription
- Final Data Backup: Ensure that all necessary data has been securely backed up before canceling your Mailchimp subscription.
- Official Cancellation: Follow Mailchimp’s process to cancel your subscription and terminate any associated services.
Step 3: Post-Migration Review
- Review Success: Evaluate the success of the migration, documenting any challenges and solutions.
- Ongoing Monitoring: Keep an eye on your Chat To Clients CRM setup post-migration to catch and resolve any issues promptly.