Keap to Chat To Clients CRM (Migration Guide)
This guide provides detailed instructions for migrating from Keap to Chat To Clients CRM, covering the transfer of contacts, custom fields, automations, landing pages, and other essential assets. The goal is to ensure a seamless transition while maximizing the functionality offered by Chat To Clients CRM.
TABLE OF CONTENTS
- Prepare for Migration
- Migrate Contacts & Custom Fields
- Migrate Pipelines and Deals
- Migrate Automations and Campaigns
- Migrate Landing Pages and Forms
- Migrate Appointments and Calendars
- Final Checks and Training
- Decommissioning Keap
Prepare for Migration
Step 1: Review Current Keap Setup
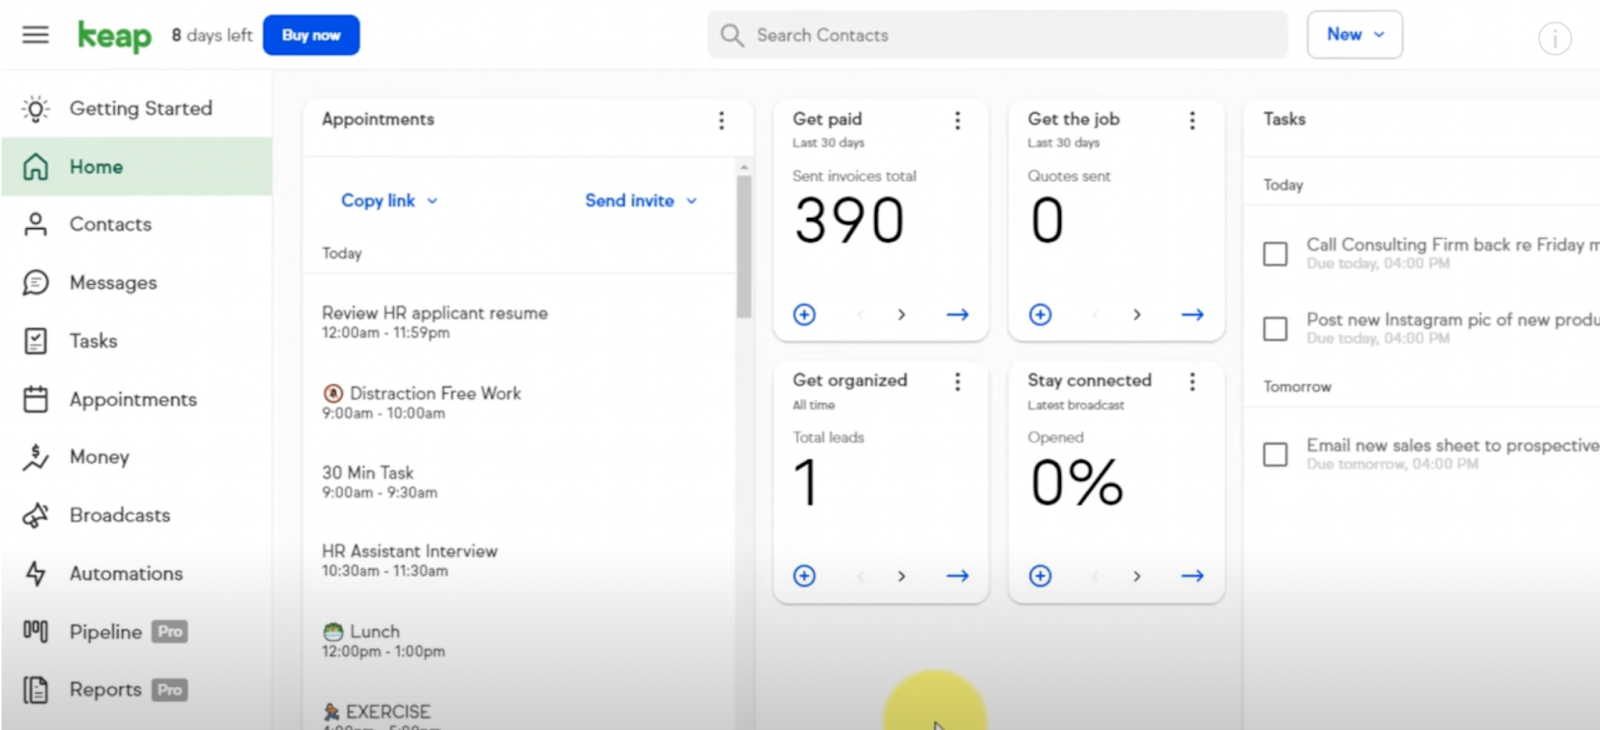
- Identify Key Assets: List all critical assets in Keap, including contacts, custom fields, pipelines, automations, and landing pages.
- Document Workflows: Note down all automation sequences, campaigns, and other workflows that are essential for ongoing operations.
- Evaluate Data Volume: Assess the amount of data (contacts, custom fields, automations) that needs to be migrated.
Step 2: Define Migration Objectives
- Set Clear Goals: Identify the key reasons for migrating to Chat To Clients CRM, such as enhanced automation capabilities, integrated CRM, or improved pricing.
- Prioritize Critical Features: Focus on migrating the most critical features first to ensure uninterrupted operations.
Step 3: Prepare Backup
- Export Data from Keap: Export all necessary data, including contact lists, custom fields, and automation sequences.
- Backup Data: Ensure all exported data is securely backed up before starting the migration process.
Migrate Contacts & Custom Fields
Step 1: Export Data from Keap
- Export Contacts:
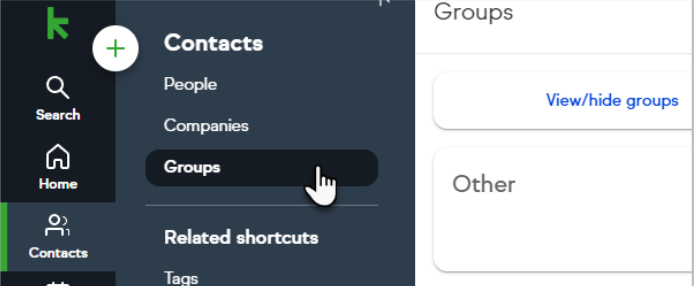
- Navigate to Contacts > People in Keap.
- Select the contacts you want to export or use the Select All option.
- Click Export and choose to download the contact data as a CSV file.
- For large exports (over 1,000 contacts), enter your email address to receive a download link from Keap.
- Export Custom Fields: Document or export all custom fields associated with contacts and companies. Note that custom fields need to be recreated manually in Chat To Clients CRM.
- Document Automation Rules: Record all automation sequences, triggers, and actions by taking screenshots or documenting them manually.
Step 2: Import Data into Chat To Clients CRM
- Import Contacts:
- In Chat To Clients CRM, go to Contacts > Import Contacts and upload the CSV file exported from Keap.
- Map the custom fields from Keap to Chat To Clients CRM during the import process.
- Recreate Custom Fields:
- Navigate to Settings > Custom Fields in Chat To Clients CRM.
- Recreate each custom field from Keap, ensuring to match the field types appropriately.
- Recreate Tags: In Chat To Clients CRM, manually create any tags used in Keap to ensure accurate contact segmentation.
Migrate Pipelines and Deals
Step 1: Review Existing Pipelines in Keap
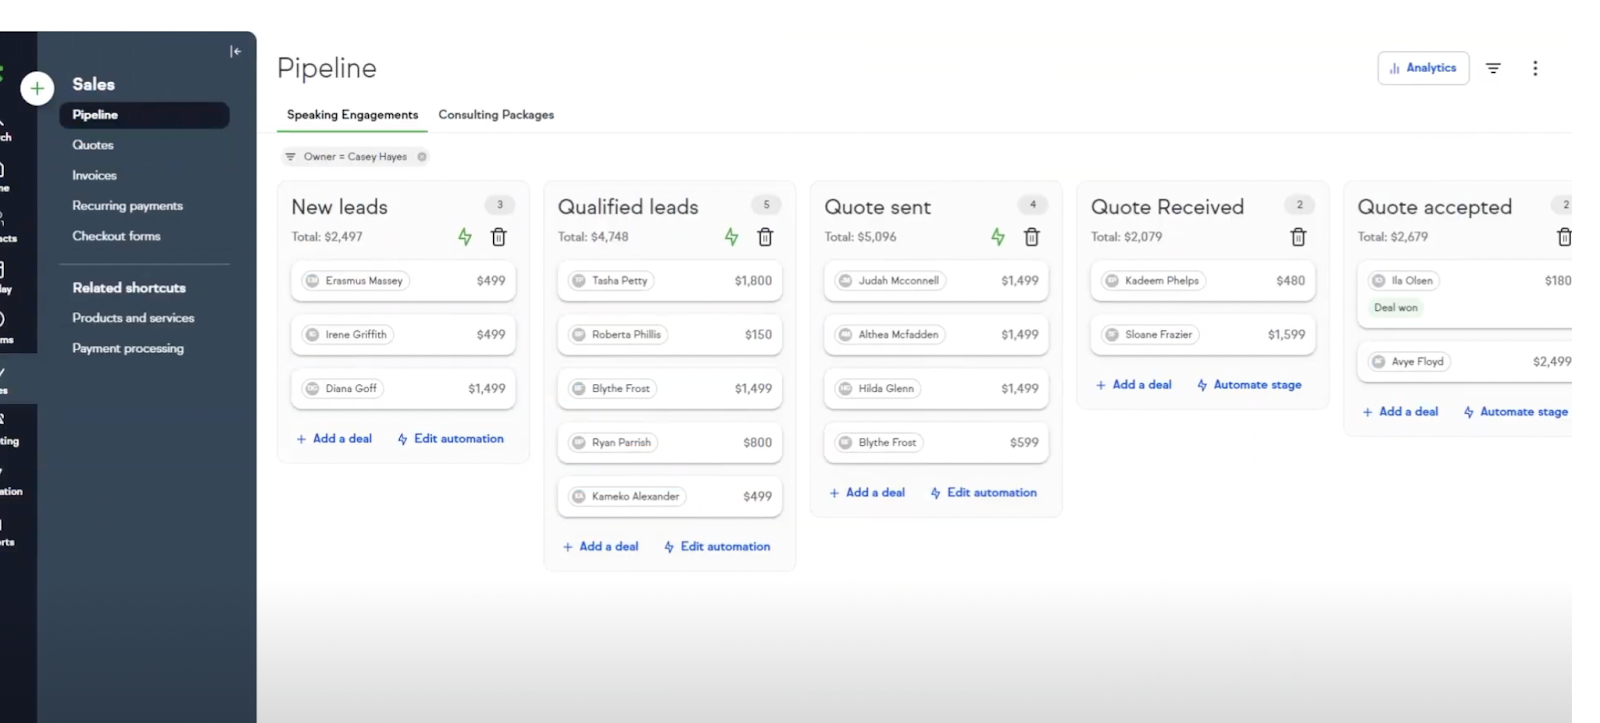
- List Active Pipelines: Identify all active pipelines in Keap, including the stages and associated deals.
- Document Deal Information: Note down all key details associated with each deal, such as deal value, stage, and associated contacts.
Step 2: Recreate Pipelines in Chat To Clients CRM
- Set Up Pipelines:
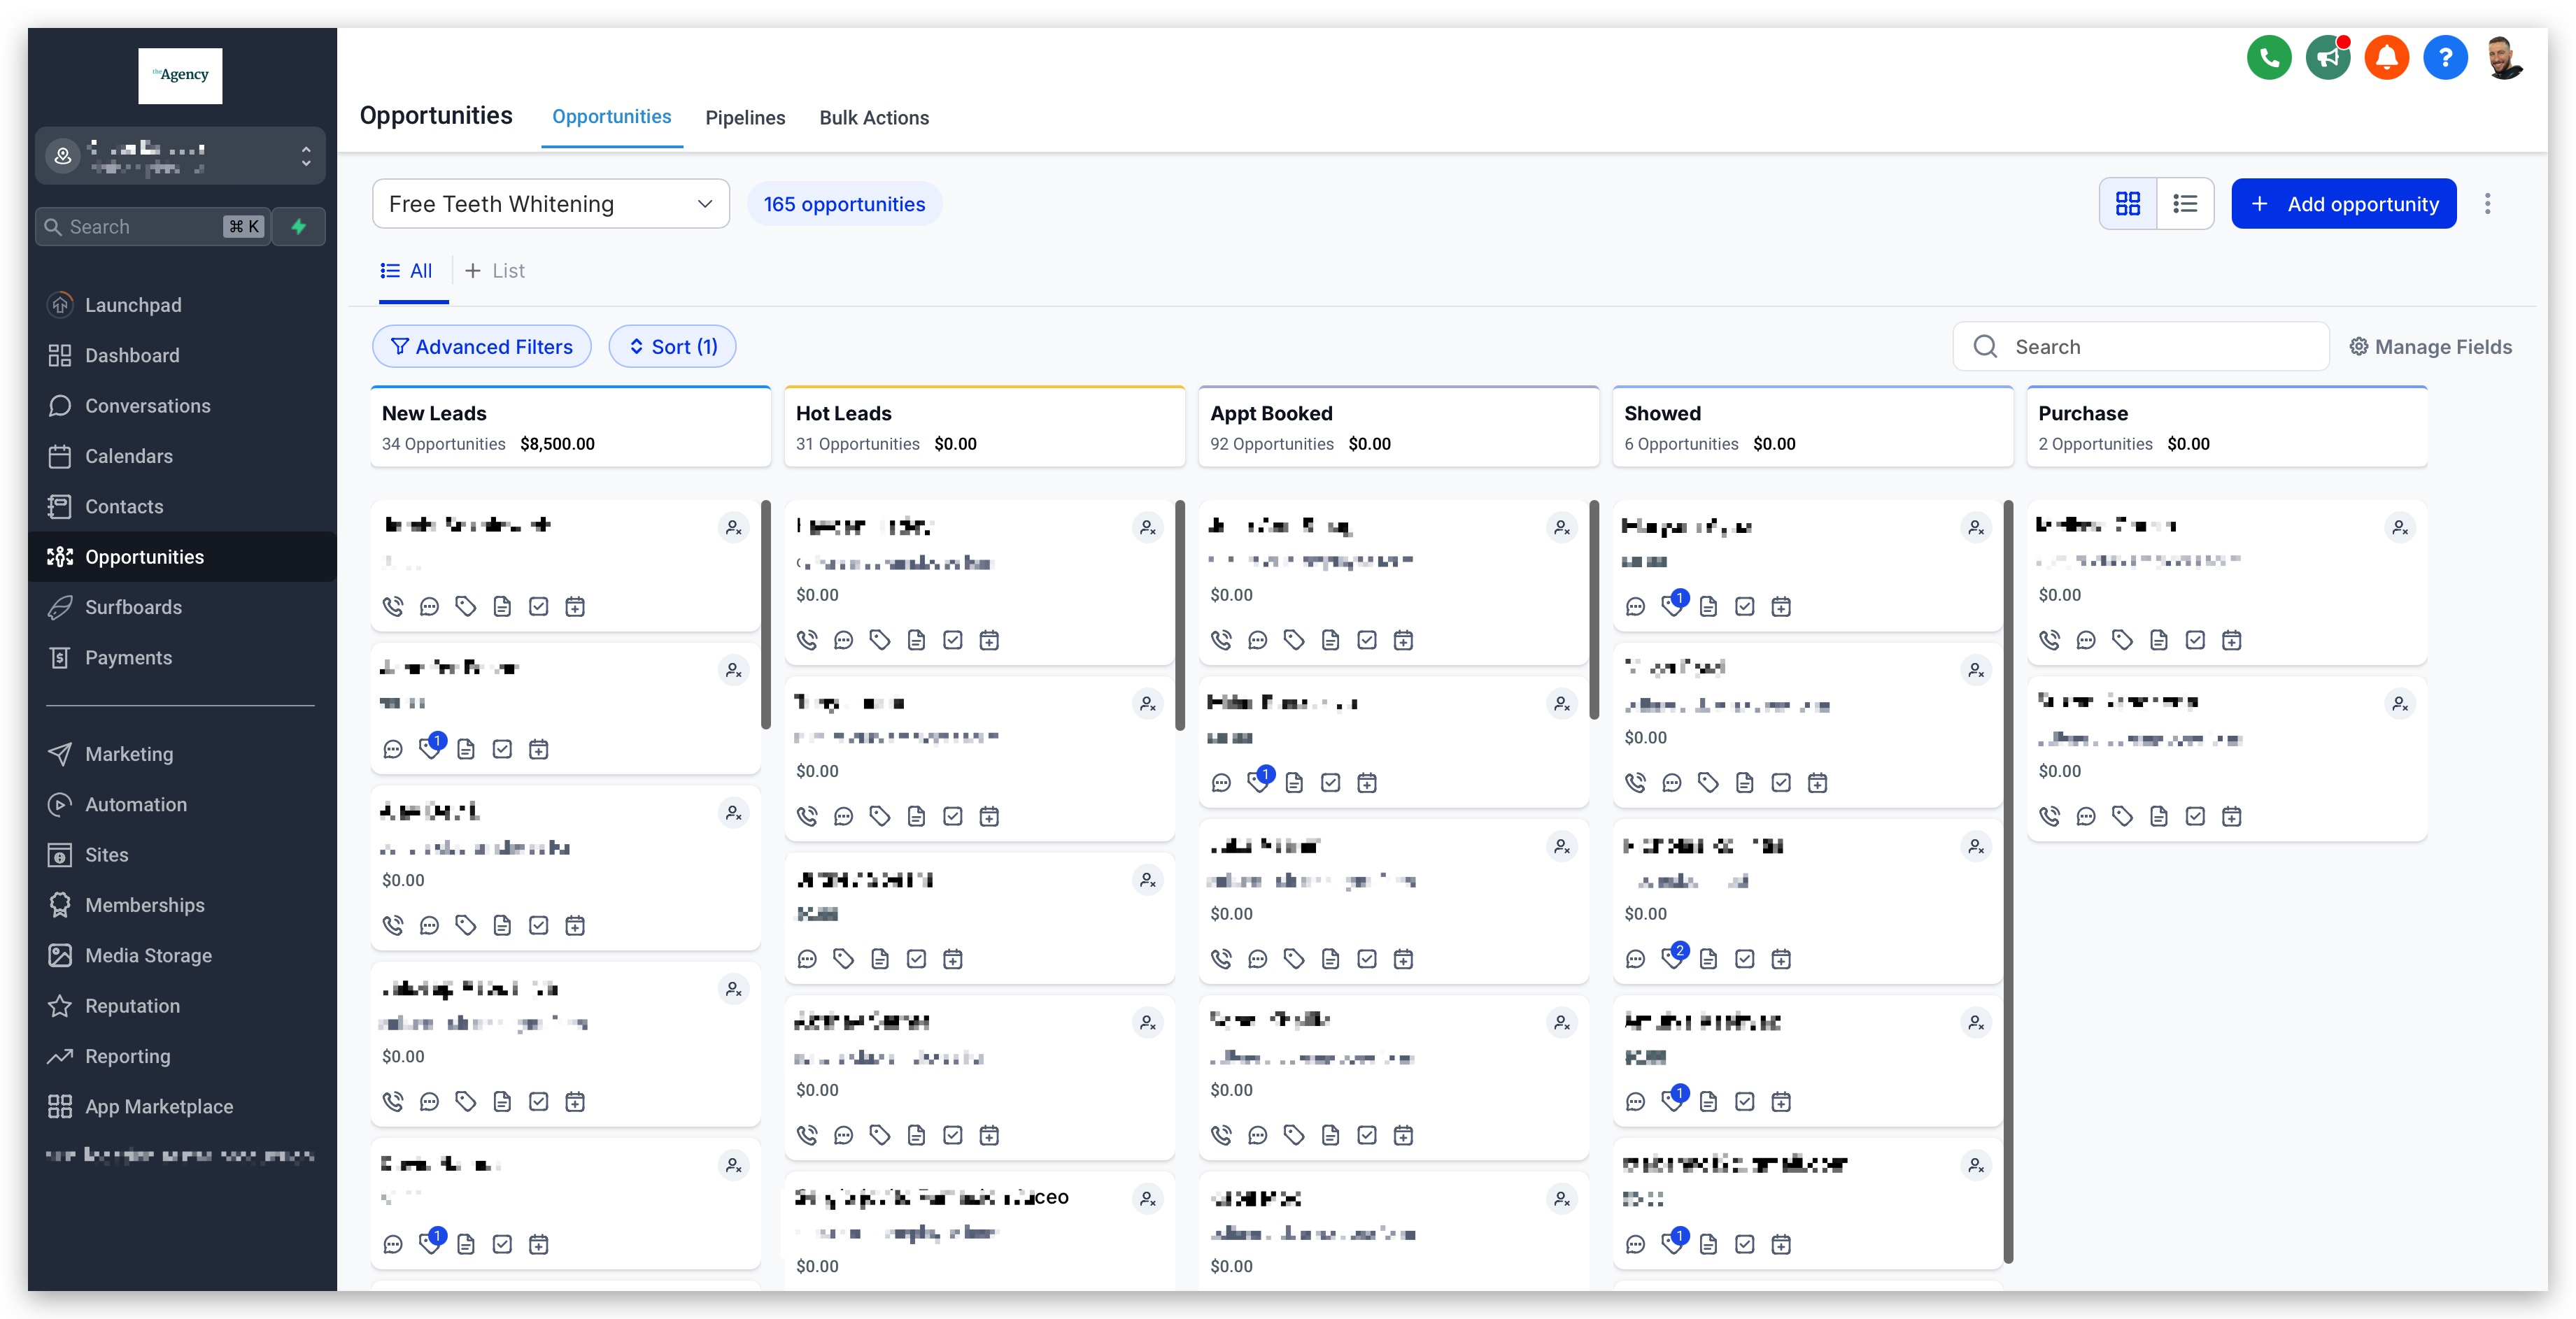
- Navigate to Opportunities > Pipelines in Chat To Clients CRM.
- Create pipelines that correspond to those in Keap, adding the same stages and settings.
- Manually Transfer Deals: Recreate each deal in Chat To Clients CRM by manually entering the deal information, ensuring to match the deal stage and contact association.
Migrate Automations and Campaigns
Step 1: Review Existing Automations in Keap
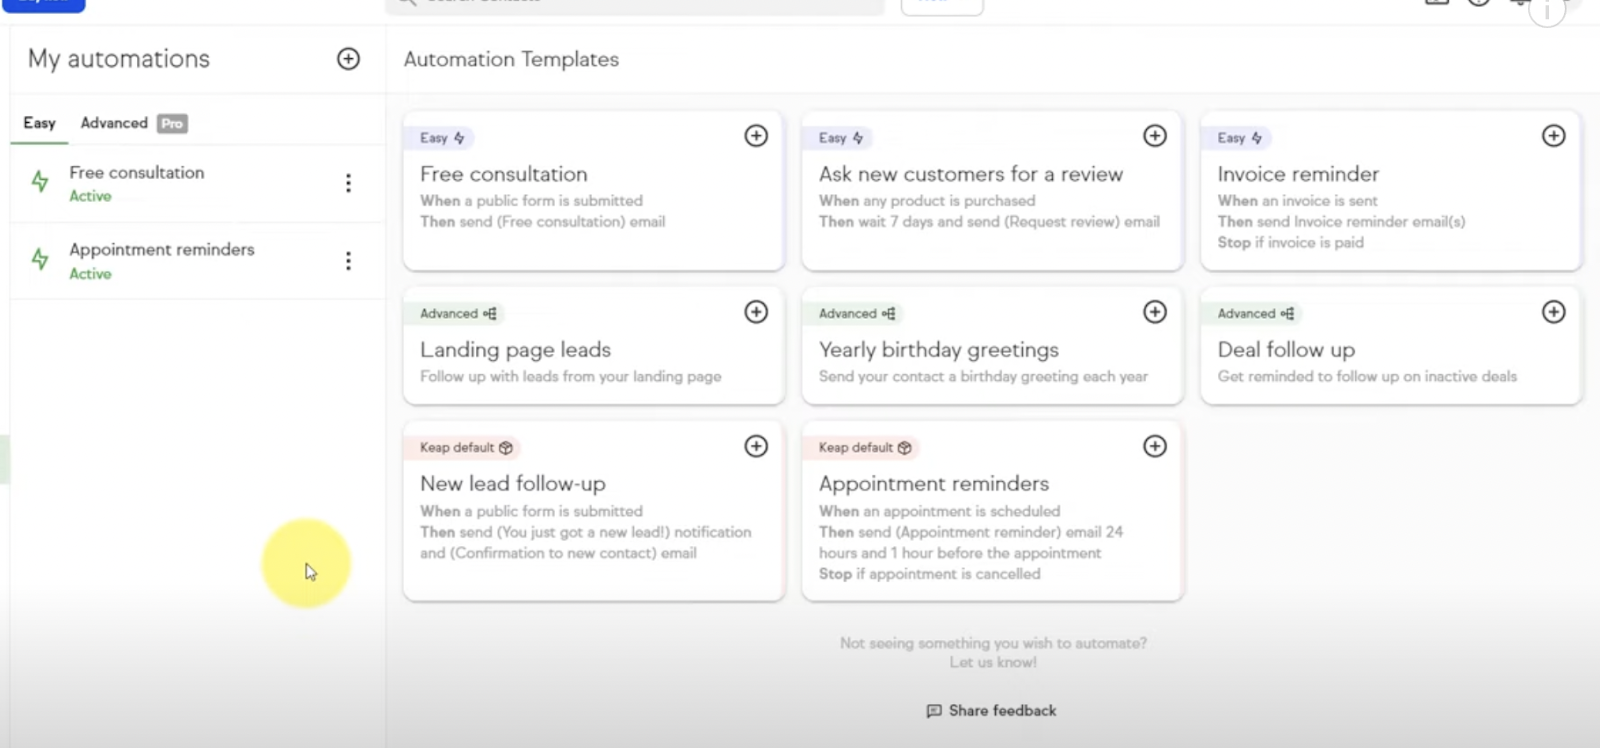
- List Active Automations: Identify all active automations, including email sequences, tags, and triggers.
- Document Automation Flows: Take detailed notes or screenshots of each automation flow to facilitate recreation in Chat To Clients CRM.
Step 2: Recreate Automations in Chat To Clients CRM
- Build New Workflows:
- Go to Automation > Workflows in Chat To Clients CRM.
- Recreate the automations from Keap, using Chat To Clients CRM’s triggers, conditions, and actions to achieve similar results.
- Test Workflows: Test all recreated workflows thoroughly to ensure they function correctly, making any necessary adjustments.
Migrate Landing Pages and Forms
Step 1: Recreate Landing Pages in Chat To Clients CRM
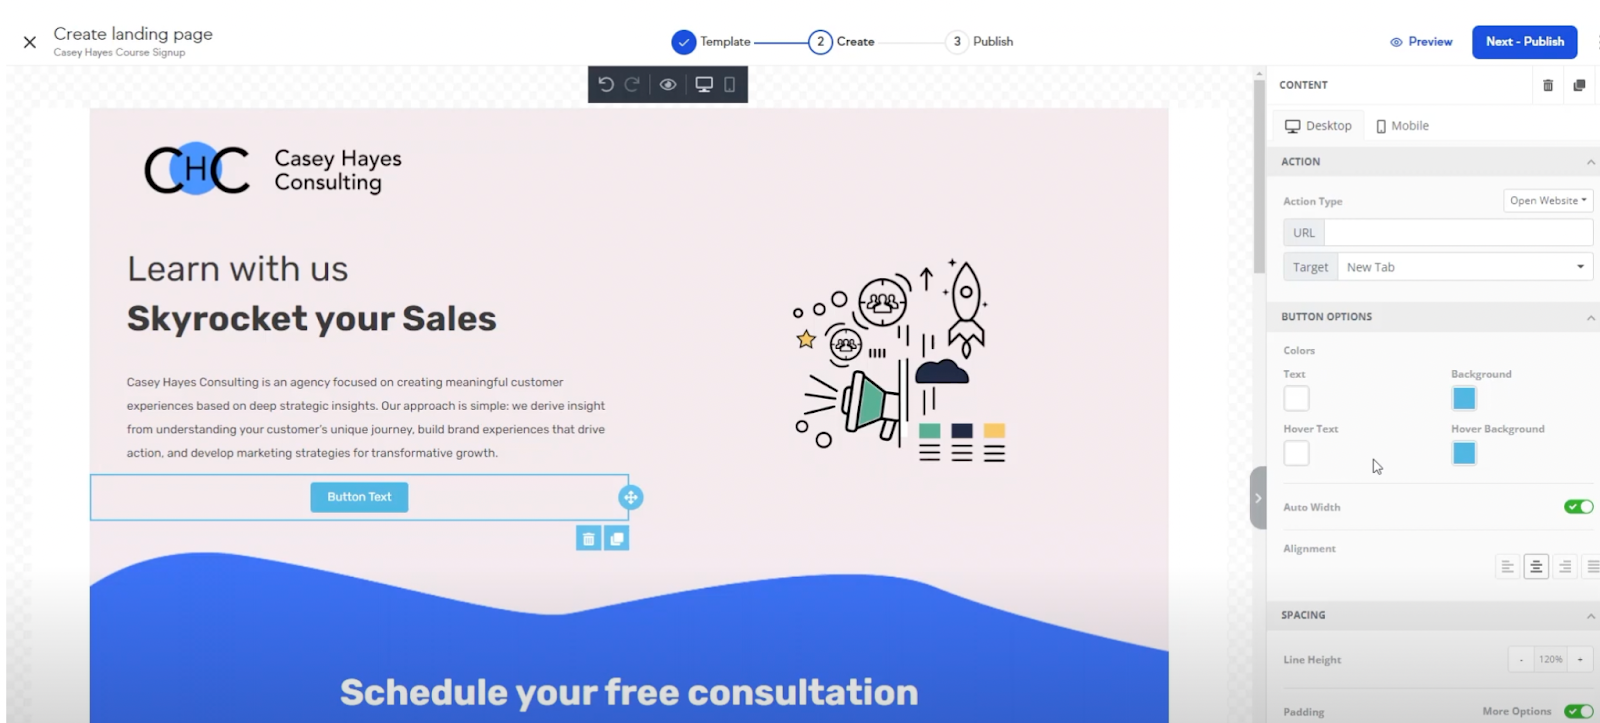
- Rebuild Landing Pages: Use Chat To Clients CRM’s Funnel & Website Builder to recreate landing pages from Keap. Ensure that the design and content closely match the original Keap landing pages.
- Add Forms: Embed forms into landing pages as required, ensuring they capture the necessary lead information and trigger the correct tags or automations.
Step 2: Customize Forms
- Recreate Public Forms:
- In Chat To Clients CRM, navigate to Funnels & Websites > Forms and recreate the public forms from Keap.
- Customize the form fields and settings to match those used in Keap.
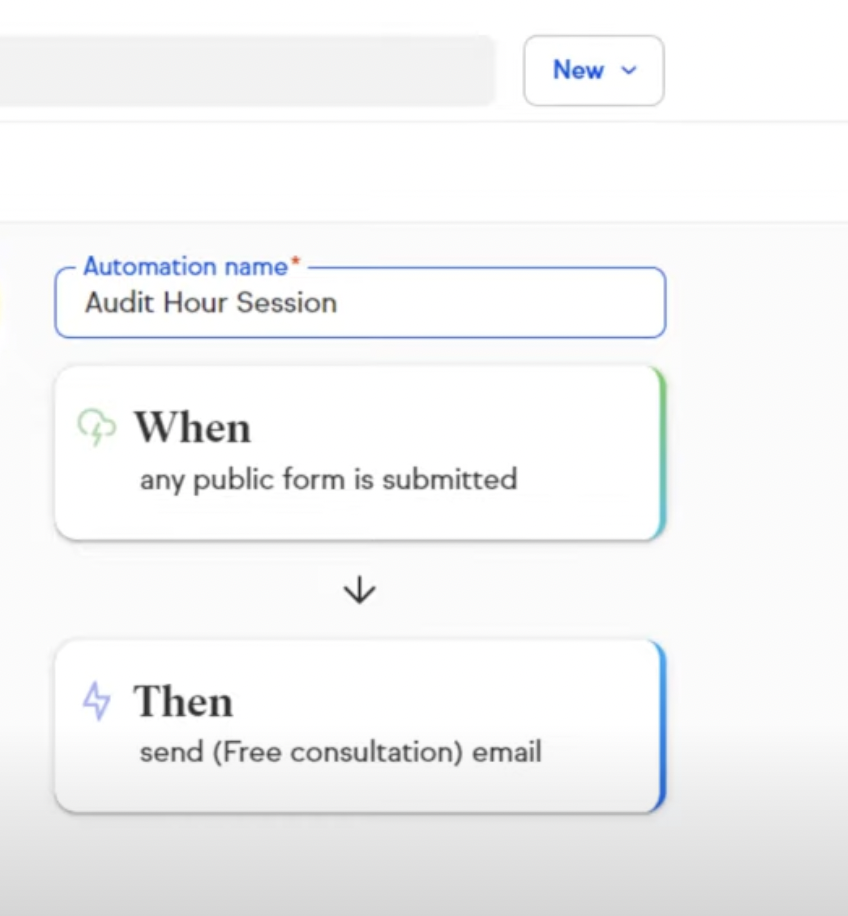
- Configure Form Actions: Ensure that form submissions in Chat To Clients CRM trigger the correct tags and workflows, similar to the setup in Keap.
Migrate Appointments and Calendars
Step 1: Review Existing Appointments in Keap
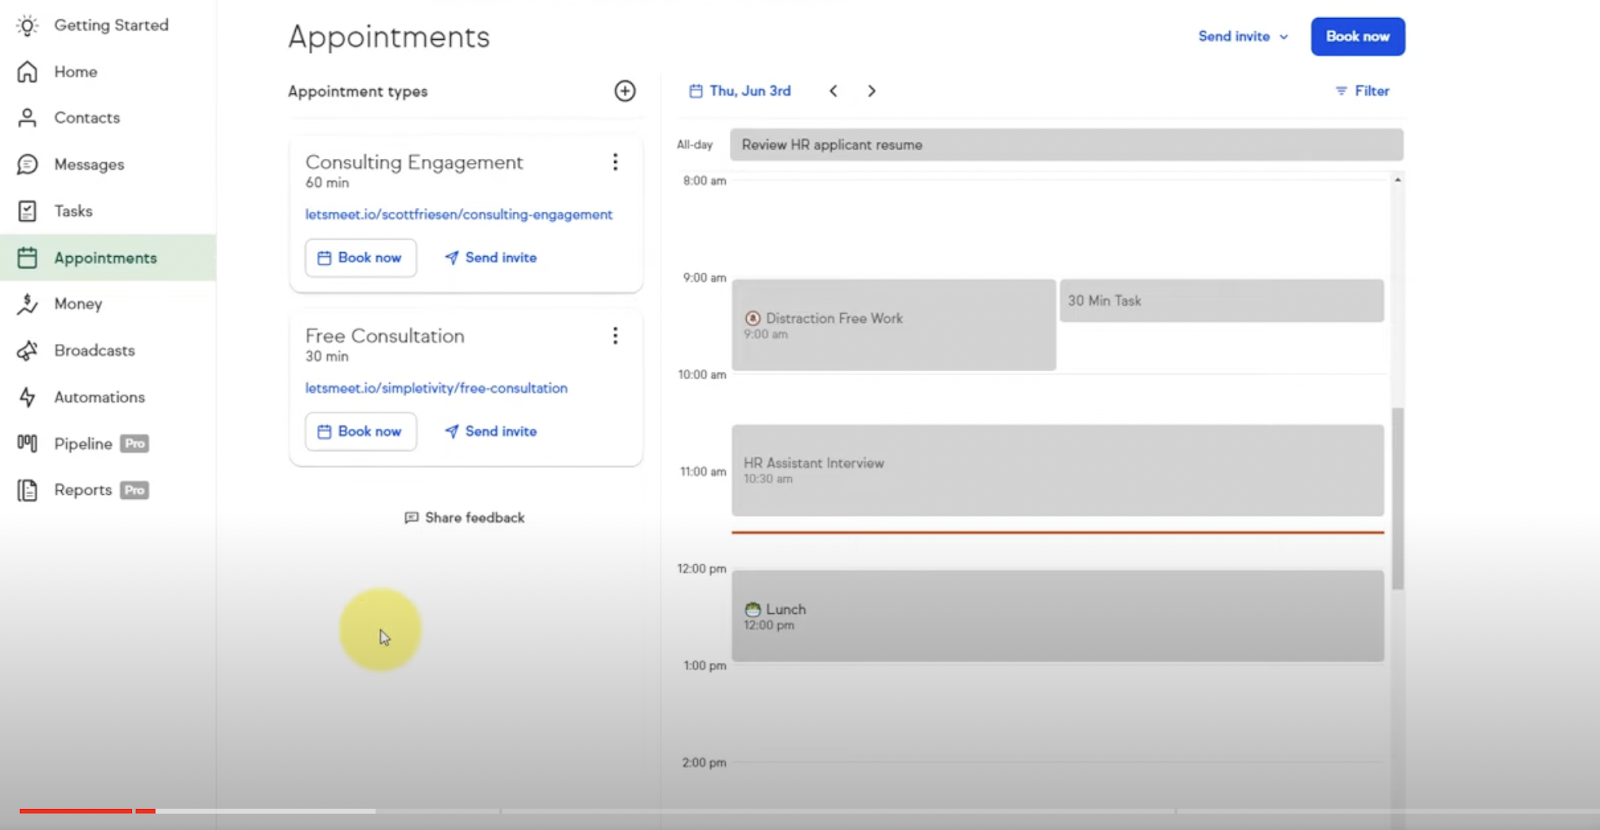
- List Active Appointment Types: Identify all existing appointment types and associated settings, including reminders and integrations.
- Document Appointment Settings: Note down all key settings related to each appointment type, such as duration, availability, and reminders.
Step 2: Recreate Appointment Types in Chat To Clients CRM
- Set Up Appointment Types:
- Navigate to Calendars > Appointment Types in Chat To Clients CRM.
- Recreate each appointment type from Keap, including all relevant settings like duration, location (Zoom integration), and availability.
- Integrate External Calendars: Integrate Google or Outlook calendars with Chat To Clients CRM to ensure all appointments are synced and conflicts are avoided.
Final Checks and Training
Step 1: Perform Final Data Validation
- Cross-Check Data: Verify that all data has been successfully migrated, including contacts, pipelines, automations, and landing pages.
- Validate Workflows: Ensure that all workflows and automations are operational in Chat To Clients CRM.
Step 2: Train Team Members
- Chat To Clients CRM Training: Provide necessary training to your team on using Chat To Clients CRM’s CRM, automation, and appointment management tools.
- Leverage Support Resources: Encourage your team to utilize Chat To Clients CRM’s support resources for ongoing learning and troubleshooting.
Step 3: Monitor and Optimize
- Monitor Performance: Continuously monitor the performance of your Chat To Clients CRM setup, making adjustments as needed to optimize operations.
- Continuous Improvement: Regularly review your setup to ensure it meets your evolving business needs.
Decommissioning Keap
Step 1: Transition Period
- Run in Parallel: Consider running both Keap and Chat To Clients CRM in parallel during the transition to ensure no disruptions in operations.
- Gradual Phase-Out: Slowly reduce reliance on Keap as you become more comfortable with Chat To Clients CRM.
Step 2: Cancel Keap Subscription
- Final Data Backup: Ensure that all necessary data is securely backed up before canceling your Keap subscription.
- Official Cancellation: Follow Keap’s process to cancel your subscription and terminate any associated services.
Step 3: Post-Migration Review
- Review Success: Evaluate the success of the migration, documenting any challenges faced and lessons learned.
- Ongoing Monitoring: Keep an eye on your Chat To Clients CRM setup post-migration to catch and resolve any issues promptly.