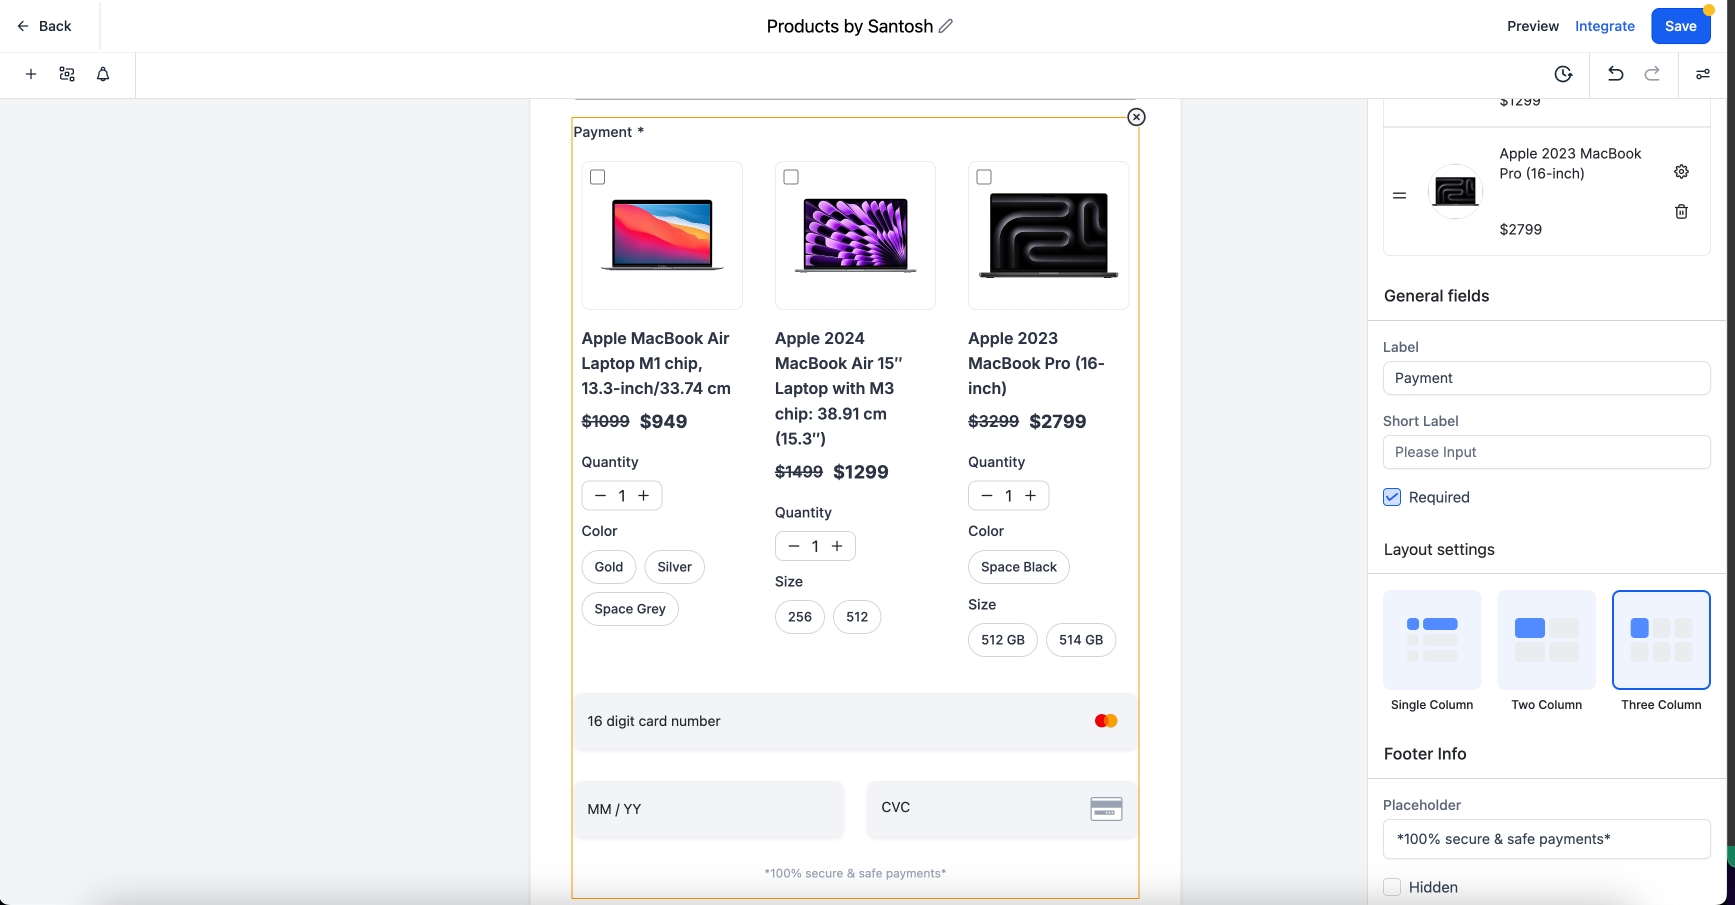
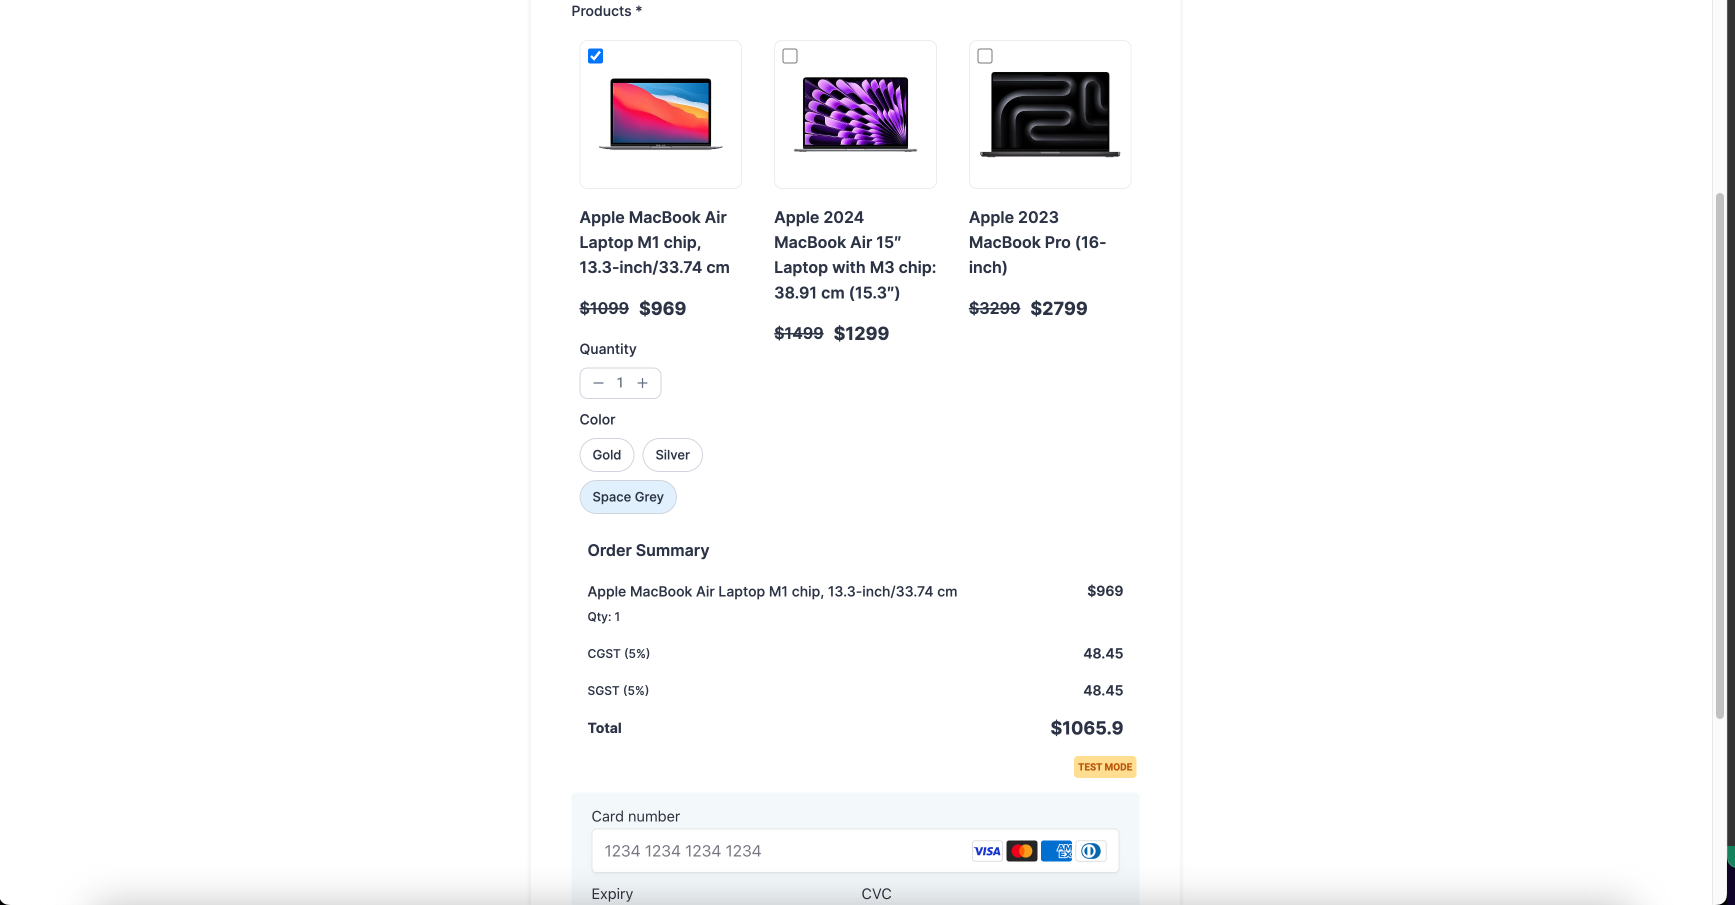
How to Use Products in Payment Element in Forms
We are excited to introduce new feature Products in Forms to enhance your Forms experience! With this update, users can seamlessly add products to their forms with better customization and layout options.
What's New
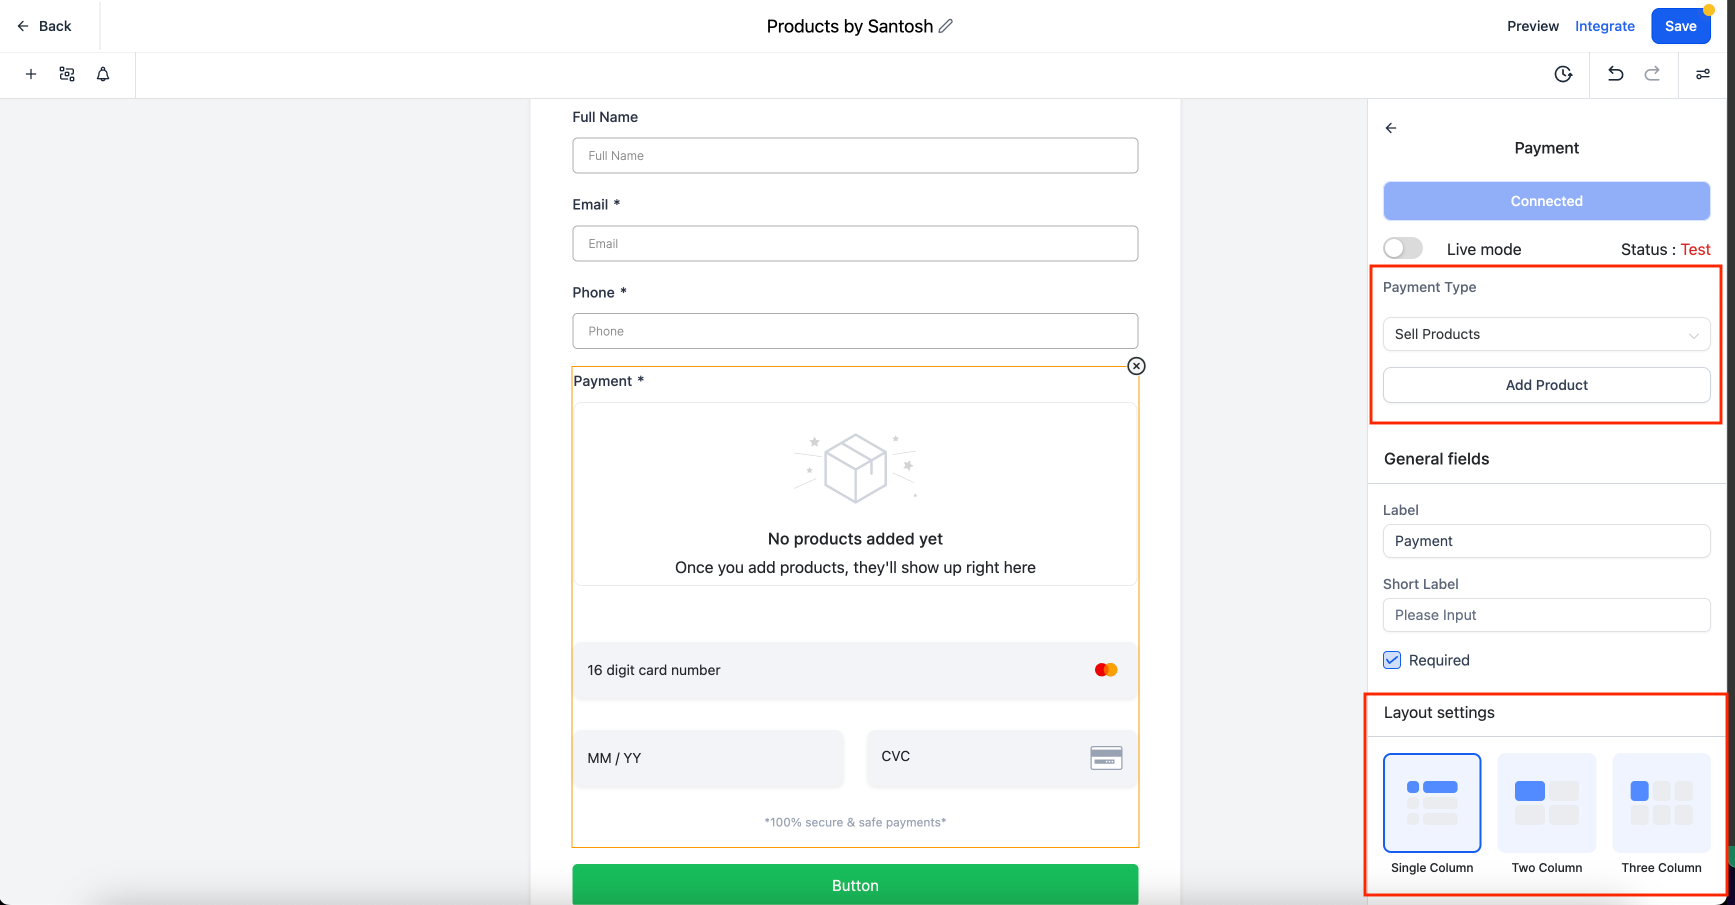
- Payment Type: Now you have an option to either sell product or collect custom amount from the forms.
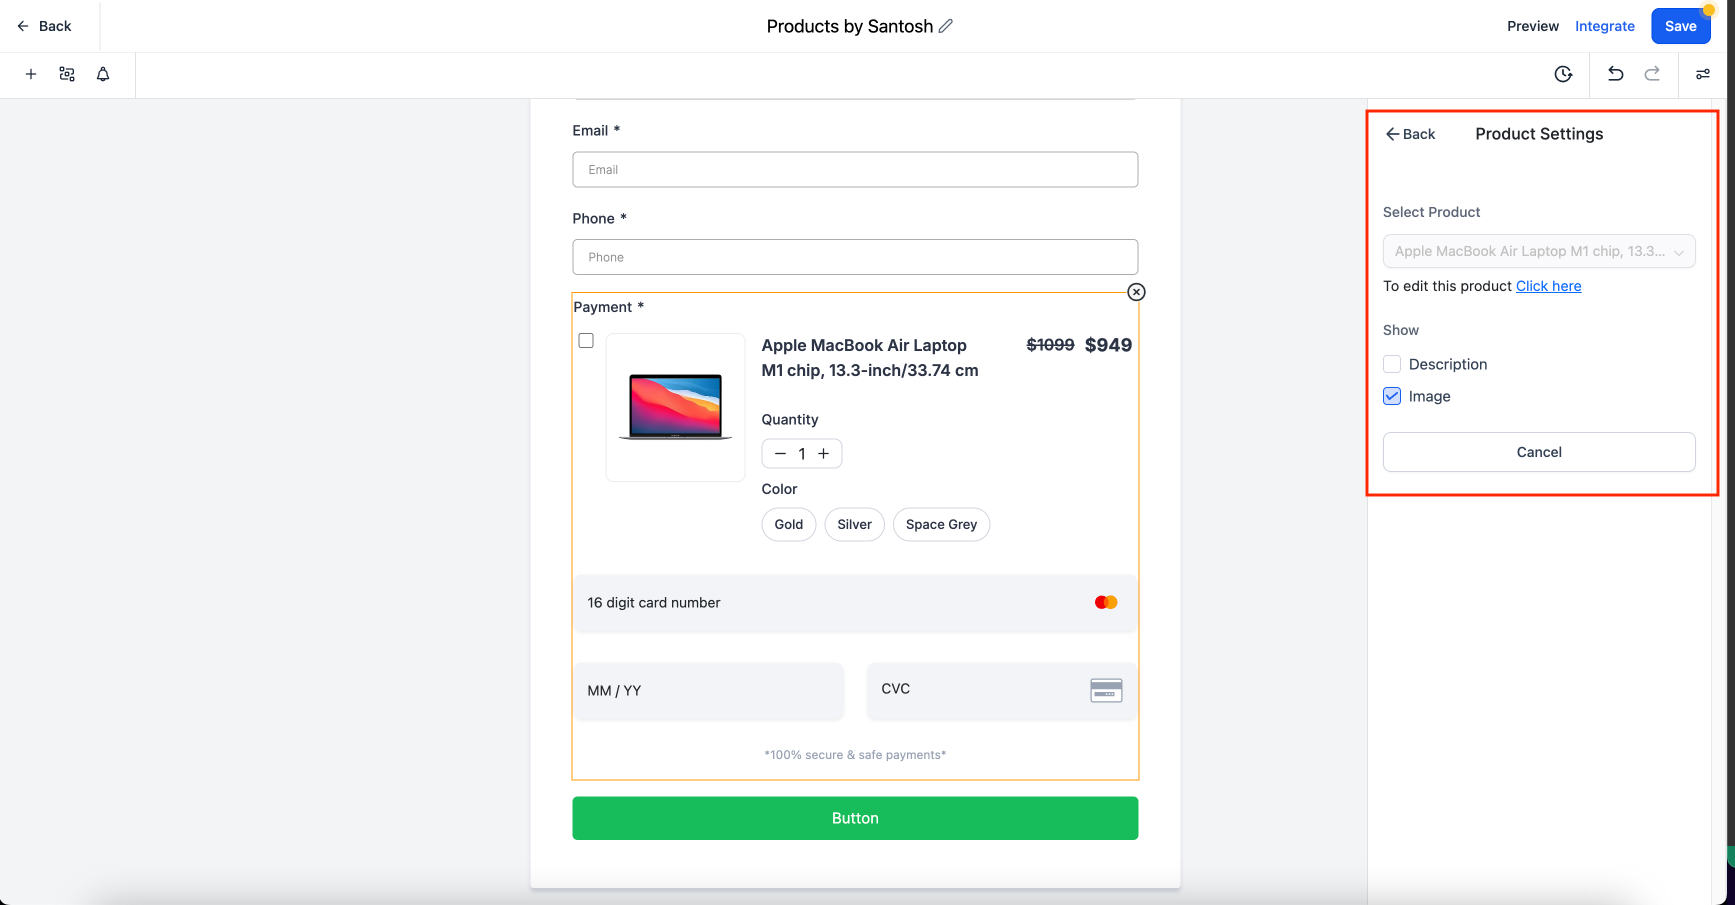
- Ability to select products, include descriptions and images, and choose layouts.
- Users will also be able to select different variants which are available for the specific product
- Quantity of product will be respected as per inventory management.
- Inclusion of tax calculation when someone purchase the product.
How to Use
The Sell Products element lets you sell products through forms, connect payment providers, and offer multiple price levels and variants.
Step 1: Add the Sell Products Element
- Open your form in the Form Builder.
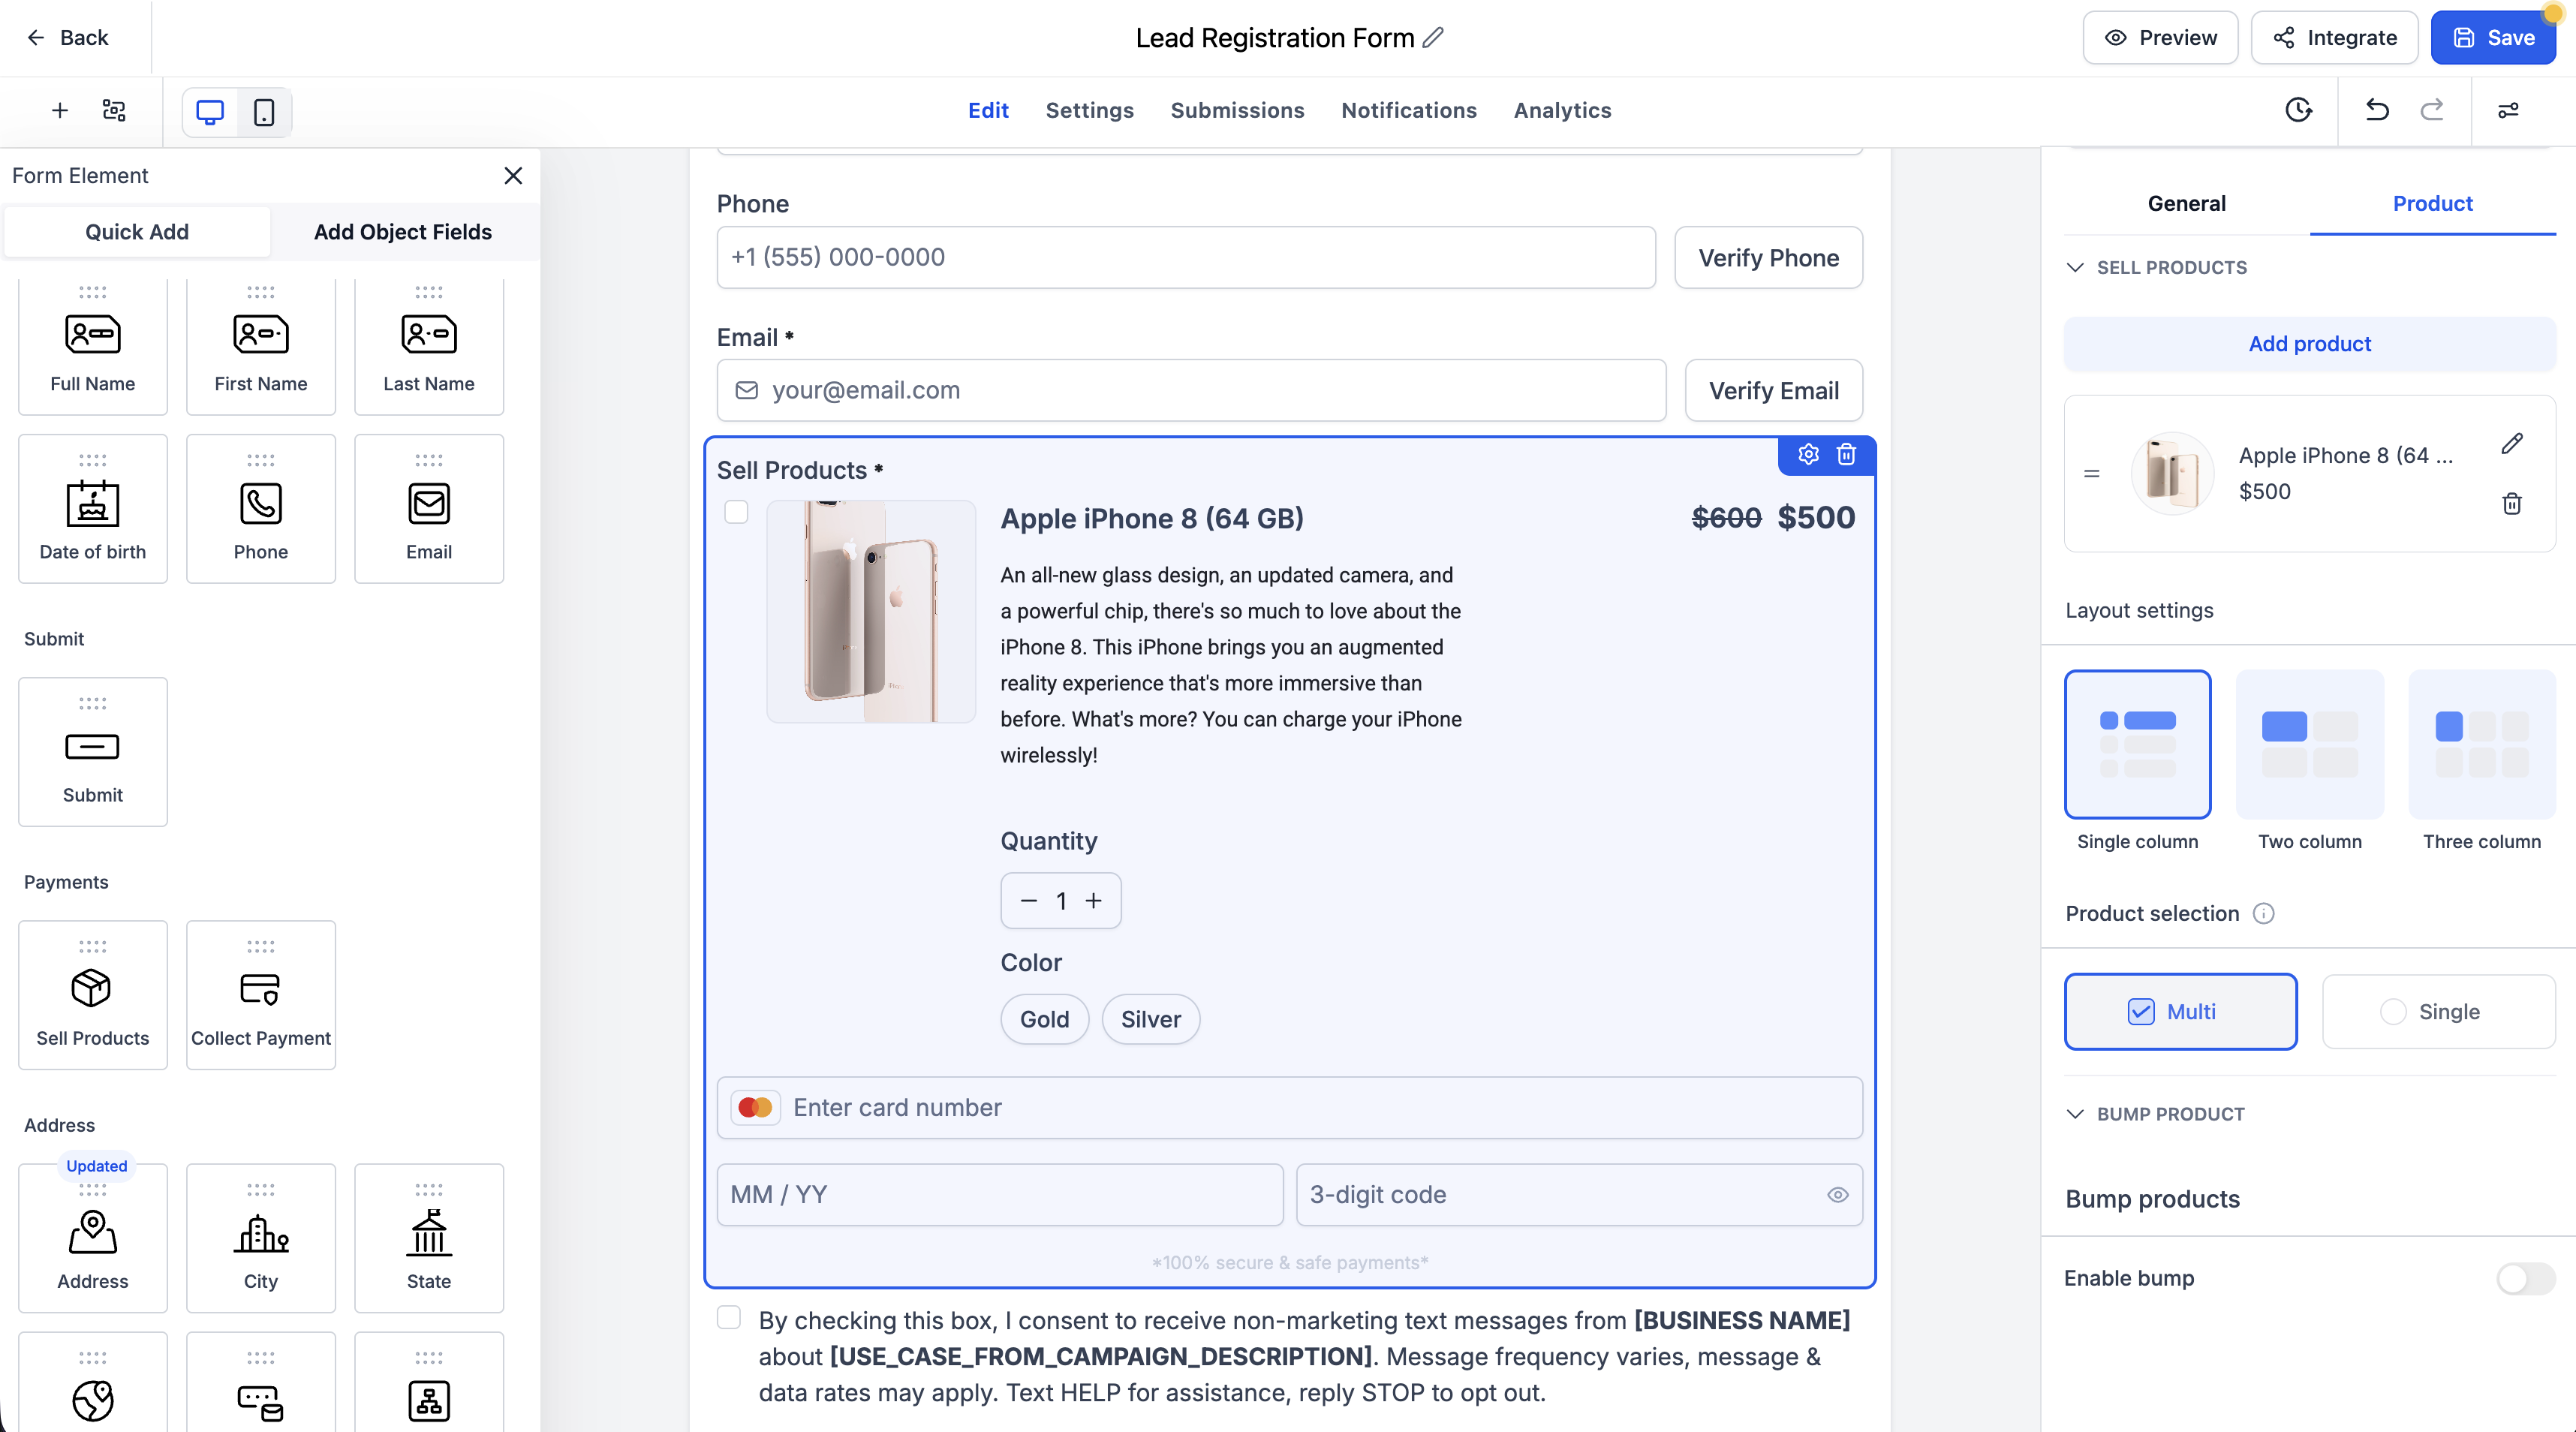
- Under Payments, drag Sell Products onto your form.
- Select the element to open its configuration panel on the right.
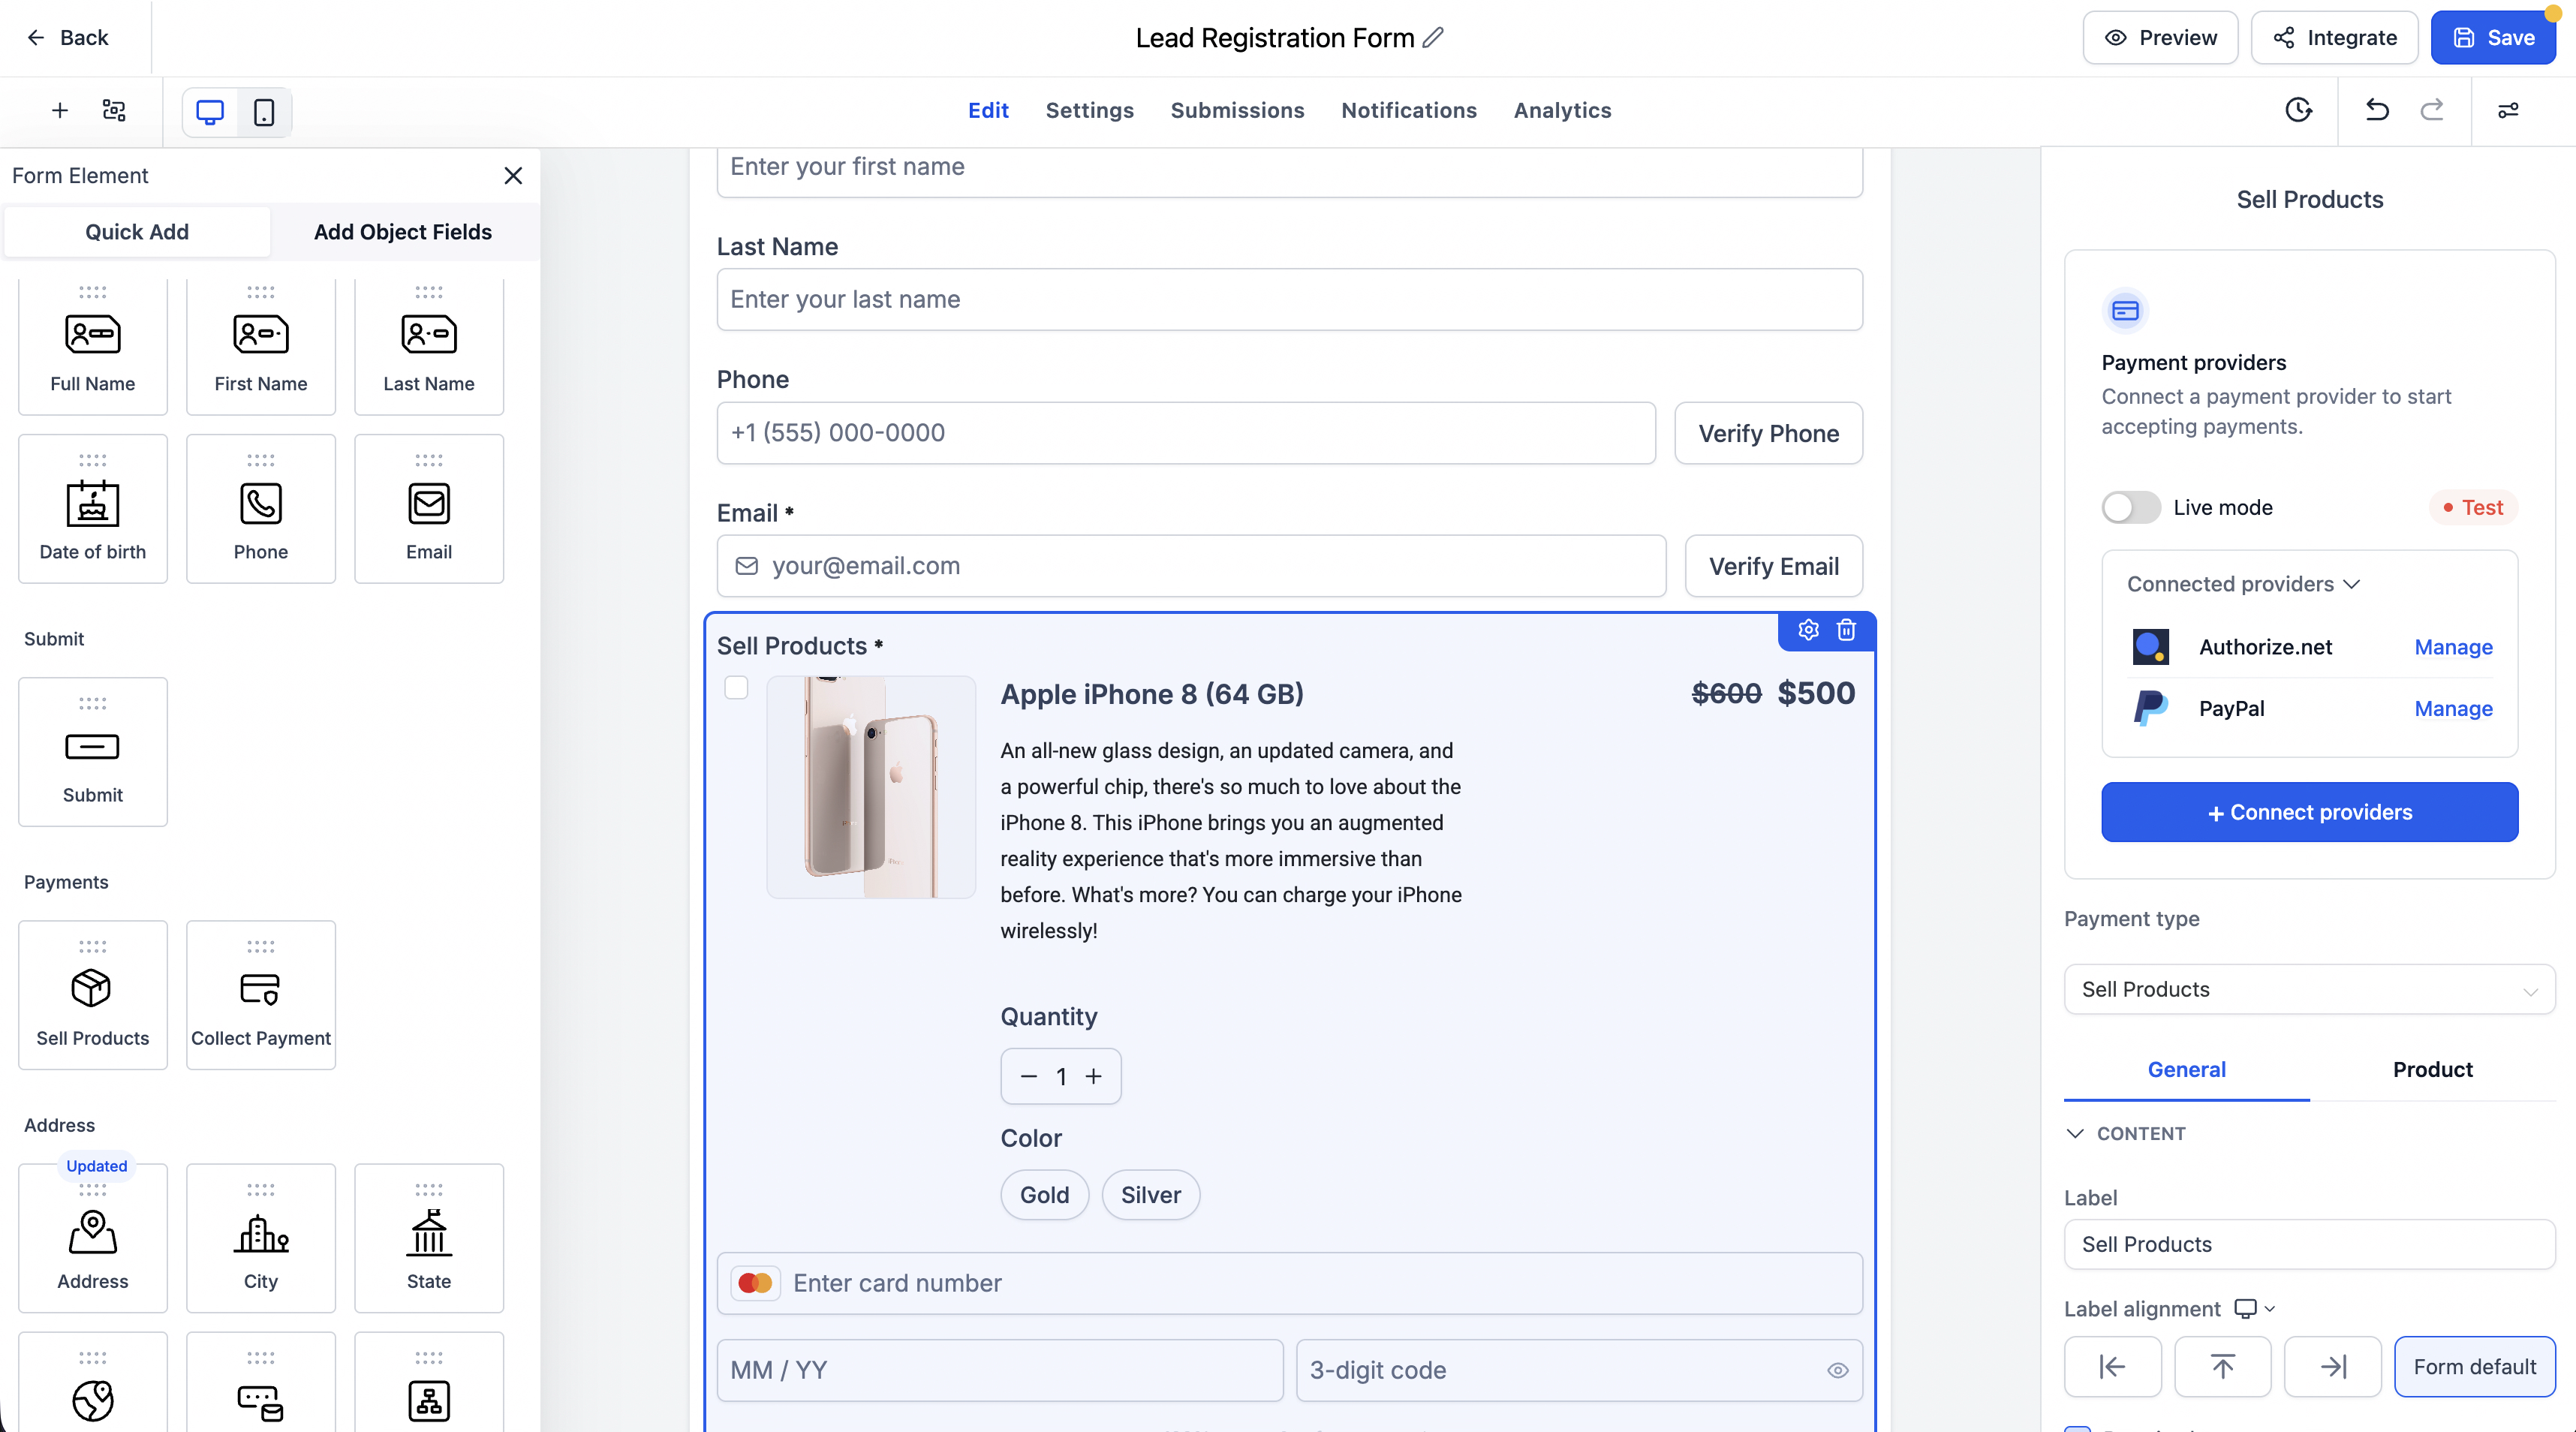
Step 2: Configure Payment Providers
- Click Connect providers to connect a payment provider directly from the builder.
- View connected providers under Connected providers.
- Use Manage to access provider settings.
- Toggle Live mode to switch between live and test configurations.
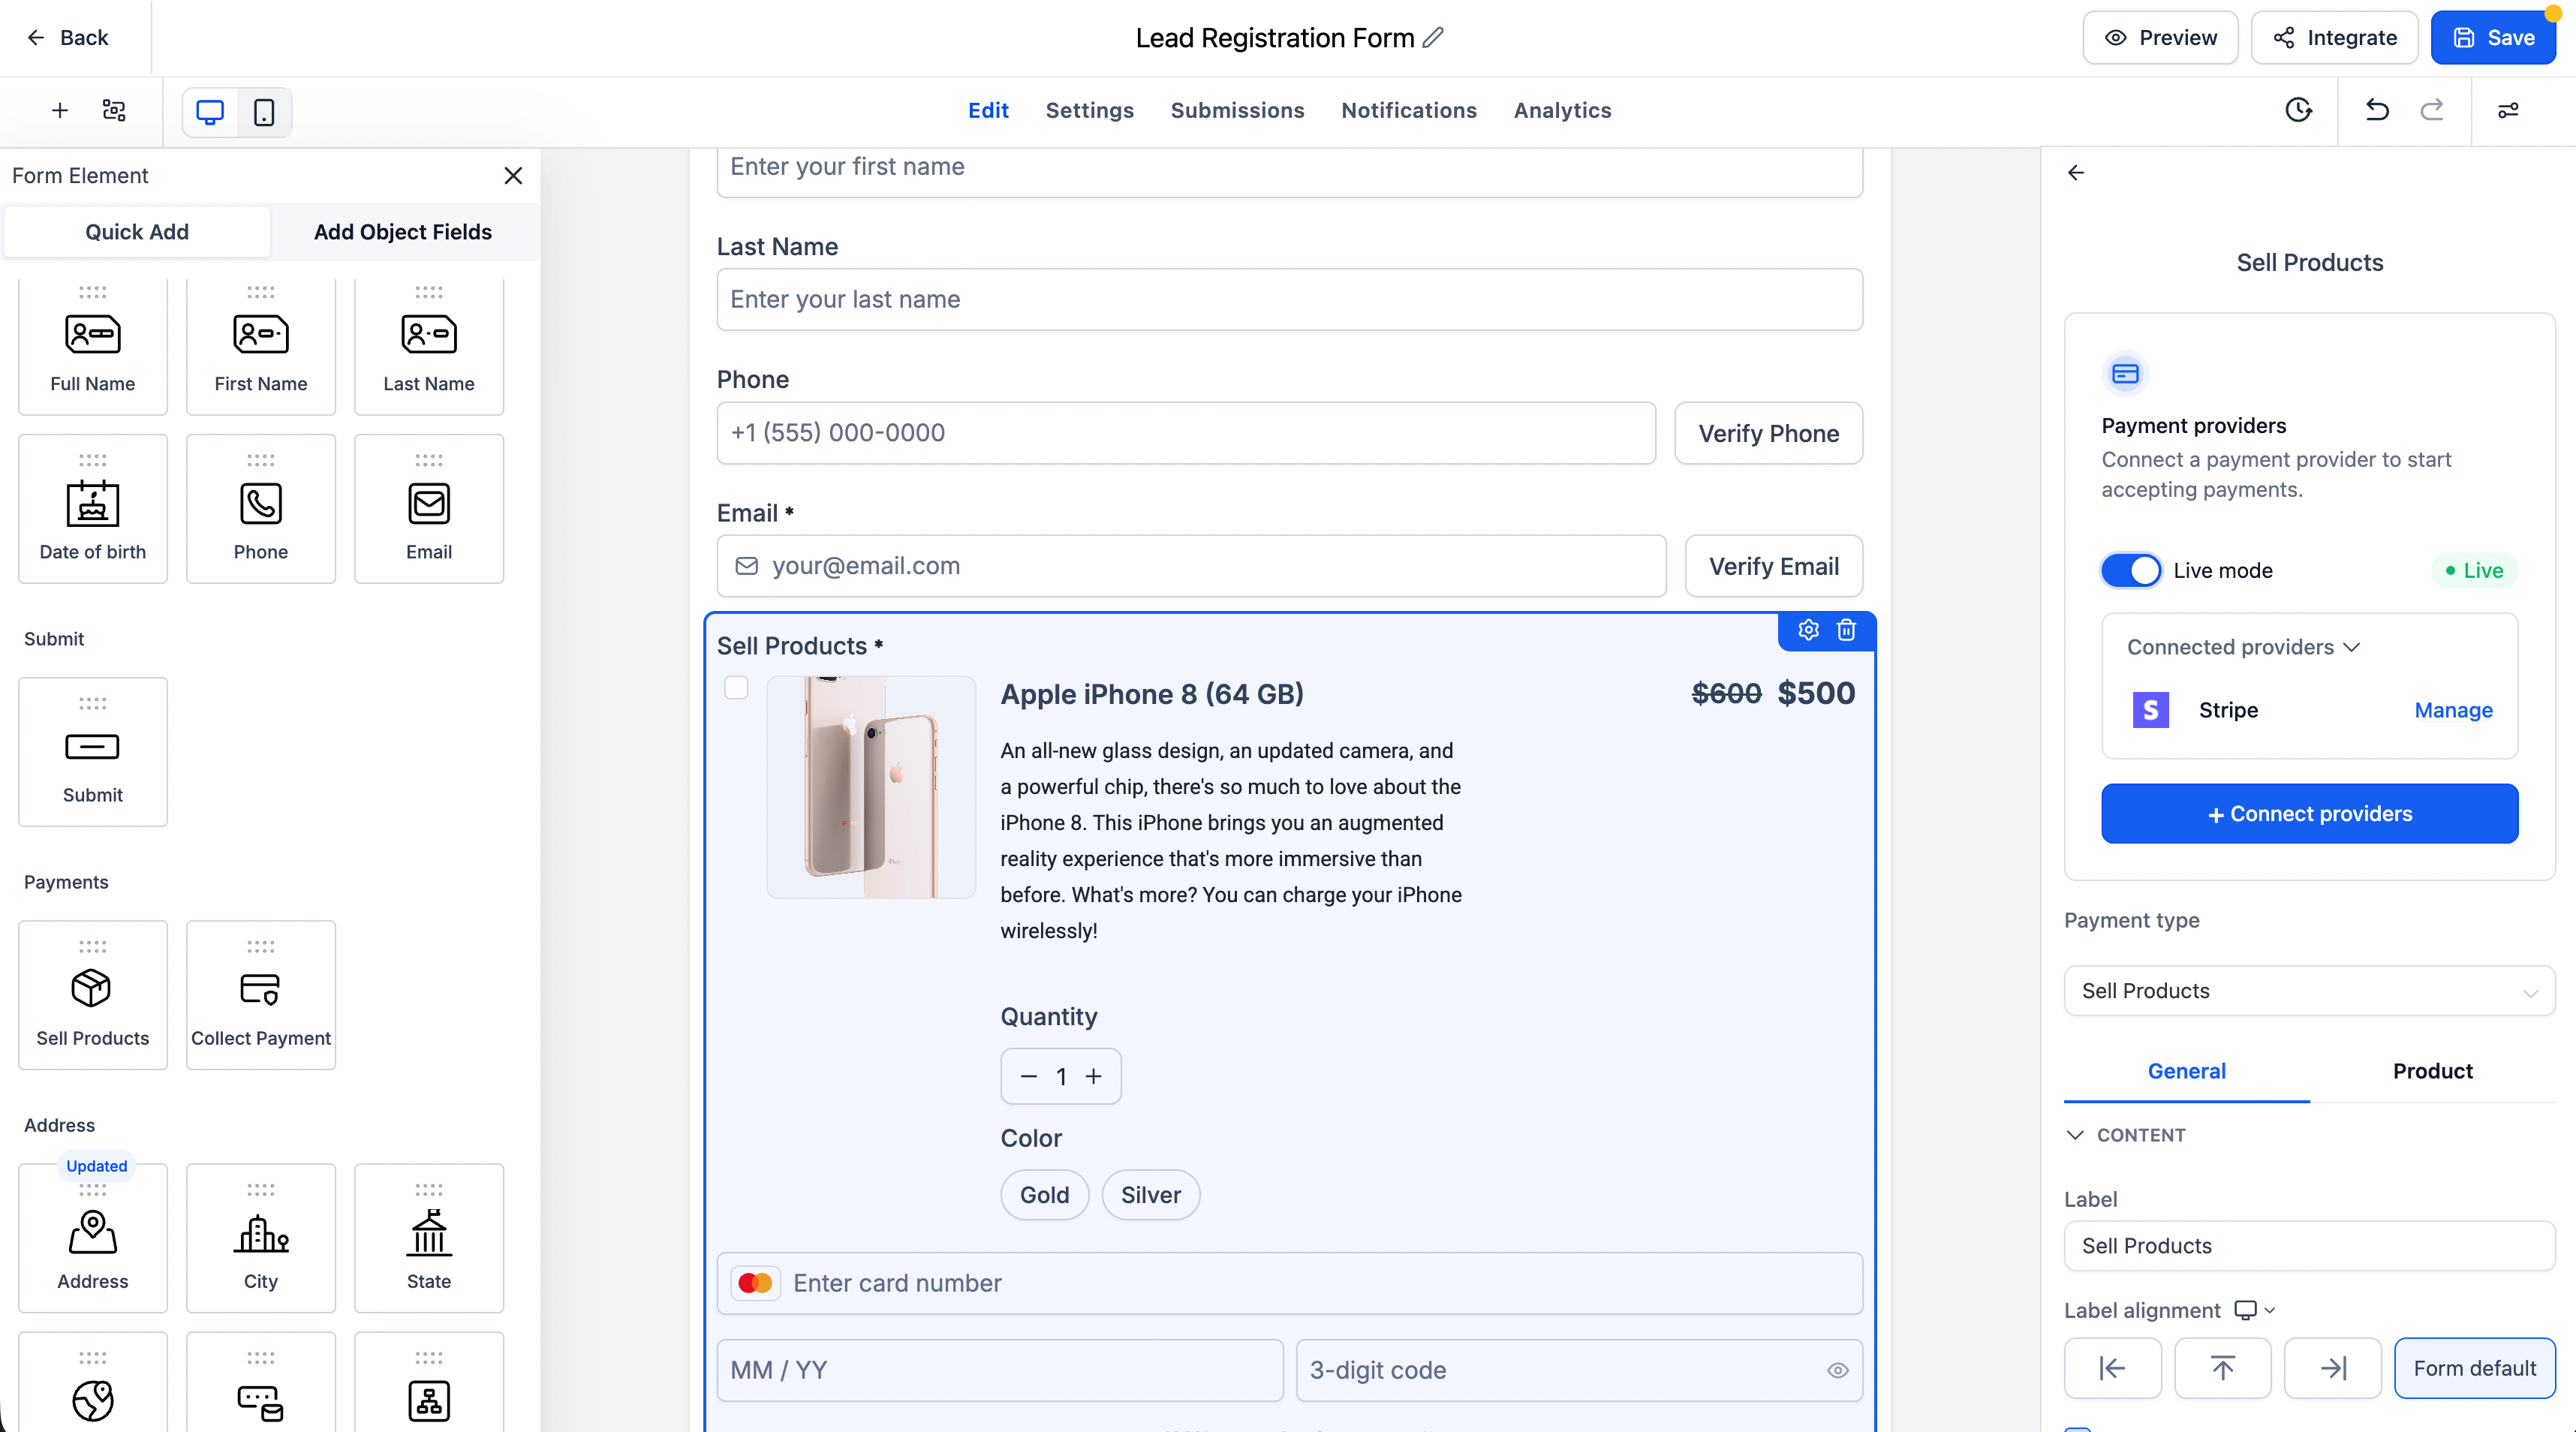
Step 3: Add and Configure Products
- Open the Product tab.
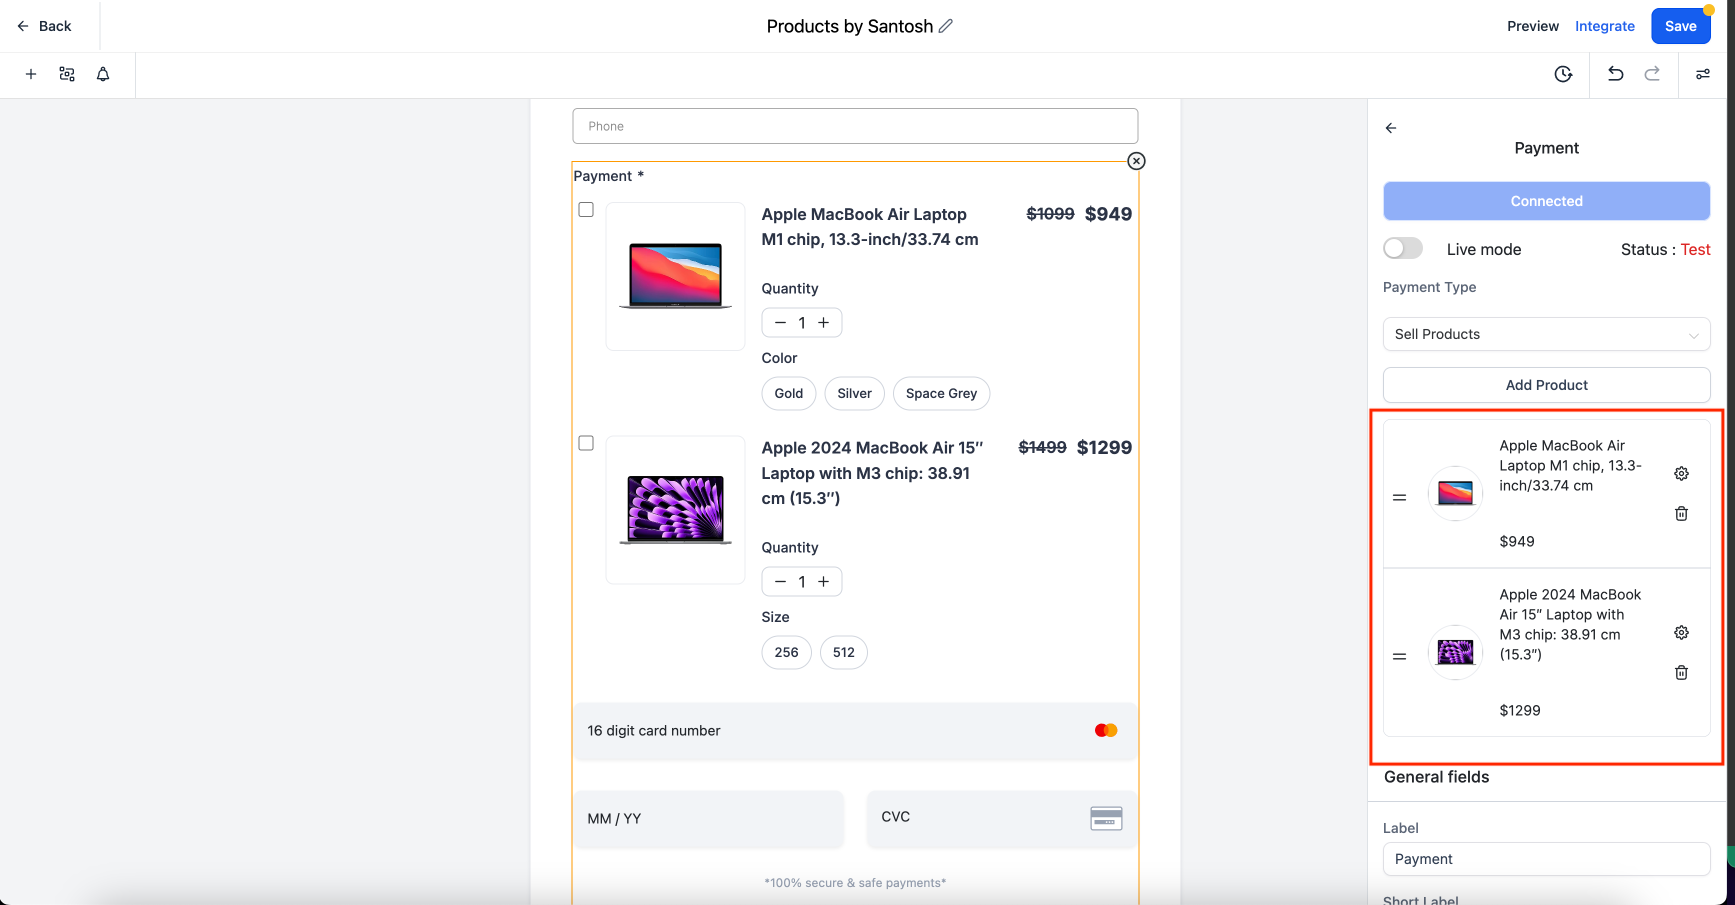
- Click Add product to select a product.
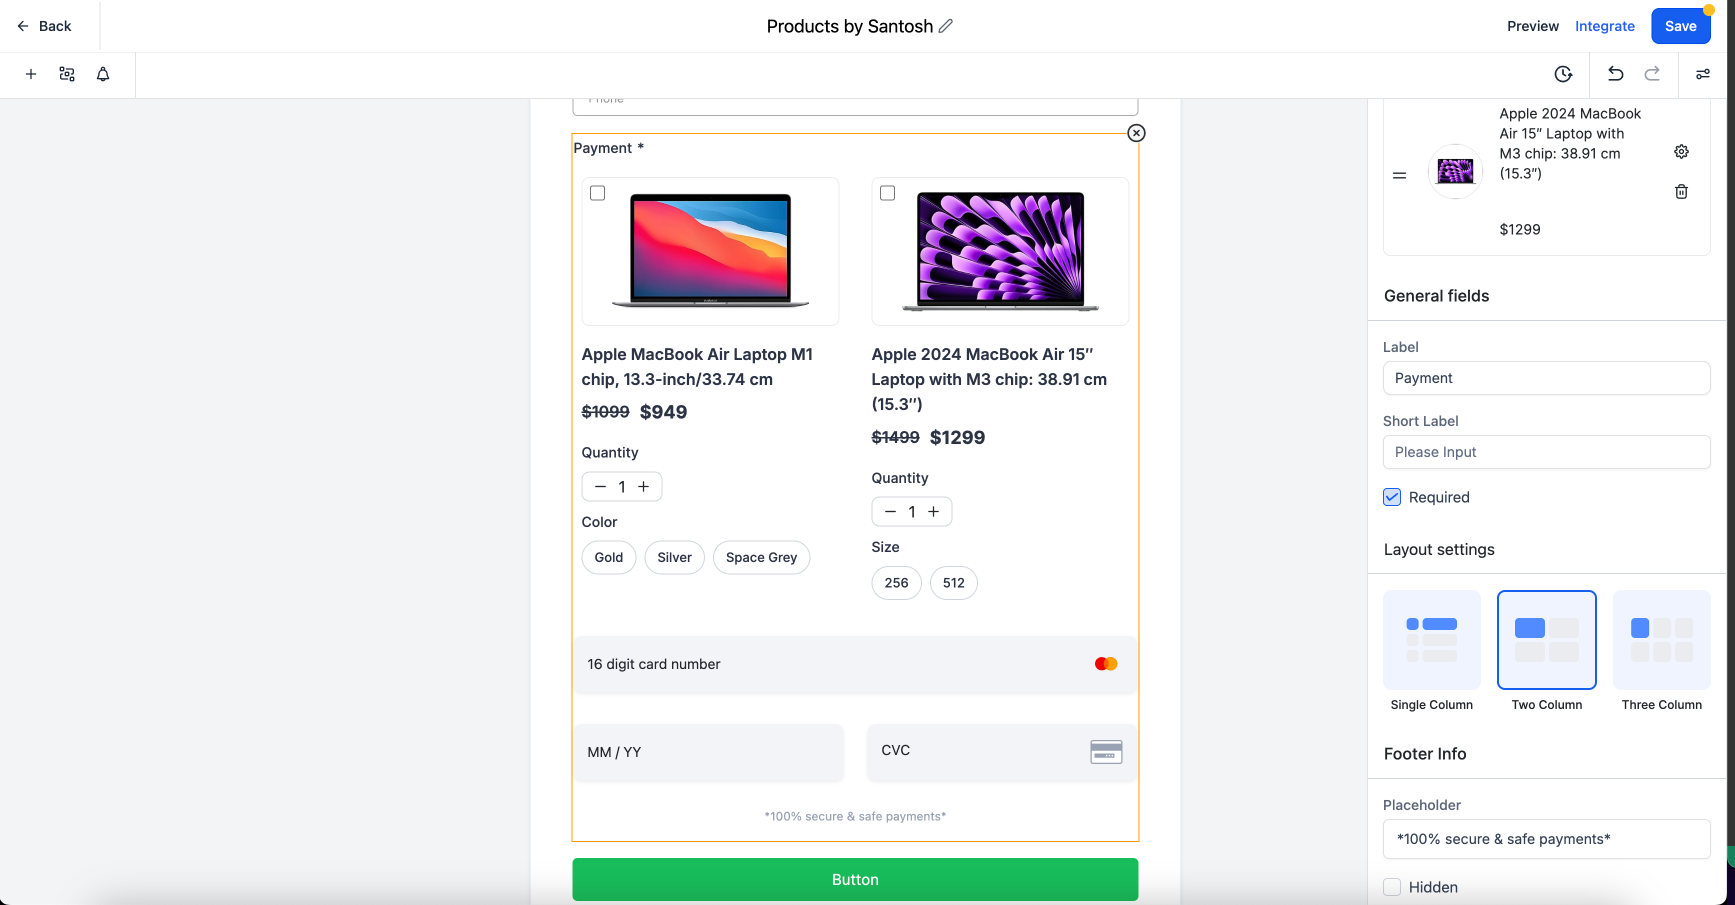
- Choose Single column, Two column, or Three column under Layout settings.
- Select Single or Multi under Product selection.
Step 4: Price Levels and Variants
The Sell Products element supports:
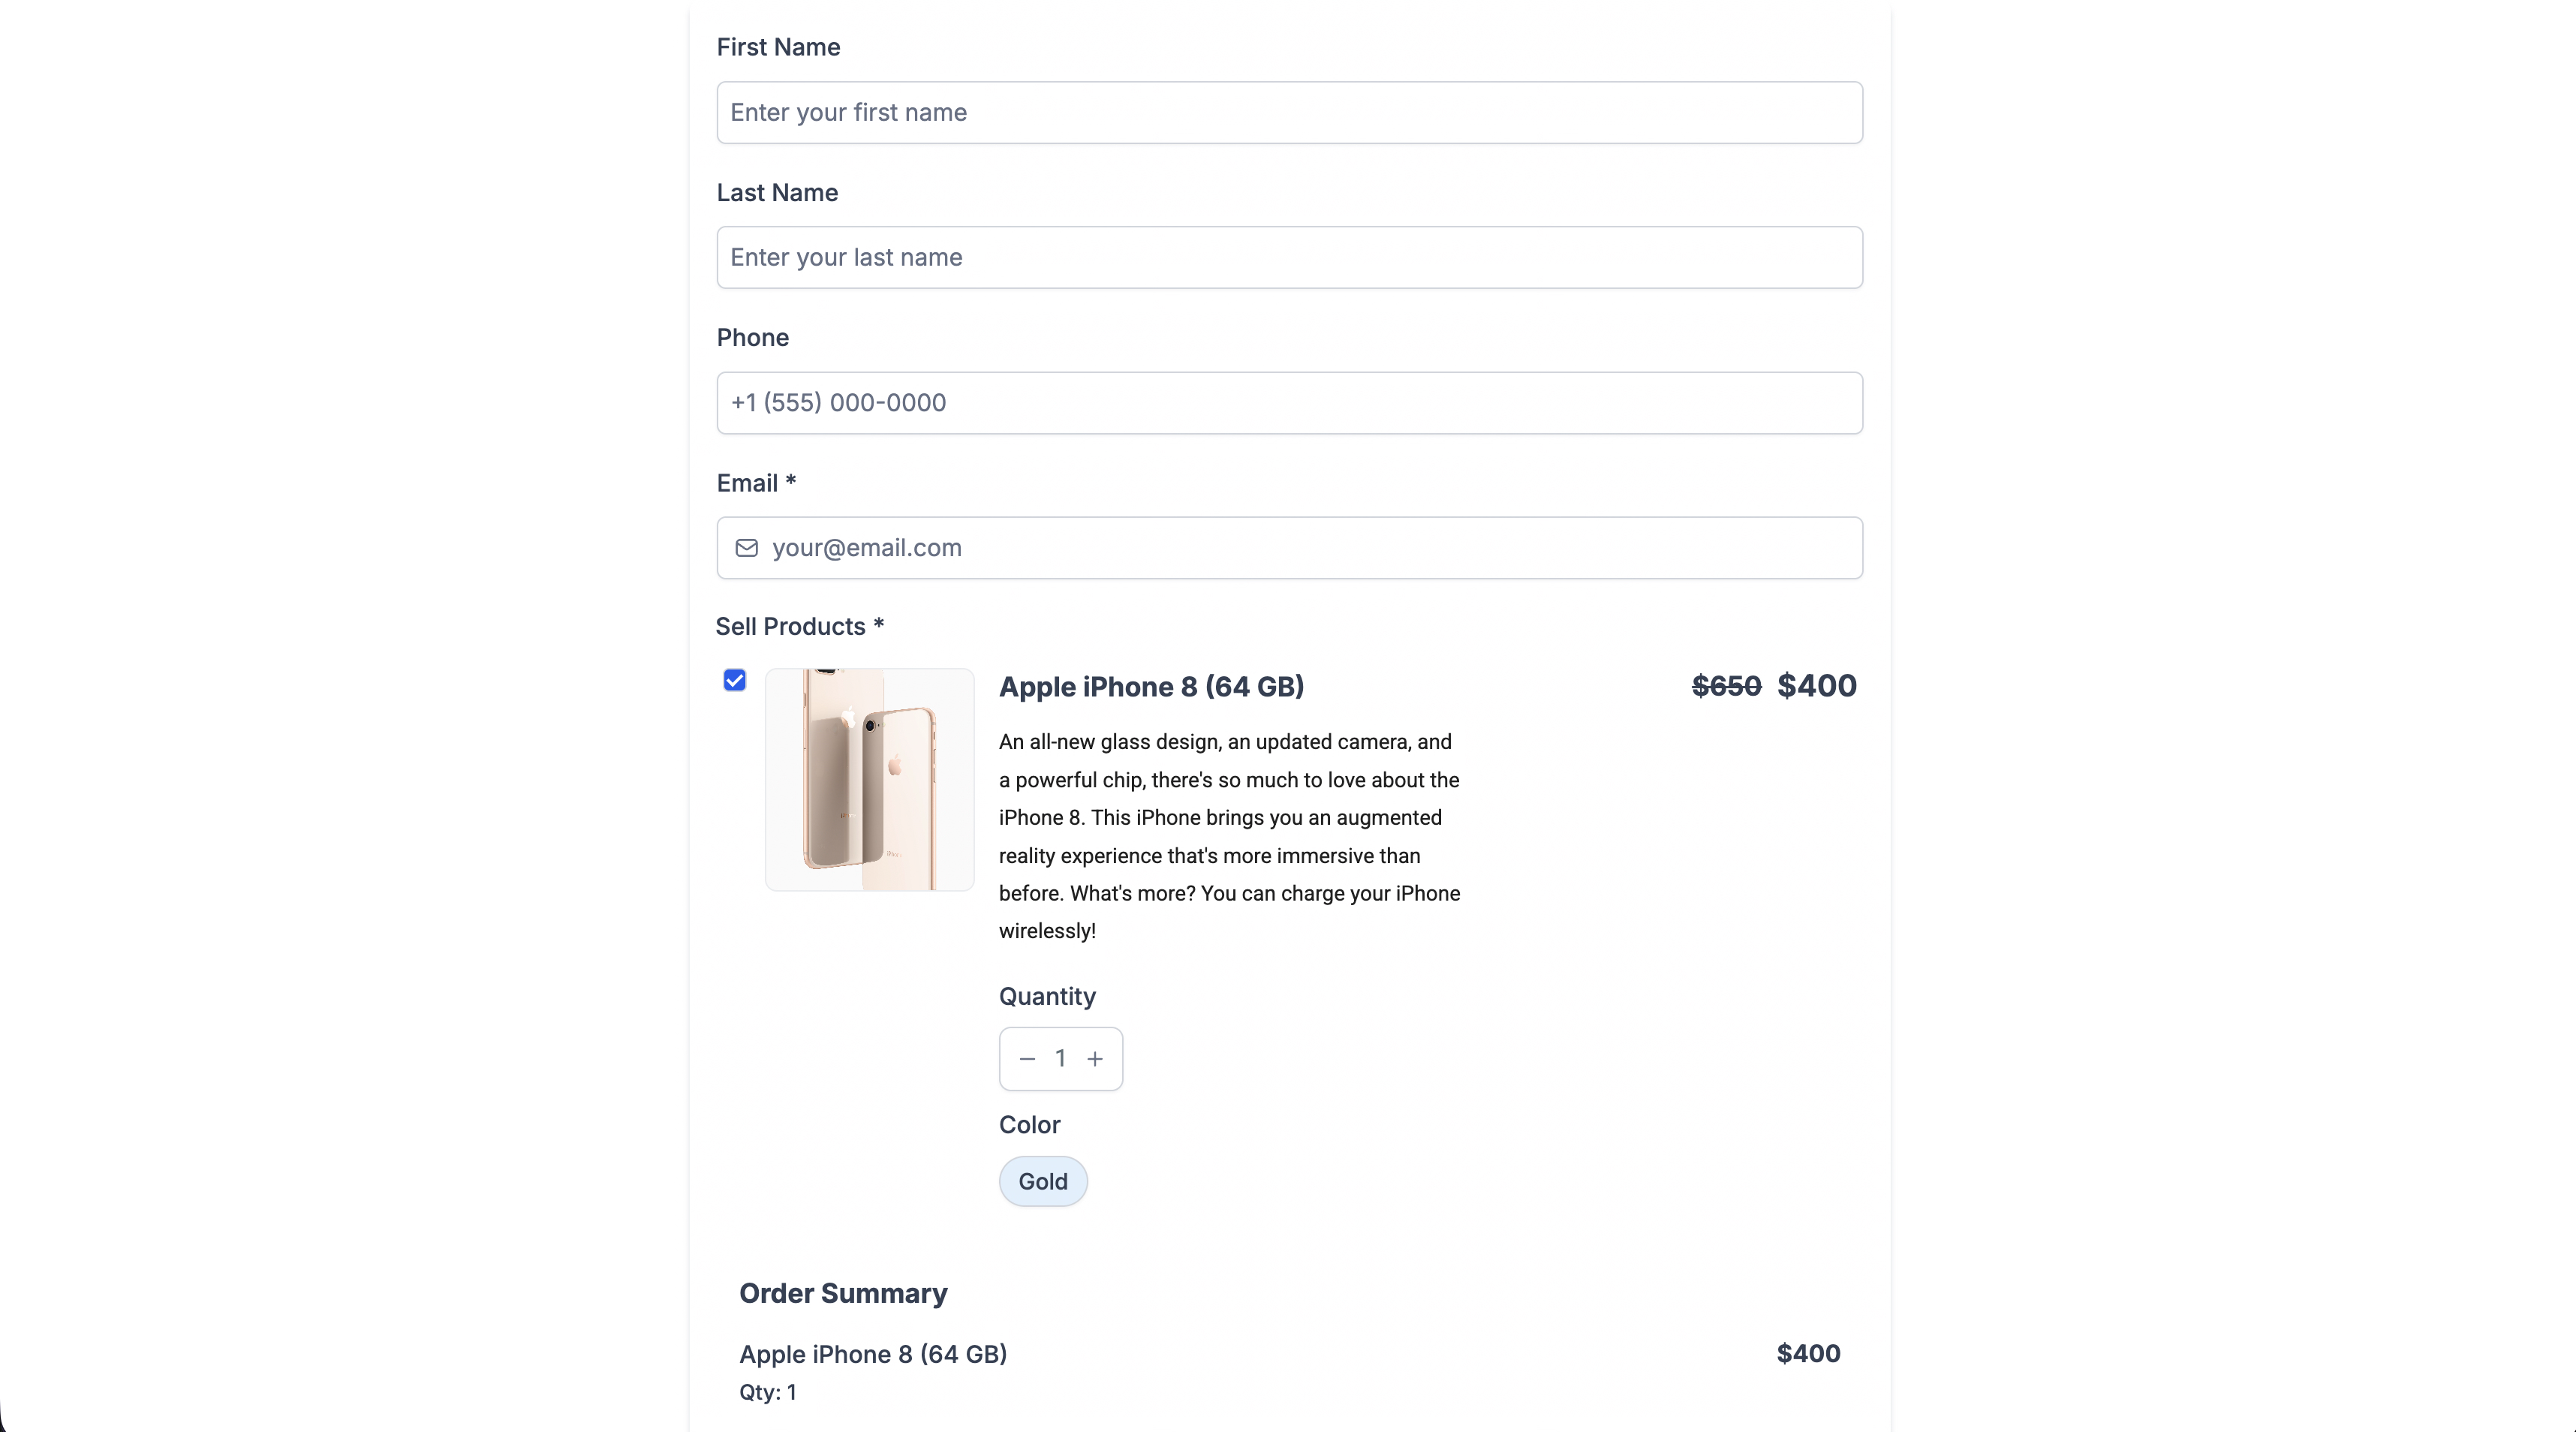
- Price Levels: Allow customers to choose from available prices for supported products.
- Variants: Allow customers to select available product options, such as color or size.
Selected prices and variants appear in the payment summary and are carried through checkout, invoicing, and payment processing.
Required selections are validated before submission.
Important Notes
- Existing forms and payment configurations continue to work without changes.
- Price levels and variants are available for supported products.
- The enhanced experience supports desktop and mobile devices.
Key Highlights
Customizations:
- You can add up to 20 products
- Three different layout options are available.
- These forms can be easily added in the funnels and can be used as one step order form with unlimited customization.
Tracking payments:
- Upon form submission, the payment amount, order id and payment status are included in the submission details.
- On clicking Order ID, users will be able order details.
- These details can also be exported via export options.
Email Notifications:
Email notifications also reflect the status and amount of payment.
Workflow Trigger:
Payment received trigger can be used with "Forms" as source.
?
Notes:
- Recurring products are not supported right now.
- NMI and Authorize.net requires First Name as mandatory field while having payment element in the form.
- Refund amount will not be captured right now
- Old way of API based Stripe connect is not supported.
- In Calendars with custom form payment element, Payment element will not display.
- Multi payments with Multi native forms not supported in funnel yet
- Undo/Redo is not supported with Payment element yet
Examples: